DIY Cork Board Thread Art
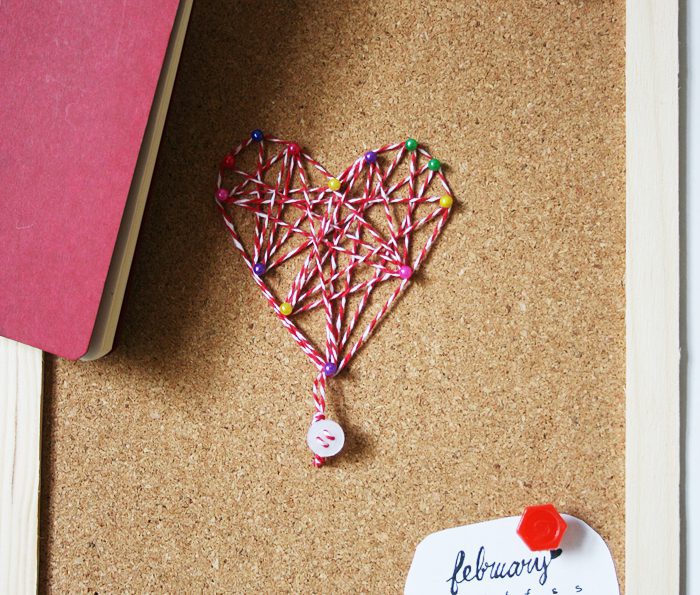
I know, I know! It’s over a month away, but I can’t help it. Valentine’s Day is such a wonderful day of the year.
It’ll be my first Valentine’s in Britain, and I have to say I’m looking forward to the first signs of spring as they pop up in late February. After eight years in Finland, a February full of spring will be a wonderful experience. I’m used to it being full of snow!
In order to perk up my little office corner I’ve started working on a Valentine-friendly mood board for spring.
There’s a cork board on the wall next to my chair, and it’s my place to gather notes and lists. Today I thought, why not a mood board? I wanted to make something beautiful but simple, so there’s still plenty of room on the cork for new notes and clippings.
Steps & Tips
The steps for the heart are rather straight-forward. I like straight-forward! I chose a few spring-bright pins and used some lovely red and white baker’s twine for this project. The button for the tail (rather kite-esque!) was a last-minute touch. Doesn’t it look cute?
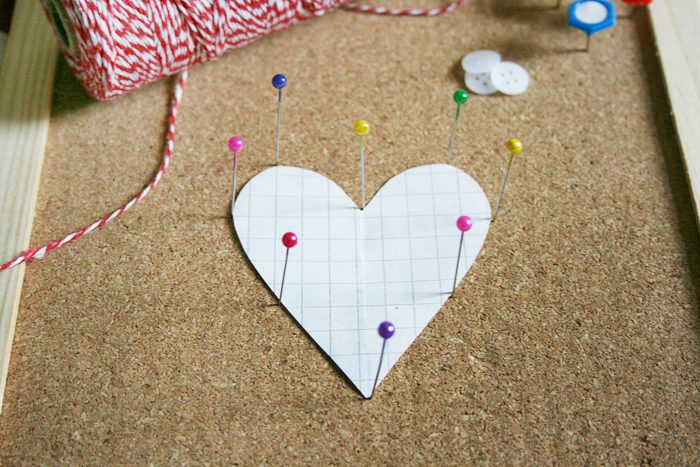
Steps:
- Place your template (heart, star, circle, etc) on the cork and place pins around the shape.
- Use a slip knot (video tutorial here) to attach the yarn to the point of the heart, or wherever you would like a tail. I left a tail of about 4 inches.
- Start threading! Experiment with winding around the pins in different directions, or even try geometric shapes. I went for a ‘random’ look.
- When you’re satisfied, end the threading at the same pin your tail is on by tying it in place. Cut it with the same amount of excess as your tail.
- Thread the double tail through a button, then secure it by knotting the threads together. Trim, and voilà!
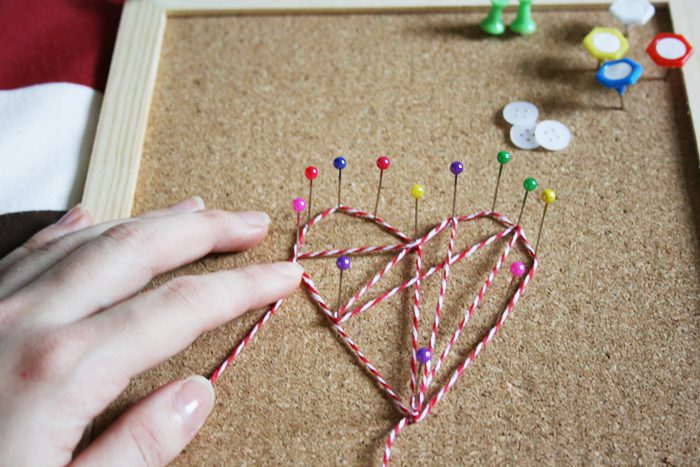
If you want your pins flush with the surface, like my final result:
- You have to start with a thin cork board with a backing that the pins can go through. (Or an otherwise suitable surface.)
- After finishing the threading + tail: Carefully push the pins down, making sure there’s enough height in them to keep the threading in place. Be mindful of your fingers/your work surface on the other side!
- Turn your work over. If your surface is delicate, like my cork board was, use wire clippers to cut the excess pins short. Leave about a quarter inch poking out the back for security.
- Dab a bit of glue around each pin where it emerges from the cork. Done!
Note: If you don’t want a tail at the point of your heart, start threading with a knot in the thread leaving a short trail. Pin the yarn to the cork through the knot. Finish threading with the same technique. Use a bit of glue or nail varnish to seal the knots before trimming excess thread away.
There you have it, some lovely threaded art for pennies:
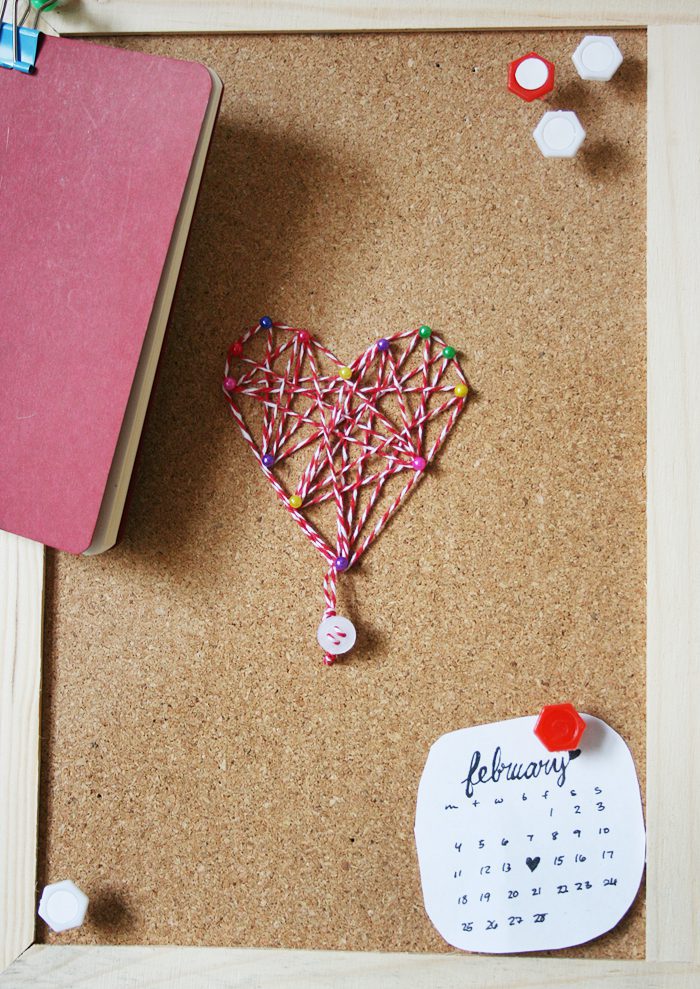
Tips:
- Place the pins around, not through the template. This makes the template easy to remove without disturbing your careful pinning!
- Keep in mind that curves need more pins, or they’ll be too angular after threading.
- Hold down the thread at the base of each pin as you thread it to the next, to make sure it doesn’t ride up the pins or pull them out of place.
Inspiration all around. :)
Happy crafting,
![]()


[…] some of these and updating our cork board with these. So […]