DIY Painted Wood Grain Tablecloth
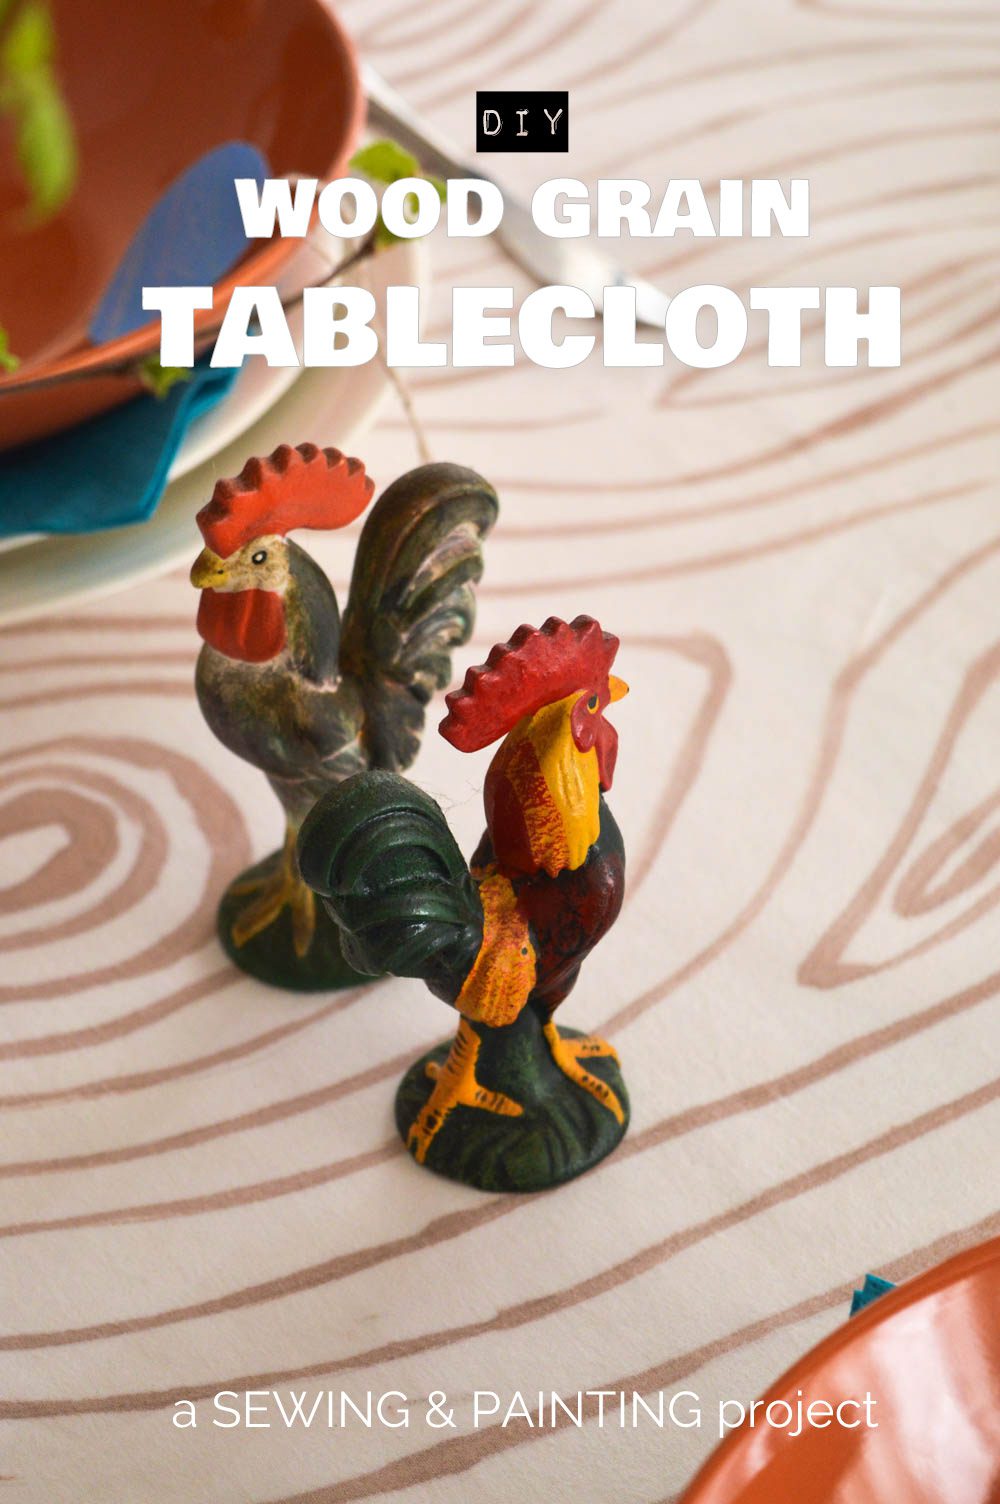
A couple years ago I was challenged to style a dining table for Christmas. (It still feels crazy to say “as seen on Kirstie Allsopp’s Handmade Christmas”.) Of all the things I made for my festive table, this tablecloth has been my favourite every season since.
And it’s definitely not just during Christmas.
This painted wood grain tablecloth was designed to enjoy throughout the seasons. When I put together my table setting for the Handmade Christmas programme, I wanted every minute of DIY time to work as hard as possible. This tablecloth took me (in all honesty) about six hours to make from sewing to painting to ironing. It’s a good weekend project to spread over a couple afternoons. To get ready for the show, I rushed around making it all in one day. (Not recommended. Do try to enjoy the process itself.)
BUT, panic DIY aside, this tablecloth suits any season depending on how it’s styled. Multi-purpose for the win!
Wood grain and other nature-inspired designs are perfect for beginners. Uneven brush strokes and wobbly lines just add to the organic feel. If you want to practise, use these same techniques on scrap fabric or some napkins before you make your tablecloth.
What you’ll need
- Fabric paint (I’m using DecoArt’s Americana in Burnt Umber**)
- Suitable pot & extra water
- Large white cotton tablecloth or other linen
- Scrap fabric for testing
- Small paint brush
- Optional: pencil, newspapers
My tablecloth needed to go onto a 2.5ft x 6ft table. I couldn’t find any tablecloths suitable, so I made it from an old cotton bedsheet. The fabric is densely woven and perfect for painting. (The big creases in the table linen are from where the cloth was stored for so many years. I like the rustic look, and the creases aren’t so obvious when you’re sat at the table enjoying the atmosphere.)
Whatever your choice, make sure your tablecloth is prewashed & preshrunk!
Putting it all together
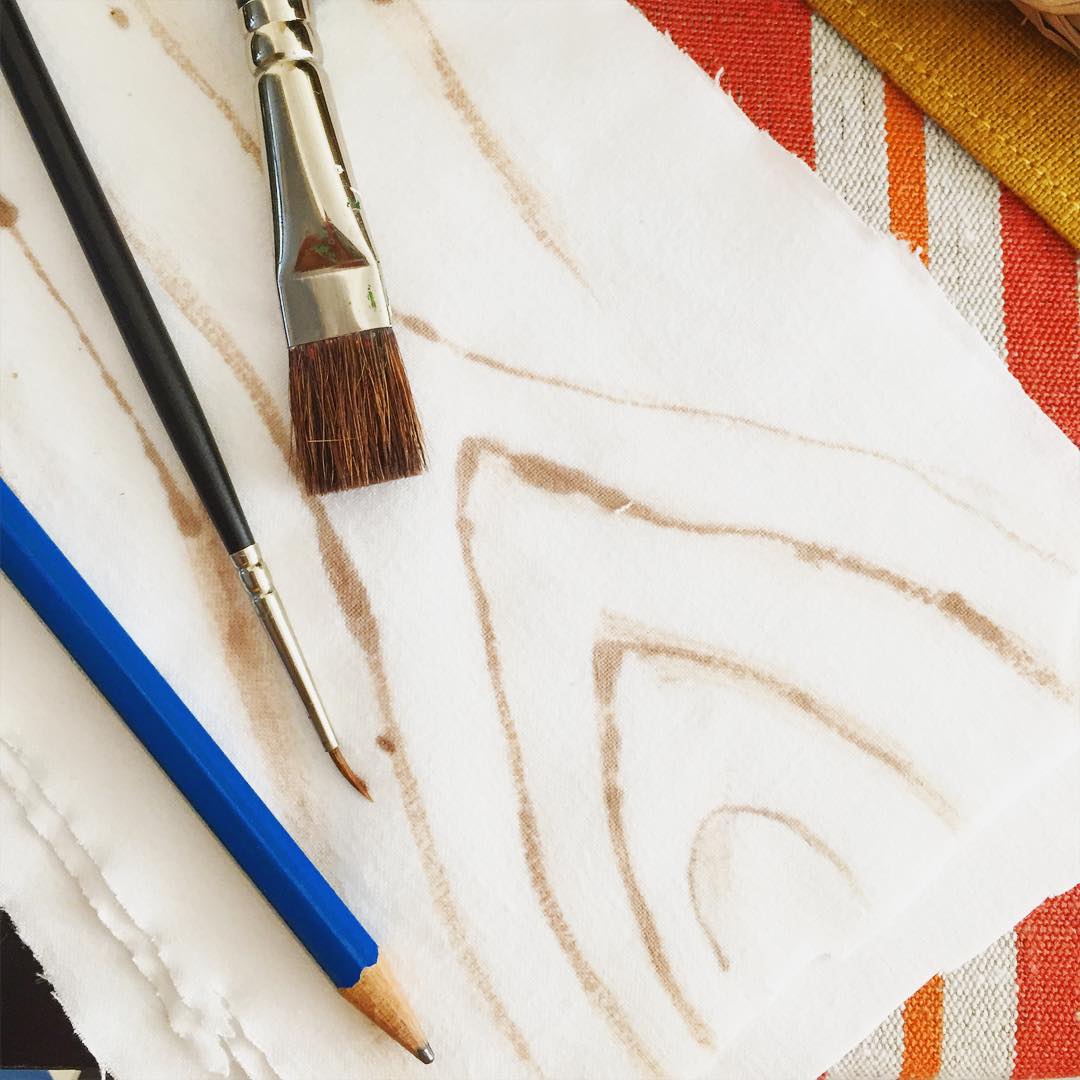
My practise swatches on extra fabric. I used the bigger brush for the tablecloth, as the small brush made faint strokes like this
The secret to the wide, flowing lines on fabric is to use watered down fabric paint. This means things can get a bit messy, as the paint is likely to leak through the tablecloth onto the surface you’re working on.
I used three layers of newspapers to protect the floor as I worked. (If you have a table big enough to use as you work, that will be easier than crawling around.)
The paint needs to be mixed with water until it’s very loose. I found the “recipe” of paint and water actually varied a lot with paint colour, even just between brown and grey. I mixed brown paint with water until it was looser than chocolate milk, which was about 1 portion of paint plus 3 portions of water. Grey was more 50/50. The consistency should be slightly thick, more watery than paint-like. Think sunny-side up egg yolk!

Test your consistency by painting on some scrap fabric. (It’s best if it’s the same fabric as your tablecloth, but not strictly necessary). You want the paint to settle into the grain of the fabric with a nice solid colour and no brush strokes. It should still be easy to control. While the practise stroke is still wet, add another stroke to connect to it. The still-wet layers should still blend well and not leave obvious overlapping strokes. If it’s too obvious when the two layers overlap a little, try adding a little bit more water. Or, just go with the overlap look!
So this is where the optional pencil comes in. Because I made my tablecloth from scratch, I wanted to get the design right “first time”. So I used a pencil to doodle out the look before I painted anything, just to be sure it looked nice.
Whether you use a pencil or go straight to paint, the design starts by marking the centres of each “knot” throughout the design. The key to the design is how you place these knot centres. To make a natural layout, place knots at staggered spots throughout the tablecloth. You don’t want knots to be like an even checkerboard. Instead, you want to make the knots different sizes all placed “randomly” and not in a grid-like pattern.
When the centres are in place, circle around them. Keep in mind the direction of your grain, and create circles that with each layer become more and more oval and stretched. Repeat these circles for each knot. I also imagined there were some knots “over the edge” that couldn’t be seen and made half circles along parts of the tablecloth edge.
The final step is to fill in the grain. Long strokes from end to end loop around the knots, filling in the gaps. To keep things interesting, I made some of the long grain strokes loop around the knots so it wasn’t all end-to-end lines.

Because it was my first experience painting fabric I did make a few little (accidental) splatters here and there. Just go with the flow! Natural wood grain has all sorts of little bumps and shapes, too.
When the tablecloth is all painted up, follow the instructions of your fabric paint to set the colour so it doesn’t wash away. The decoart paint just needed to be dried and ironed.
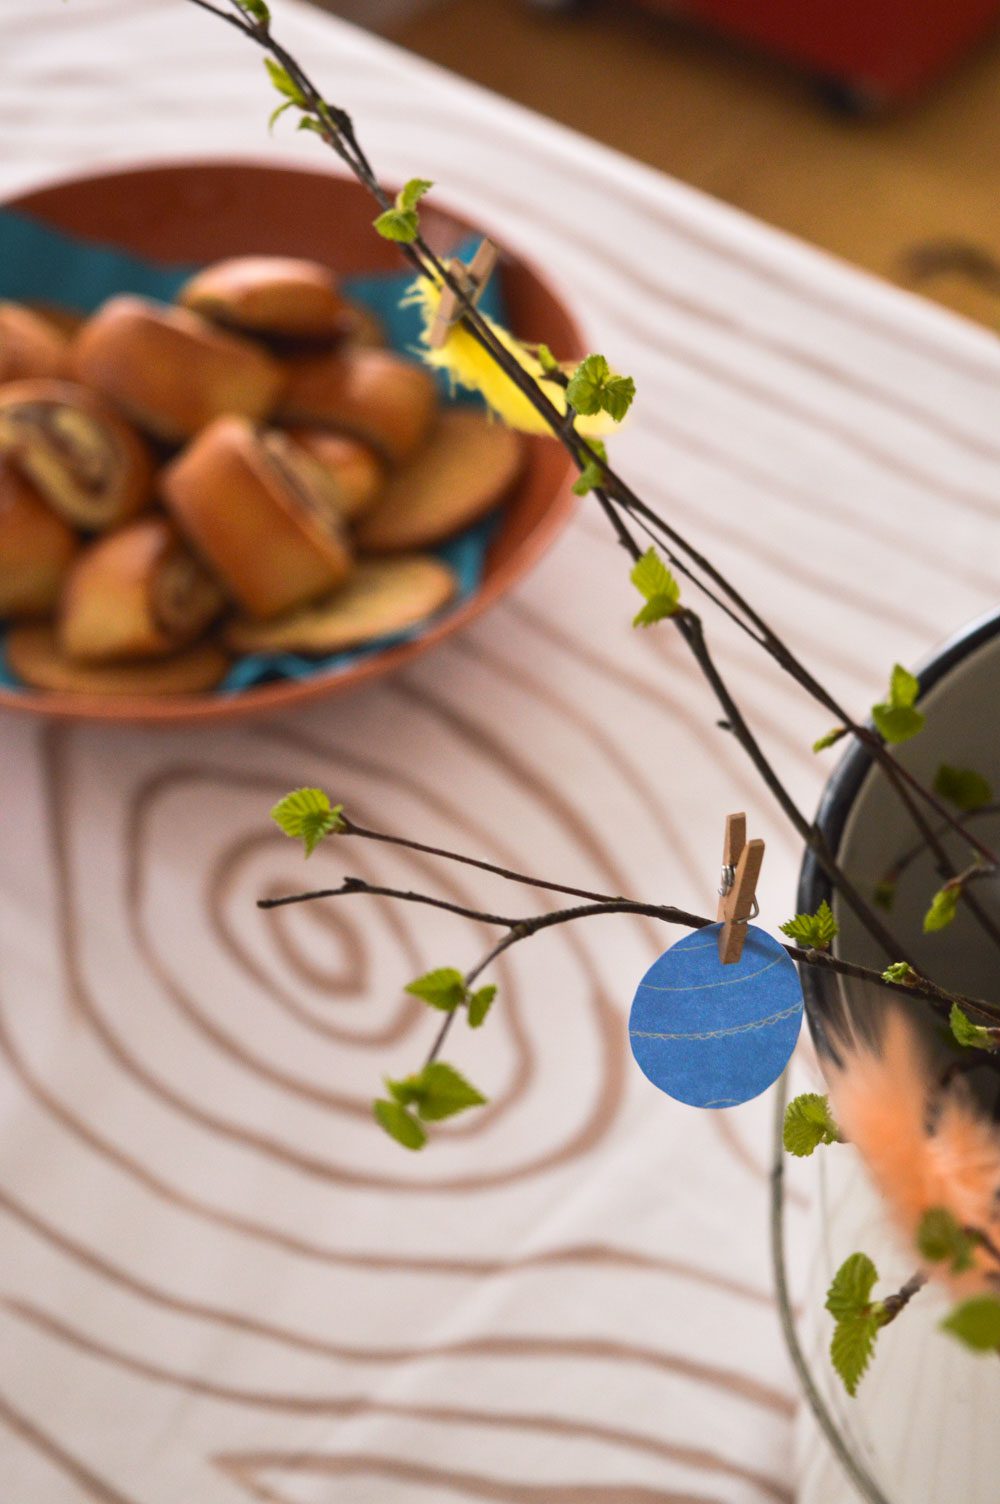
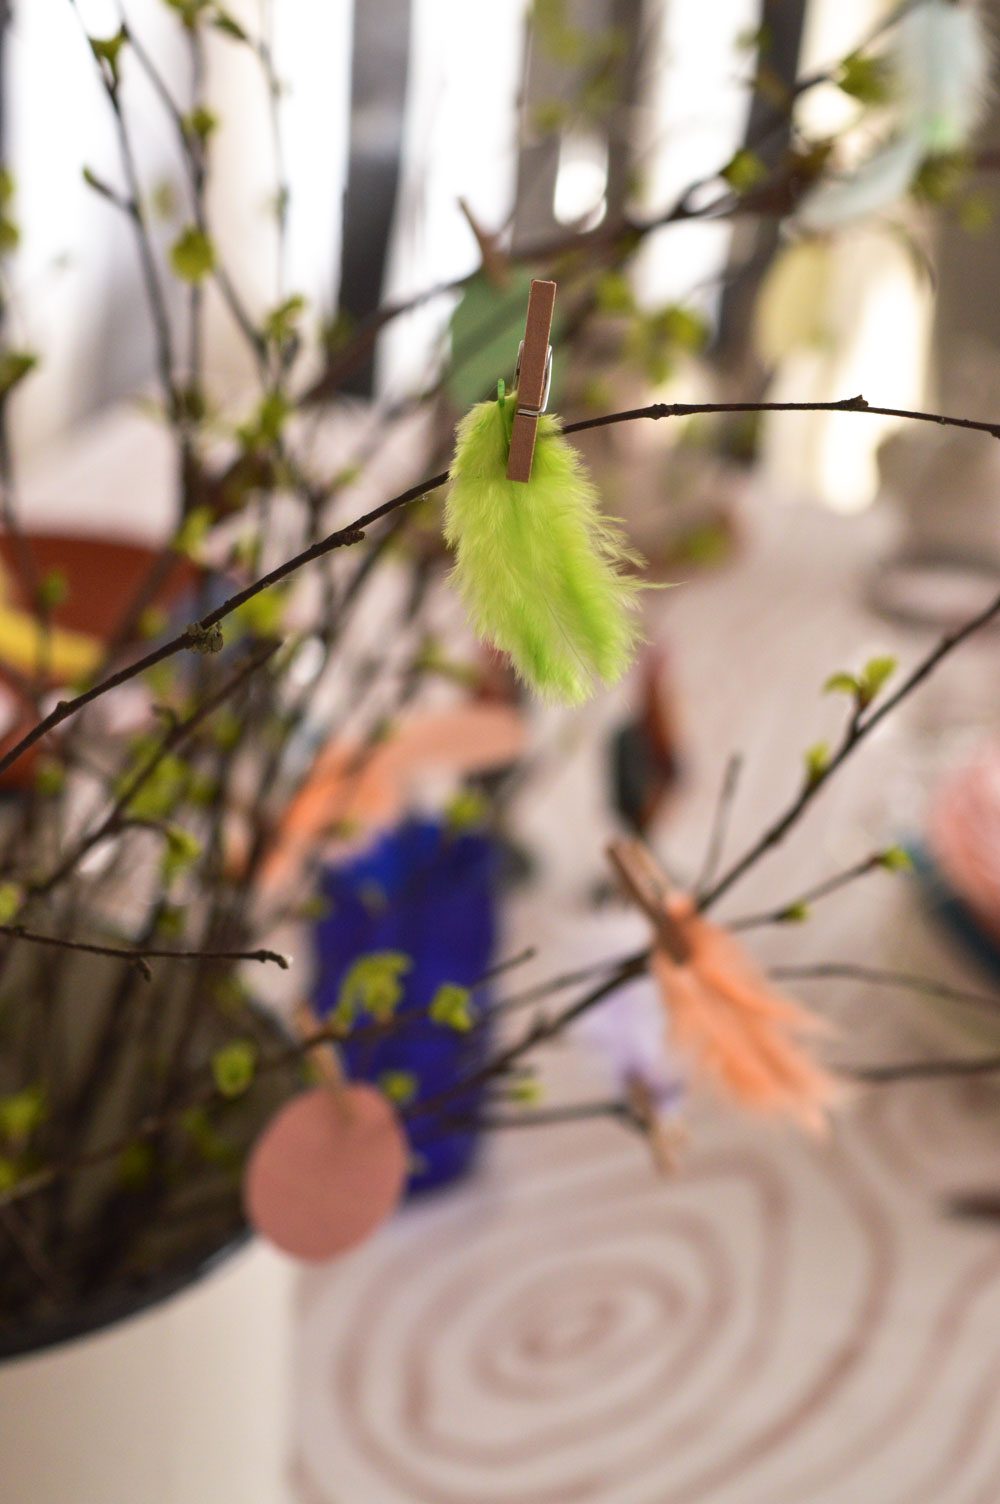
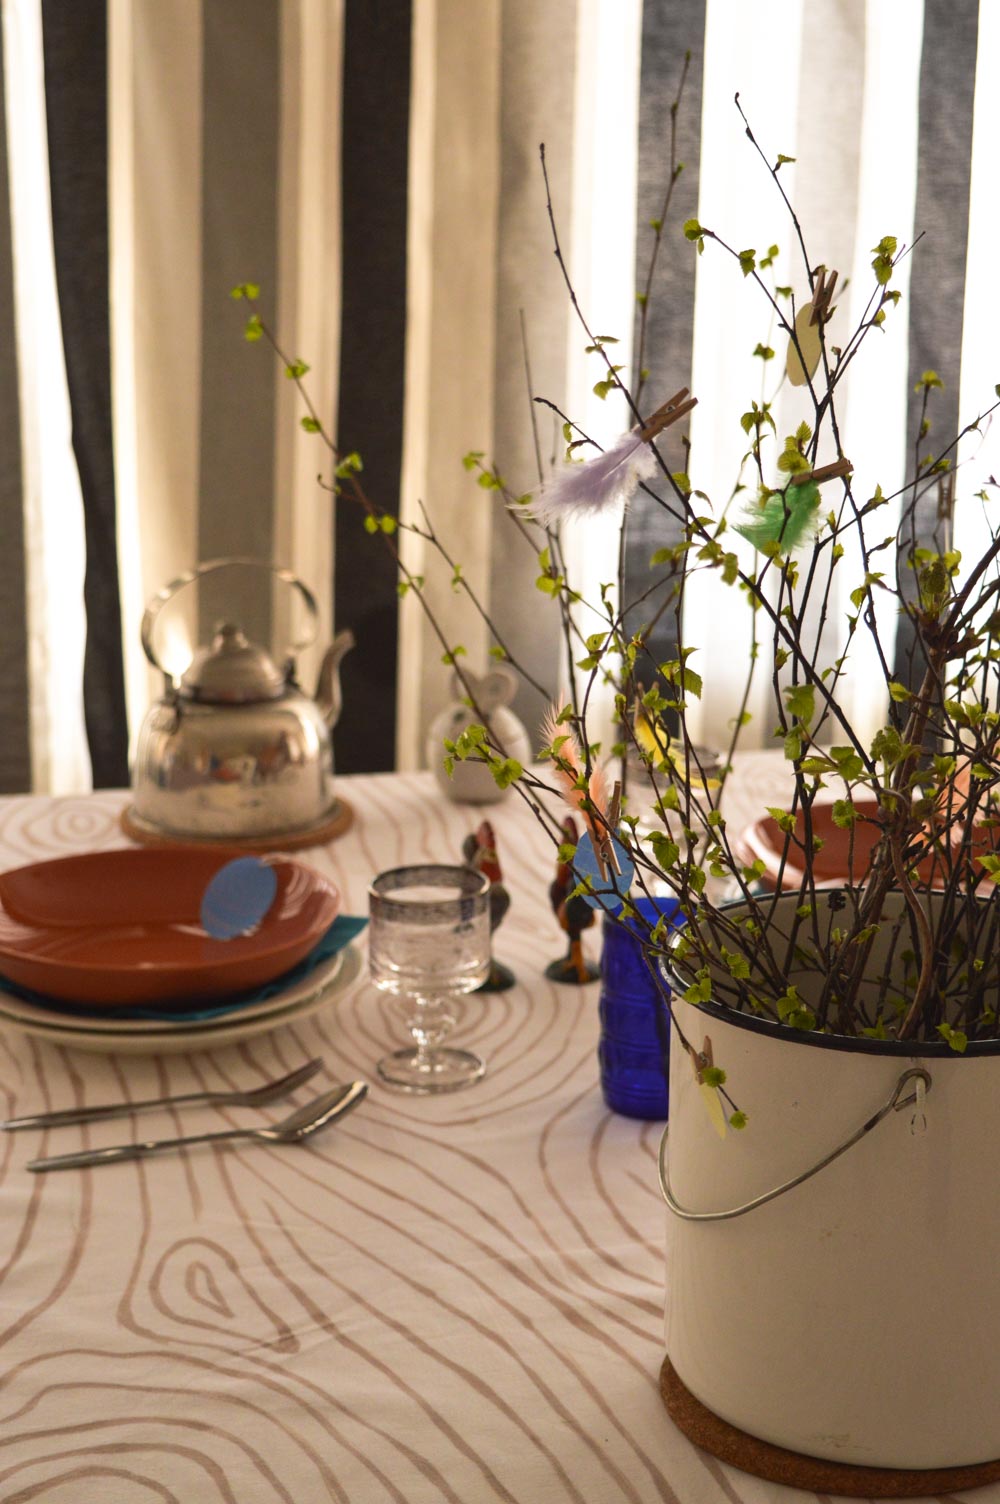
I’m so pleased with how this project turned out and love using this tablecloth as it makes styling so easy. Even just a little bouquet and simple plates play off the look.
What’s your favourite botanical pattern? I love wood grain (obvs) and ferns!
Lots of crafty love,
![]()
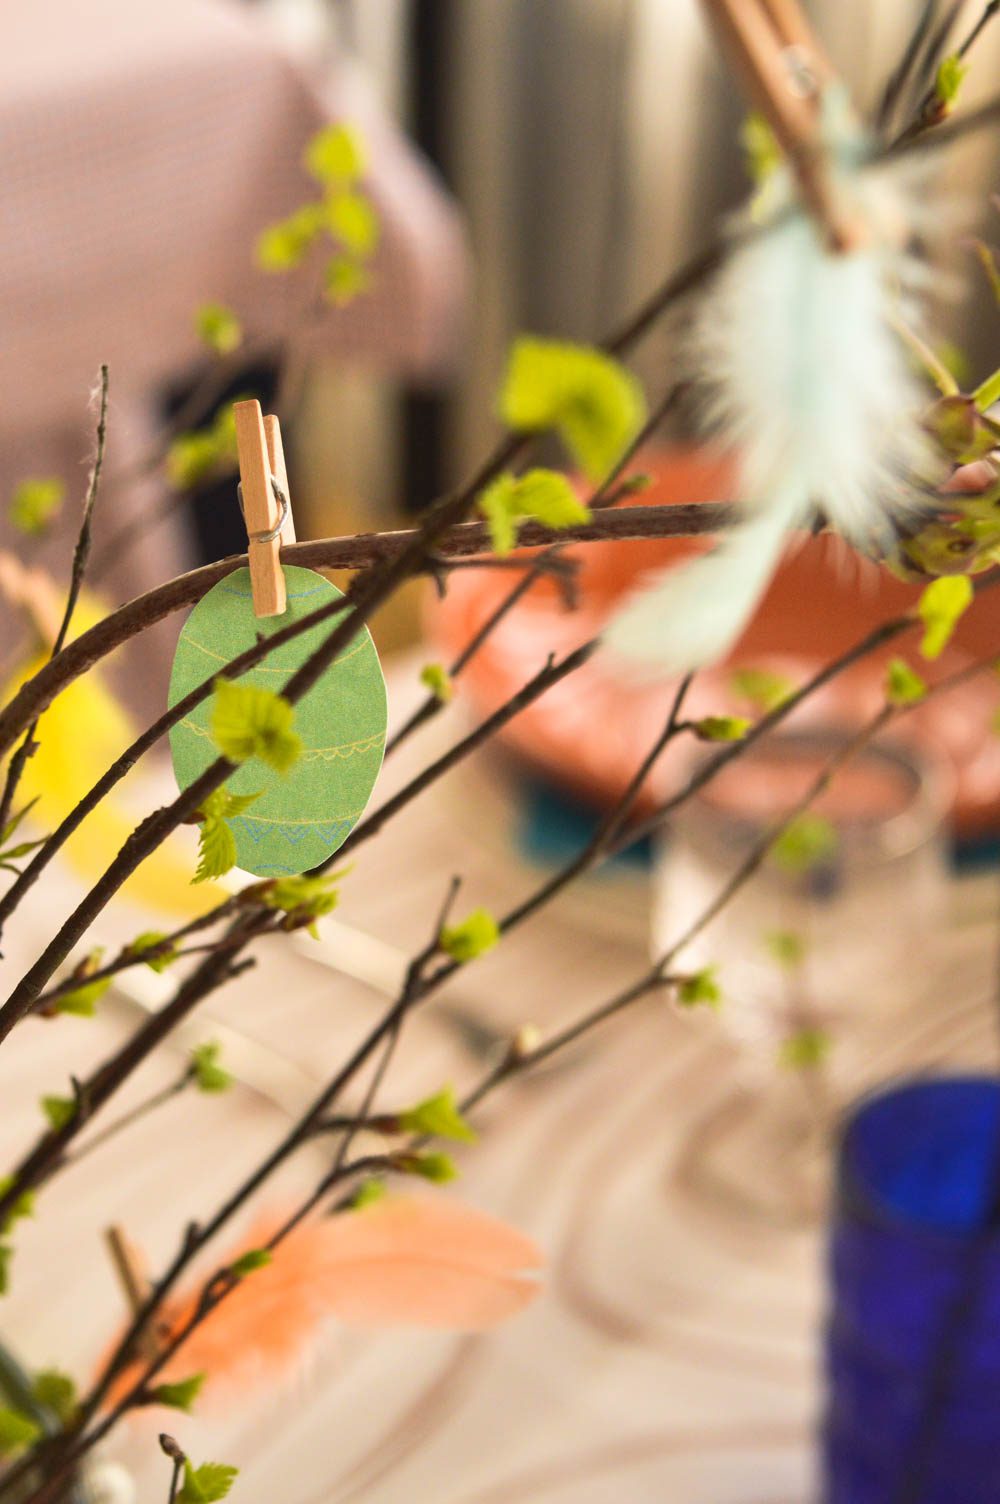
P.S. If you missed it, the boho paper Easter eggs in my centrepiece are a free Easter egg printable – go download and enjoy for all sorts of crafty purposes!
Disclosure: Links marked with ** are affiliate links, should you purchase I’ll receive a small commission while you don’t have to pay anything extra. Affiliate links help cover my material costs & time so I can keep sharing more free DIYs. Thanks so much for your support!