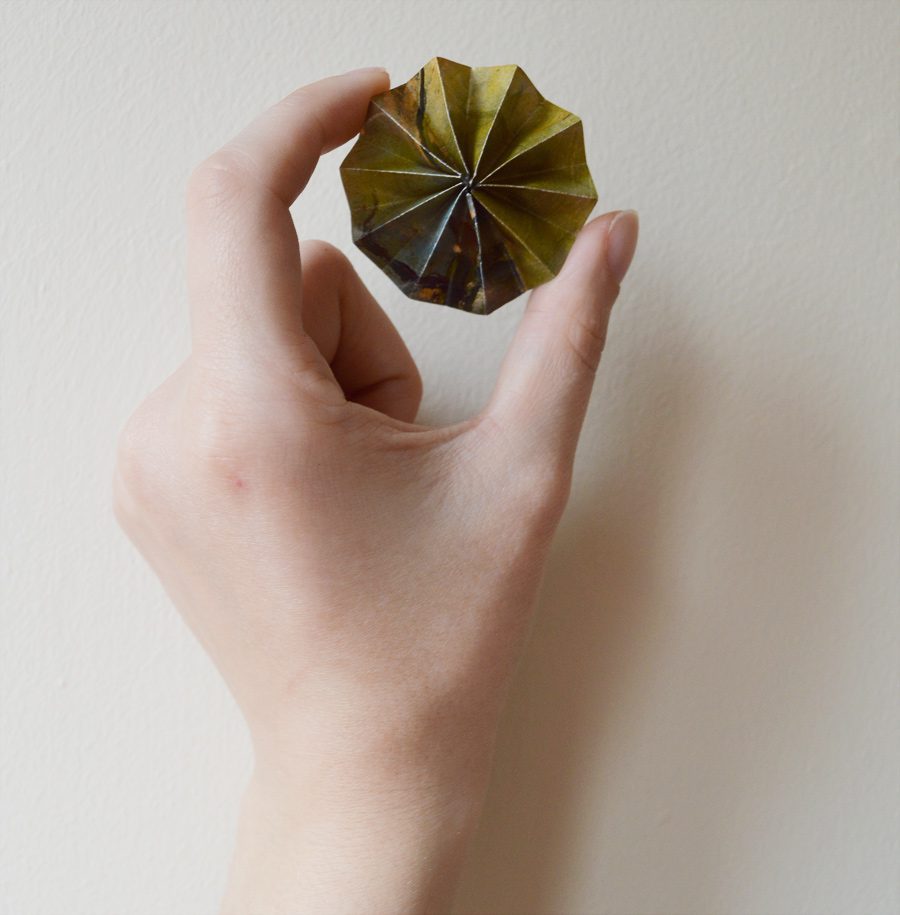
DIY Paper Wheels: How to get the size you want

Paper is a material that can be as simple or as complicated as you like.
Paper wheels are simple to make. The trick is getting them the right size! They can be small enough for cupcakes or big enough for a huge wall display.
I’m sharing the formula I use, sizing chart included.
Materials

- Paper, ruler, and handy sizing chart (Download the sizing chart)
- Bone folder & scissors/craft knife
- PVA glue OR stapler OR glue gun
- Binding clips
How to get the size you want

Sizing a paper wheel isn’t hard once you break down the math.
- Paper width/short side = Half your desired wheel width (e.g., a 1″ wheel needs a rectangle 0.5″ wide, 2″ needs 1″ wide, etc)
- Paper length/long side = Desired width * 3.14 * 1.3
The desired width * 3.14 uses Pi to calculate the circle. So why another 1.3? Creasing the paper means it uses more paper than just making a perfect circle. I’ve found 1.3 is a good number to make wheels of all sizes. Bigger wheels can use less!
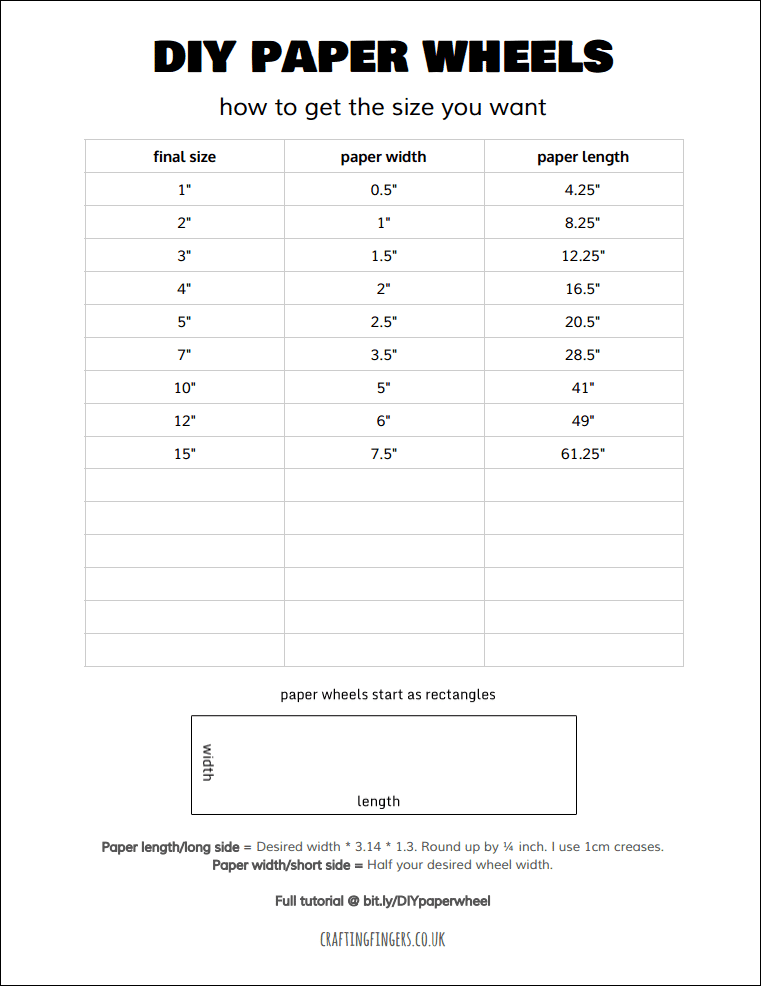
Download the sizing chart PDF for handy reference!
Putting it all together

After cutting and measuring my paper, I used a ruler, quilting mat, and a bone folder to mark 1cm lines. This makes folding super quick. You can skip this step and fold freehand. I just find it makes it easier to get the wheel to lay flat later!
Use PVA glue/a stapler/a glue gun to make the rectangle of paper a ring. For larger pinwheels you can use binding clips to help set the glue.

Press the wheel flat and glue a large blob to the centre. Hold for a minute to let set, then use a weight to keep the wheel in place as the glue dries. I used a candle holder that had a raised bottom so it wouldn’t touch the glue. Whatever works, right?
(For bigger wheels you can use this dowel trick by Carrie Walker.)

And done! Measure and make as you like.
The closer we get to moving house (five weeks to go!) the more I enjoy simple crafts like these paper wheels. Easy to measure, cut, make, without mess!
What have you been making lately?
Lots of crafty love,
![]()
