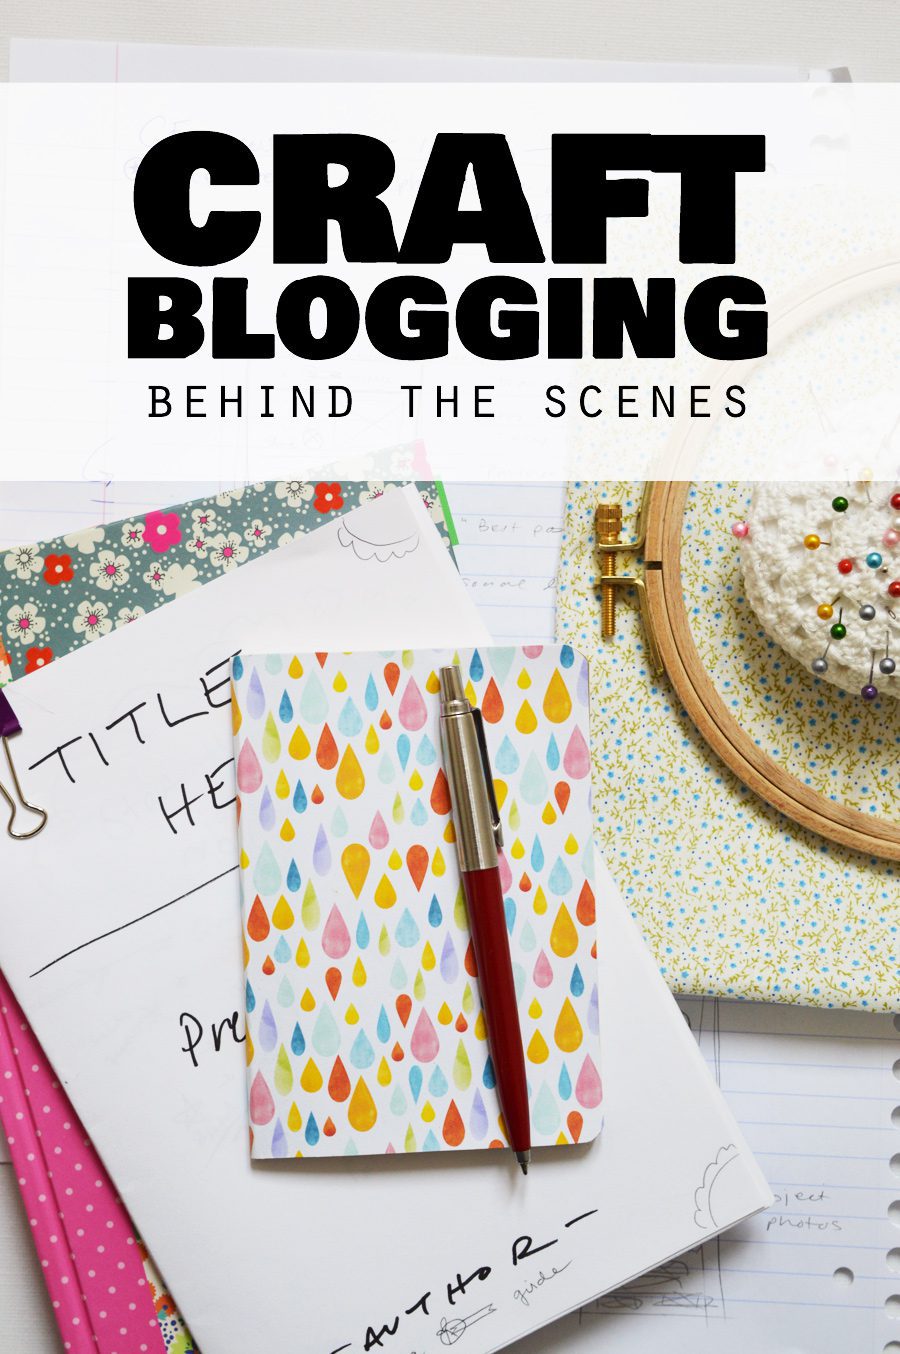
What do craft bloggers do anyway? (Behind the Scenes)
Write a post, snap some pics, and hit publish. Bam! Done! Right?
Or not. Blogging is rarely so simple. Craft blogging has its own little quirks, too. I thought I’d share a behind-the-scenes peek of what it takes to go from concept to published post.
If you’re a blogger I’d love to hear your process, too!
The Idea
Even the simplest tutorial or roundup has to be planned.
I use notebooks to sketch and plan DIYs. Before buying anything I sketch out the proportions, materials, and the gist of how to construct it.
Most ideas sit on the backburner for a while. I won’t commit to a DIY post unless it’s:
- Useful and/or practical. A cushion you can’t wash isn’t worth the time or materials!
- Something I’ll love. One of the joys of a personal blog is making what you want.
- Something new. If the idea’s overdone, I’ll share my favourite tuts instead.
For roundups and other posts I ask: is it inspiring? Is it helpful?
Once I’m happy with a DIY design, it’s time to make it and take pics!

The Photography
Step-by-step my approach to blog photography usually looks like this:
- Plan & take step-by-step photos
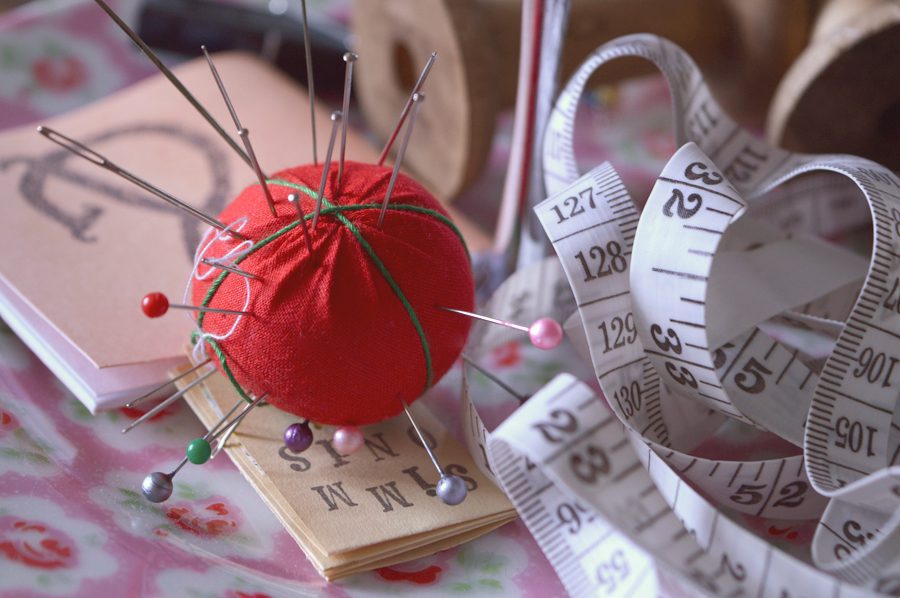
- Style the project with some pretty props and snap (Repeat 50x)
- Edit the photos to correct any lighting/colour/etc problems
- Choose a header image + add text with my chosen blog fonts
- Save as optimised JPEGs for the web with descriptive file names
- Upload to the blog!
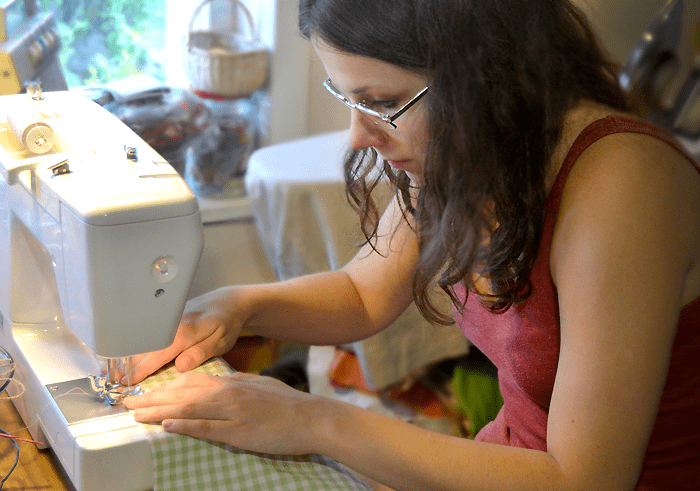
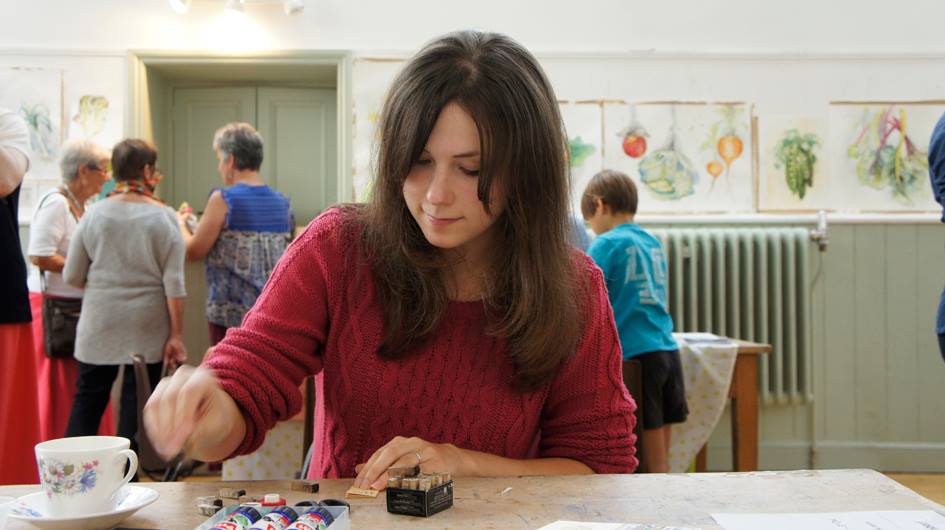
A lot of my photos are taken in the kitchen. Wherever there’s sunlight!
I take photos for posts before writing. Tutorial photos are half the story, and it’s so much easier to describe the steps after you’ve taken the photos. In winter I usually have to take the step-by-step photos and the styled shot on different days.
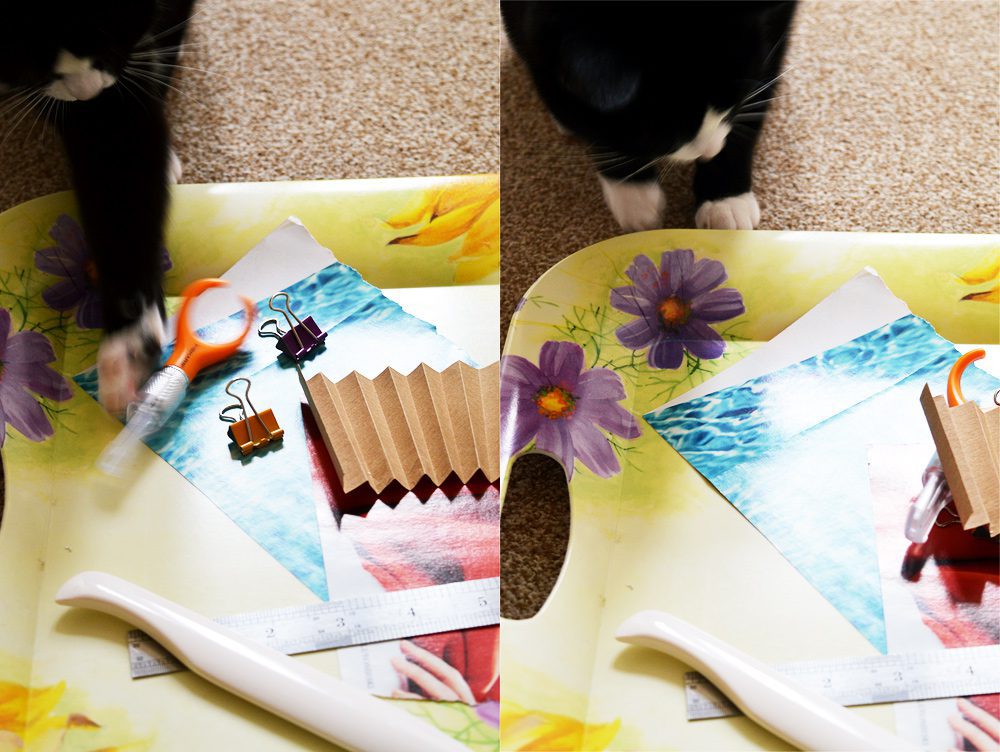
Some of the tricks I use to get photos done:
- I use a tote to carry everything to whichever room has the best light or setting for the post.
- In winter, I’ll set up the shoot the night before so it’s ready to snap.
- For tutorials I keep a checklist of all the photos I want to take. It’s hard to go back later!
The Post
The hard work has been done: the DIY is complete and the photography finished. Writing is the easy part! When I’m making a project and editing photos I’m already drafting the post in my head.
(I often mutter to myself when editing pics. This is called ‘writing’.)
I start putting the post together by popping in the photos and, if it’s a tutorial, the materials list. All the photo descriptions get optimised for Pinterest.
When I write the post I keep a few things in mind:
- Is it easy to scan the post to get an idea of the project?
- Are the steps written as clearly and in as few words as possible?
- Are the links, names, and pics correct and all in the right places?
- Will new readers know how to find other relevant posts?
Spreading the word
After I hit publish I use Twitter, Pinterest, Ravelry, and CraftGawker to share projects.
Sometimes a post I’ve spent hours on will flop. Going through old posts to see what works and what doesn’t (and updating pics & old links) is a new routine of mine. Sometimes all it takes is a different photo. You never know which page a reader sees first!
So why blog? For me it’s about sharing the joy of making.
Start sharing your own makes with the “How to start a blog in 5 minutes” series on Blogtacular.
Got a blog? Link me in the comments below!
Lots of crafty love,
![]()