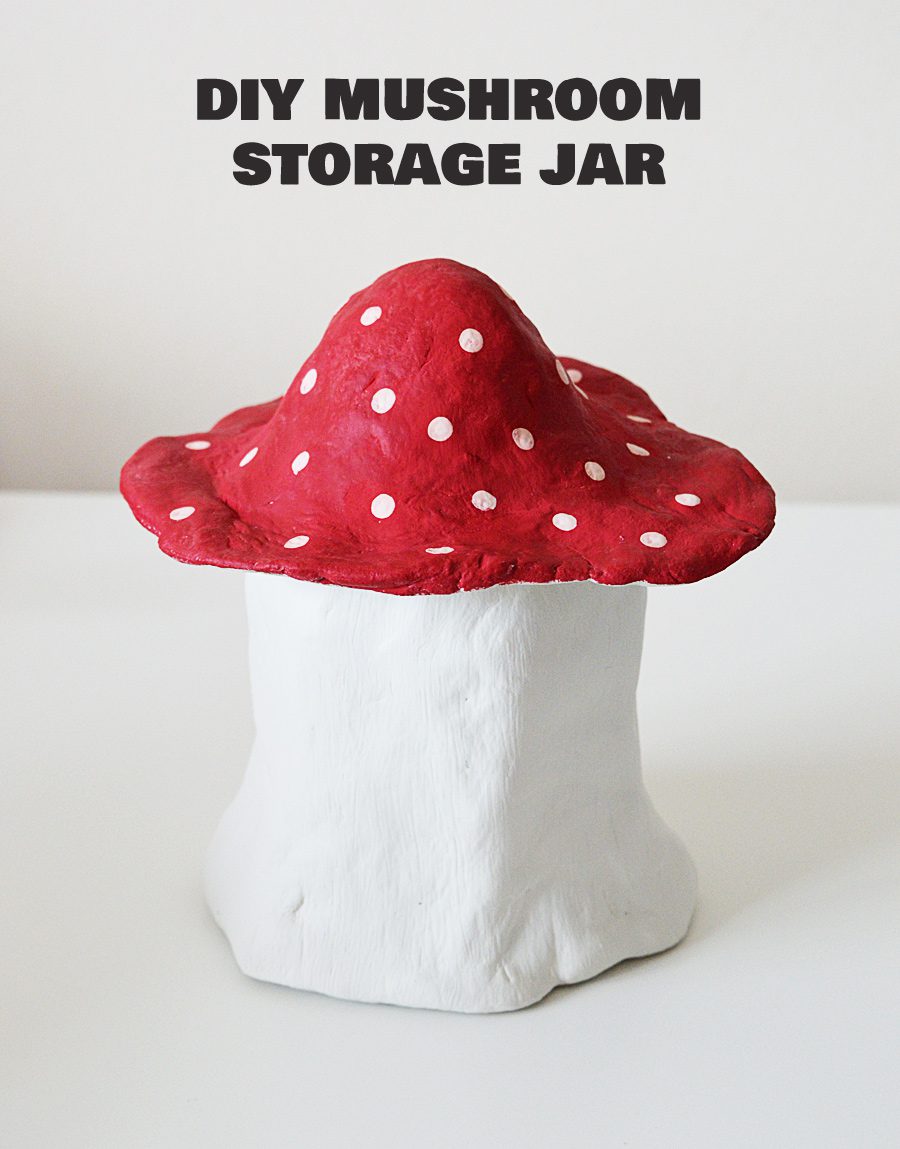
DIY Mushroom Storage Jar
This project was made in collaboration with Space Station
Let me be honest: we feed our cats a LOT of treats.
The problem is, bright orange bags of Dreamies don’t look very pretty. For a practical and attractive solution, I made this mushroom storage jar to keep the cat treats safe!
It was my first time painting clay with Annie Sloan, too. Step-by-step tutorial to make your own:
What you’ll need
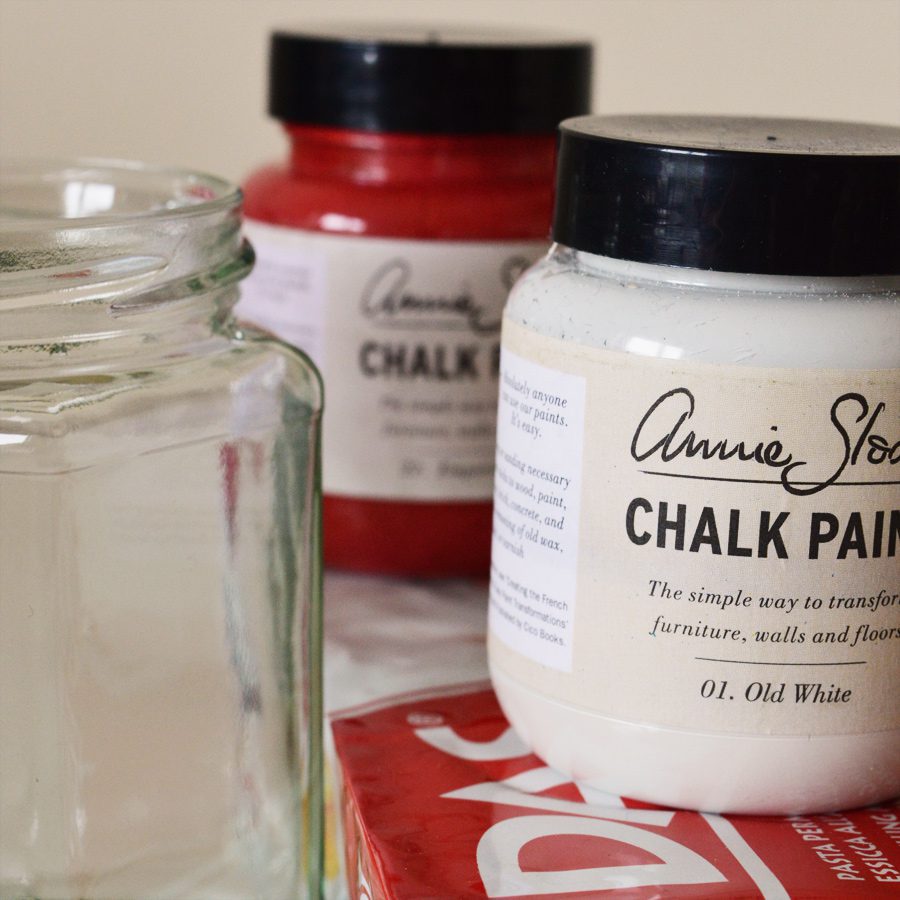
- Clean, dry glass jar (lid not needed)
- Air dry clay (I used about 600g of a 1kg DAS block)
- Clean water at hand
- Optional: Clay tools (I used a bone folder and a metal ruler)
- Optional: Sanding block
To paint:
- Annie Sloan Chalk Paint in ‘Emperor’s Silk’ & ‘Old White’
- Annie Sloan Clear Wax
- Paint brush and lint-free cloth
Putting it all together
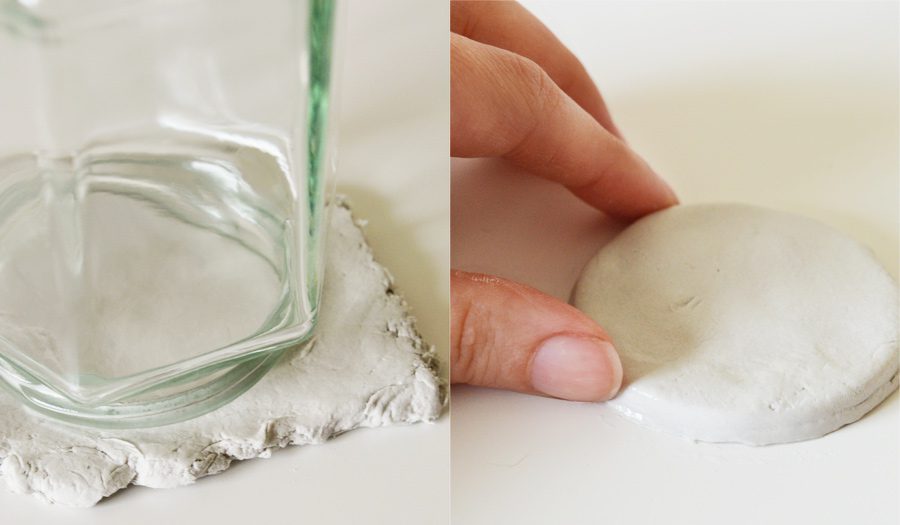
Flatten a bit of clay to about 1/4″ thick. Cut out a circle using the jar as a template. Smooth the edges of the cutout with wet fingers and leave to use later. (This’ll be the lip of the lid.)
I cut out a star from my lid cutout; whatever shape you use won’t matter. (See below!)
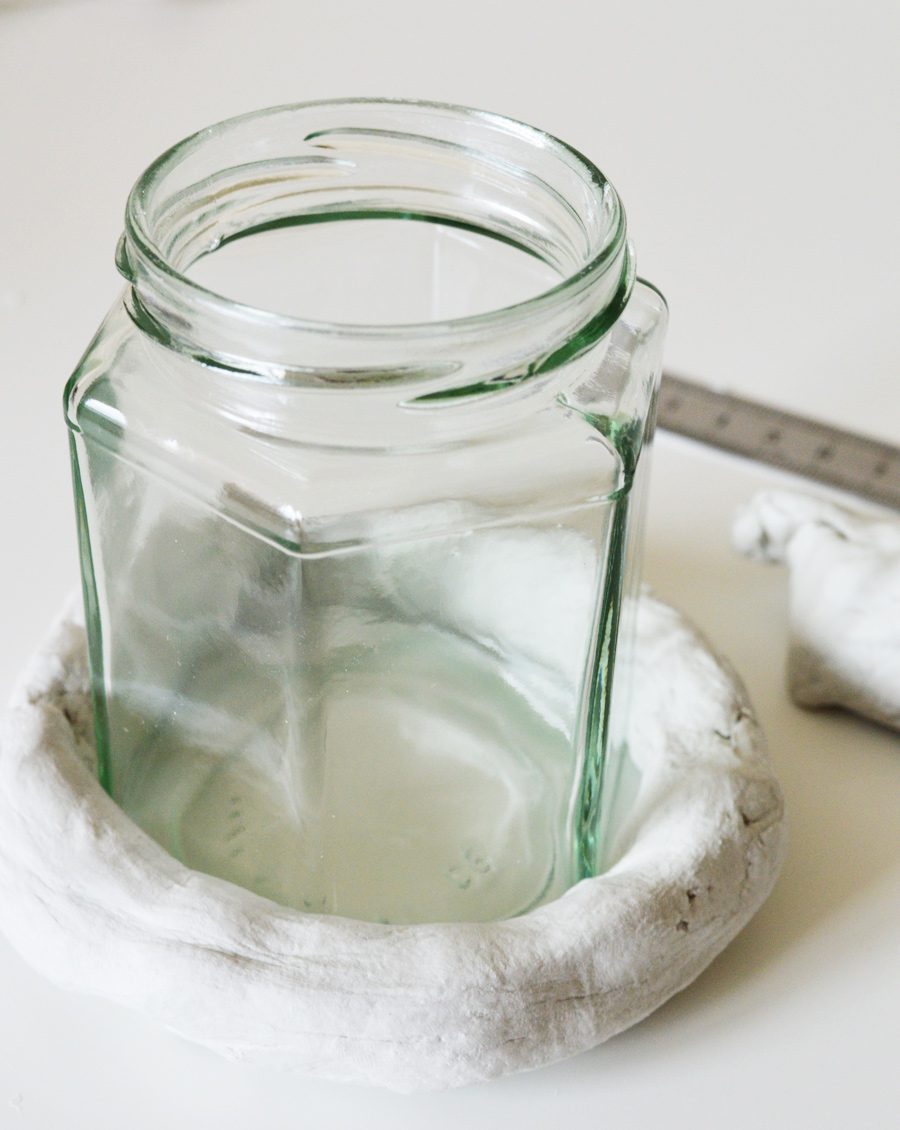
Roll a section of clay until it reaches around the base of the jar. Press the clay firmly into place and flat against your dry work table.
Press the clay up the sides of the jar. Keep your fingers wet and add clay as you go.
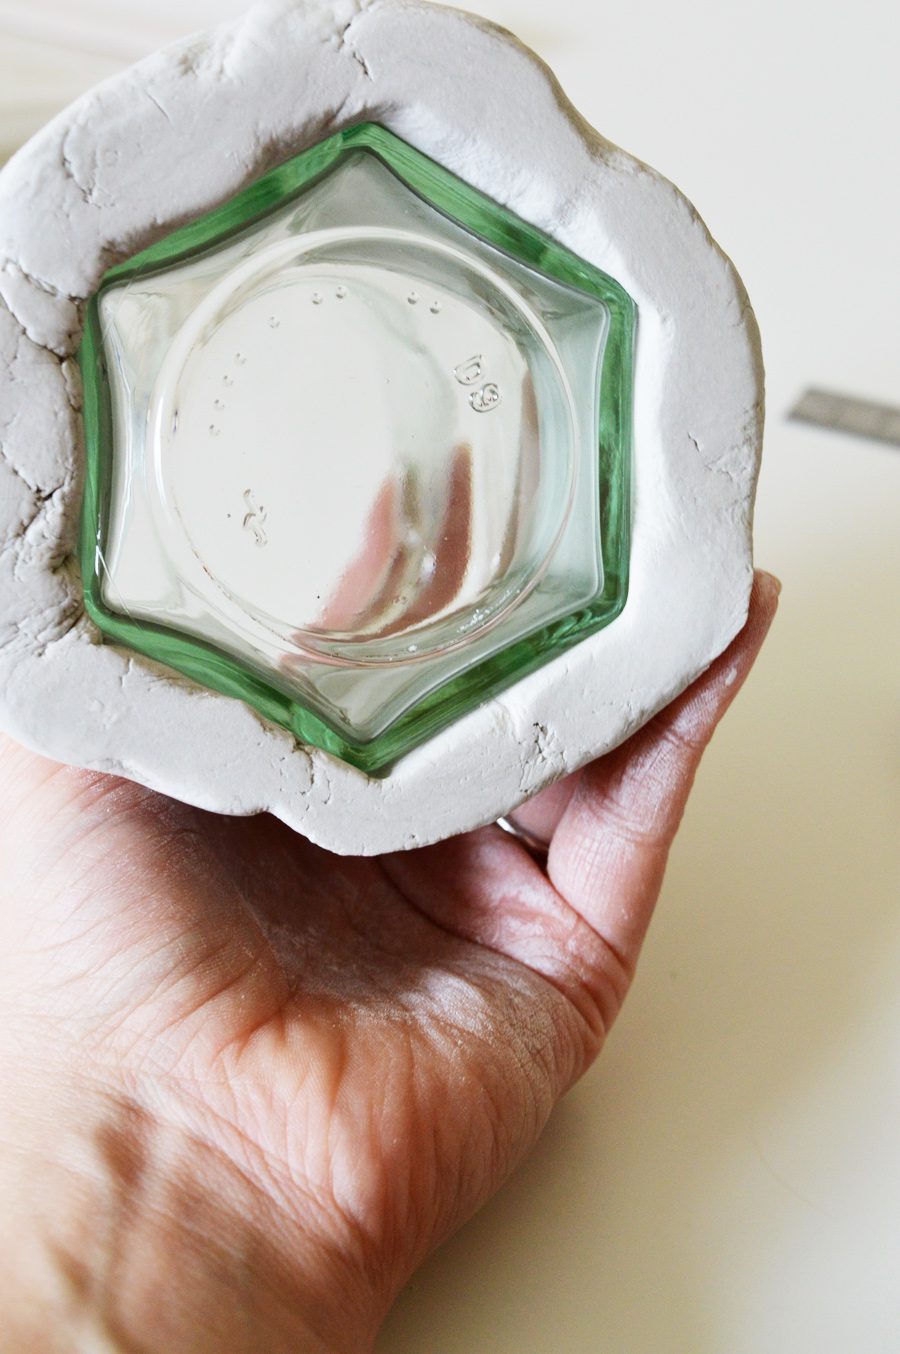
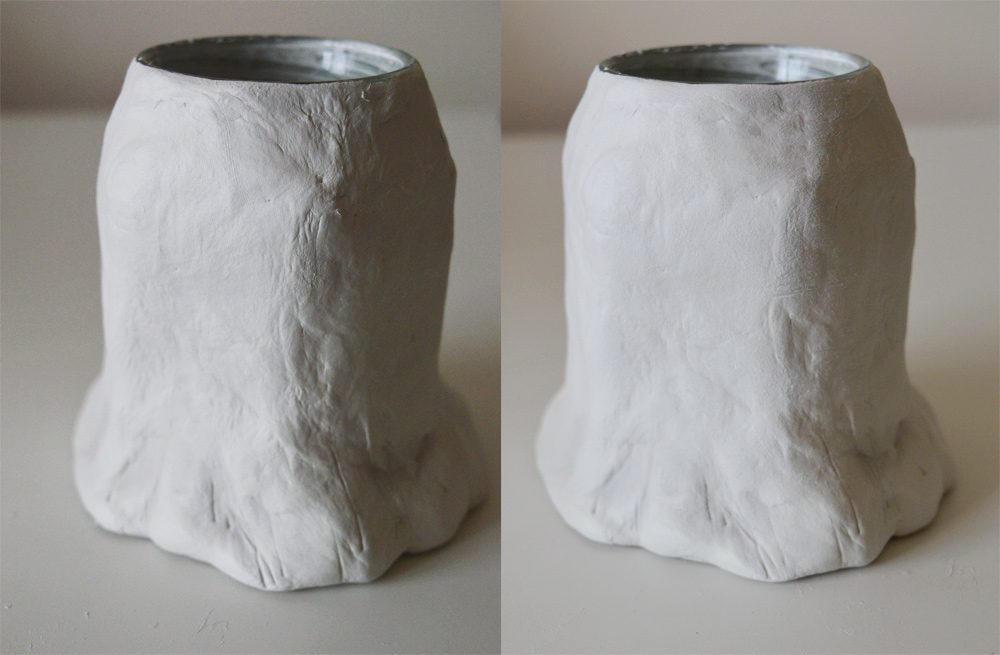
A view of the base: the jar is visible and the base of the mushroom has a flat surface.
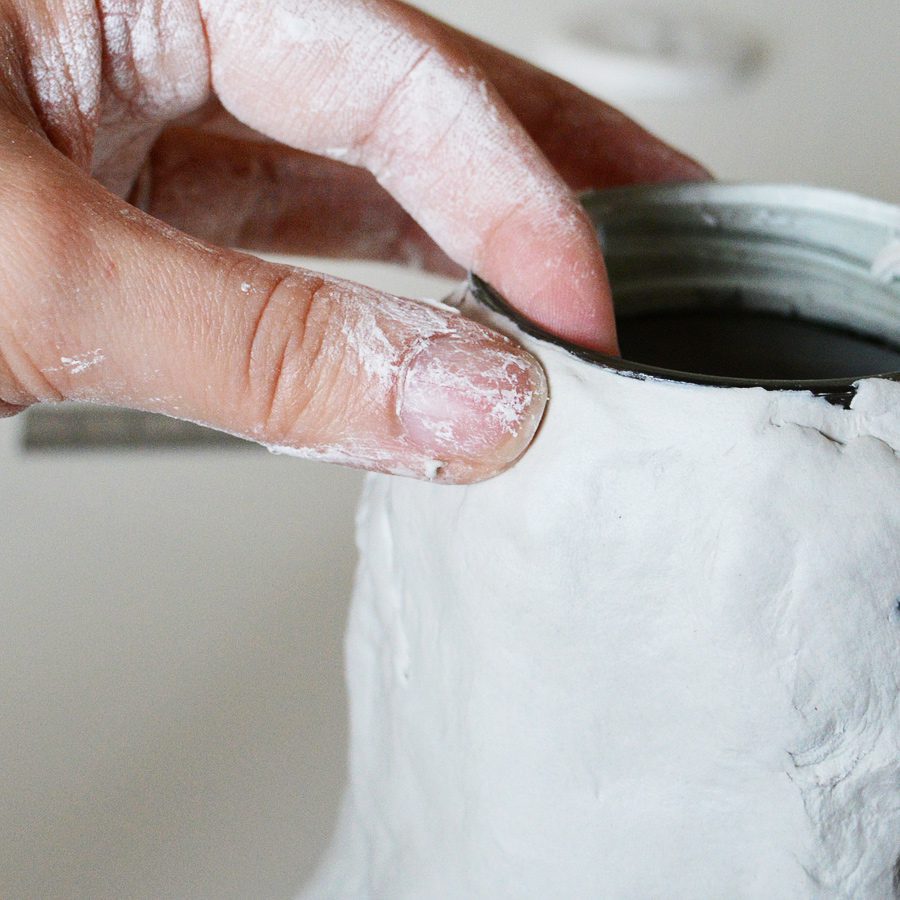
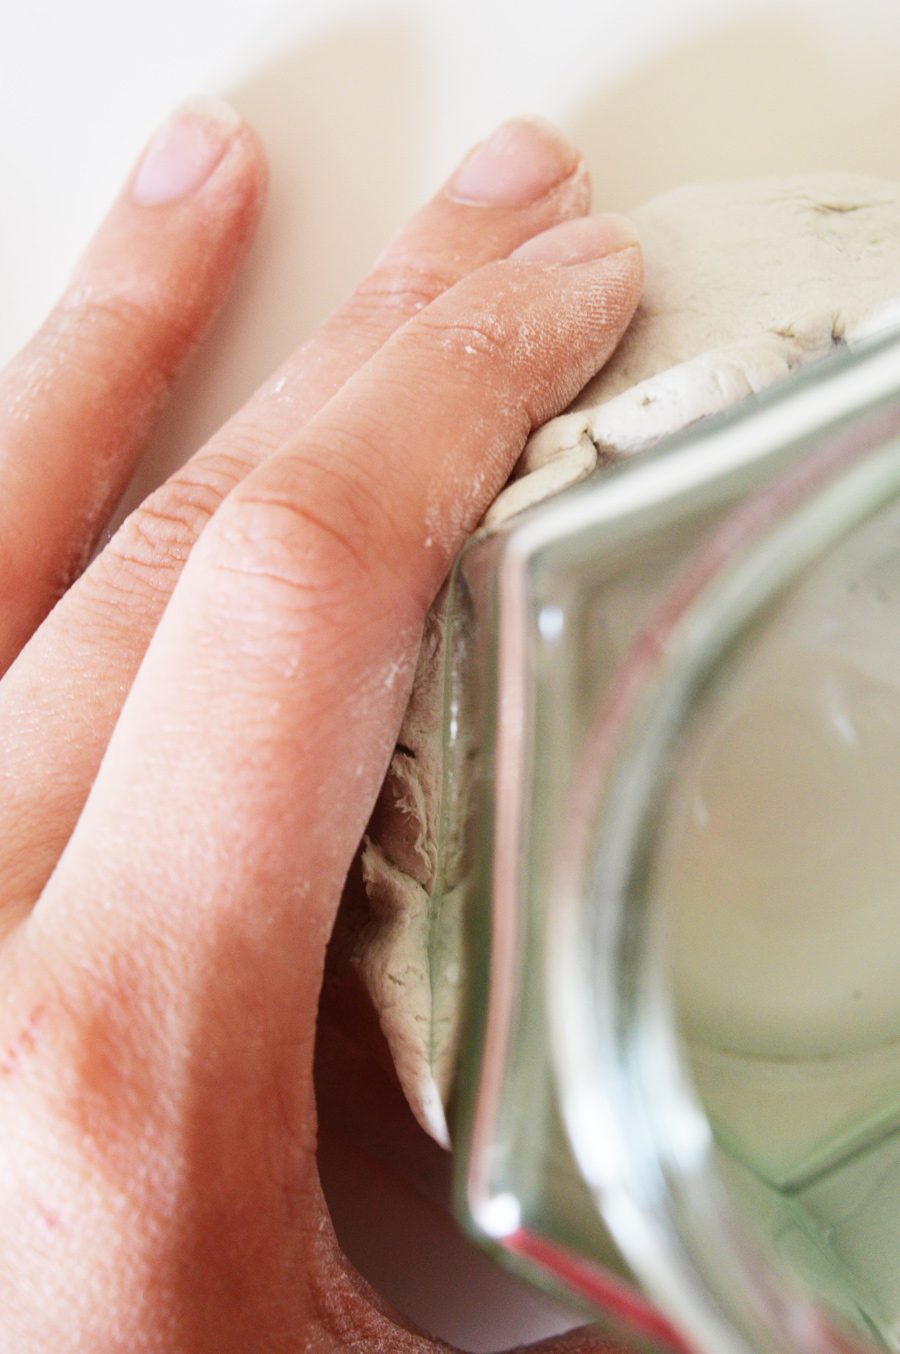
Keep covering the jar until you reach the top. With wet fingers, pinch along the edge for a smooth finish.
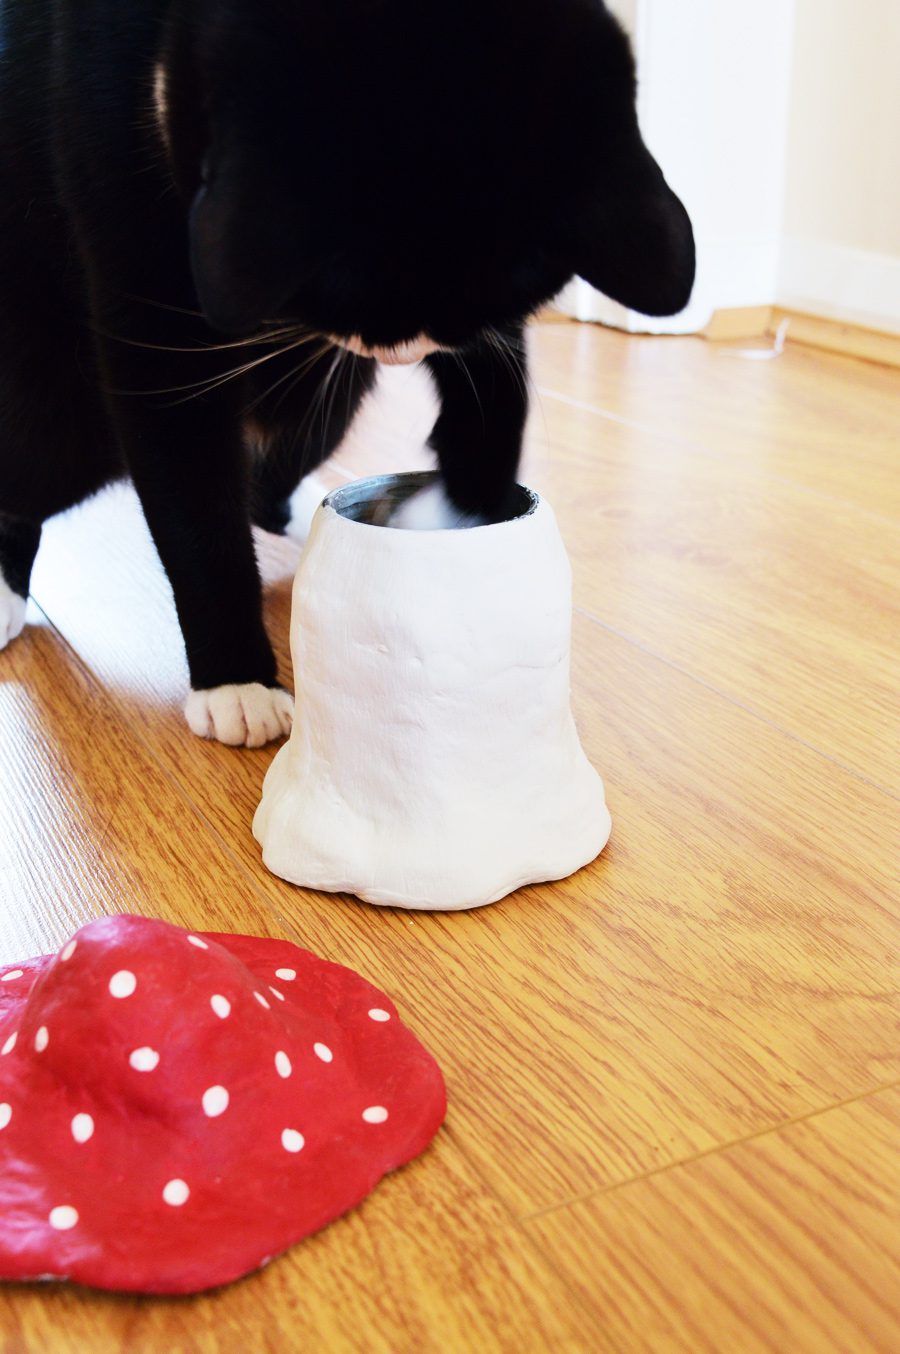
When you’re happy with the results, set aside to dry. I balanced the exposed glass bottom on a small lid to help circulate air to the bottom of the base.
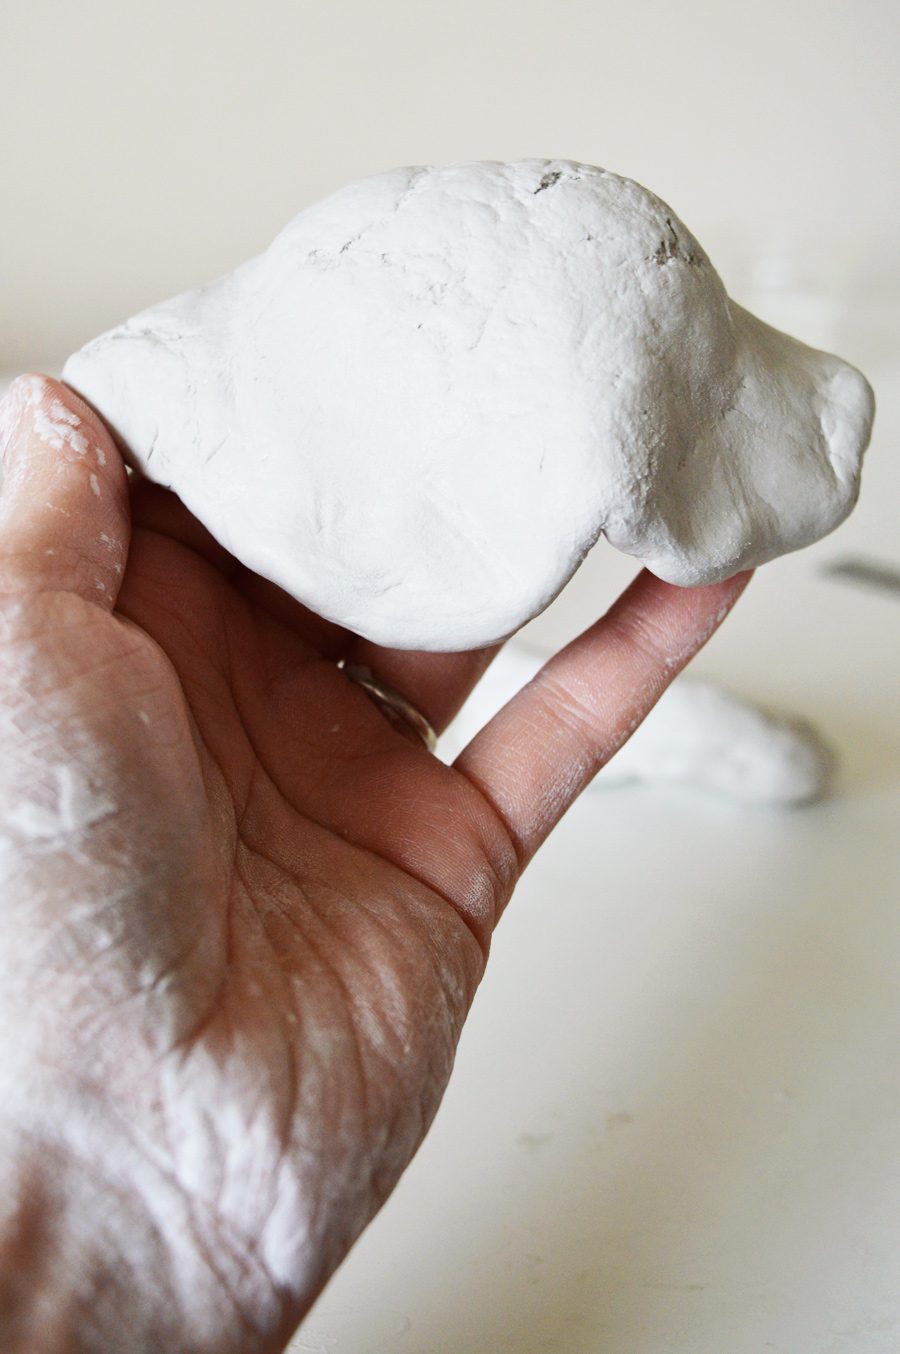
Time for the mushroom cap! Make a large pancake of clay and round it over your finger tips.
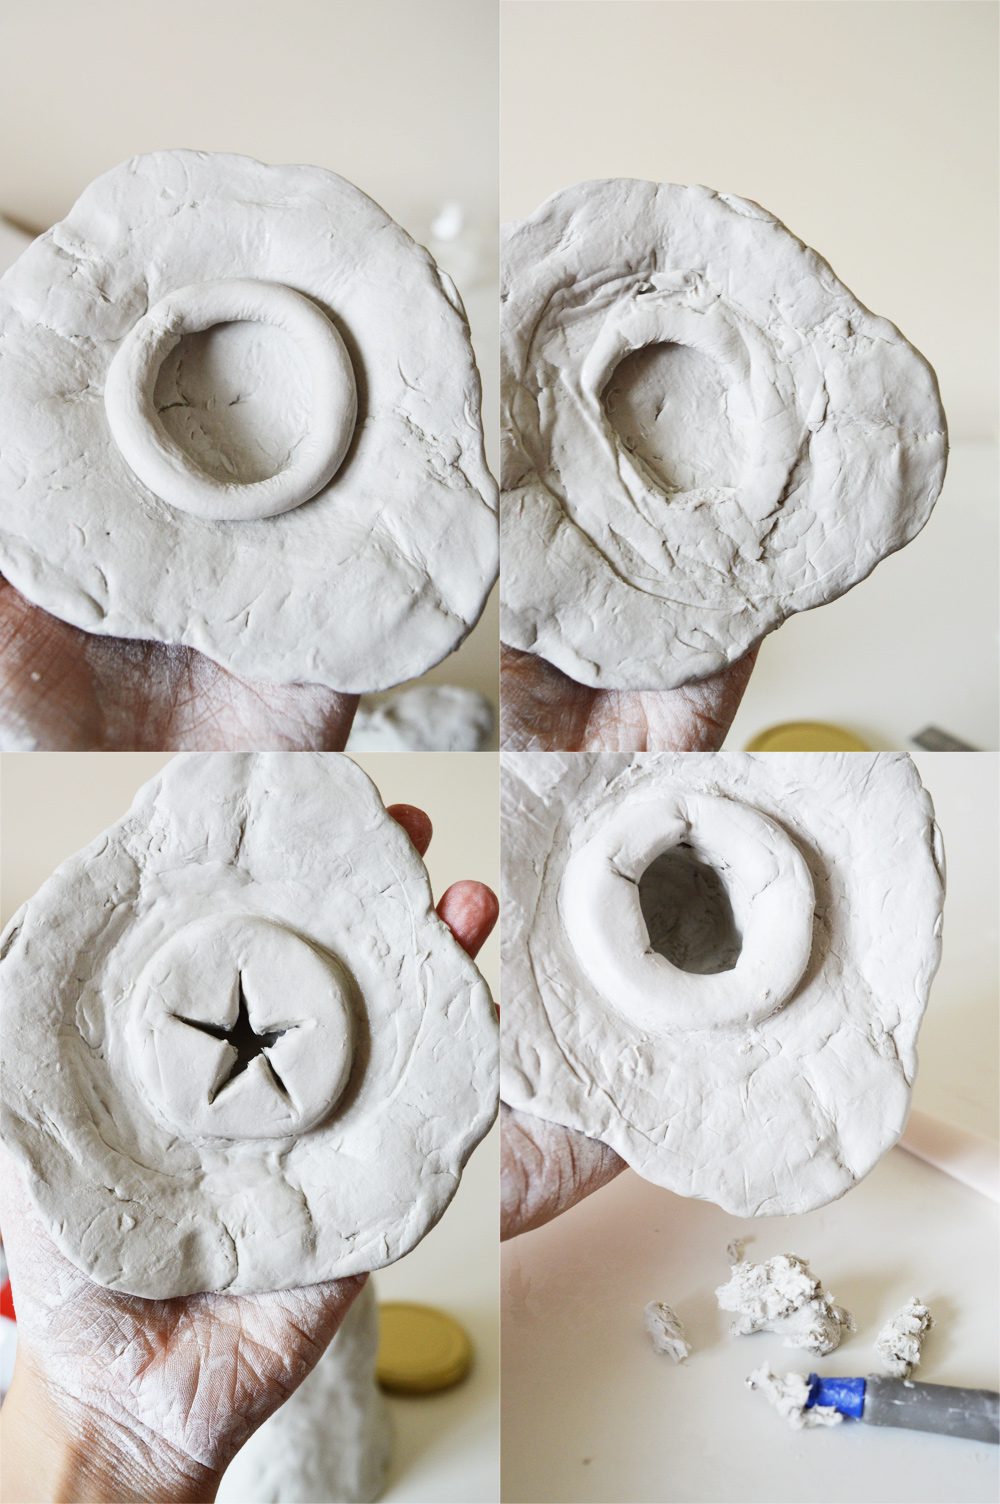
Roll a thin sausage of clay and place wet on the underside of the mushroom cap. Use a sharp tool (or finger nail!) to scrape it flat onto the cap. Scrape the joining surface of the lid lip and place wet onto the cap. Smooth the edges into the cap until it’s secured.
Now, press the middle of the lid lip upward into the cap. This space will make sure the clay dries well throughout the cap.
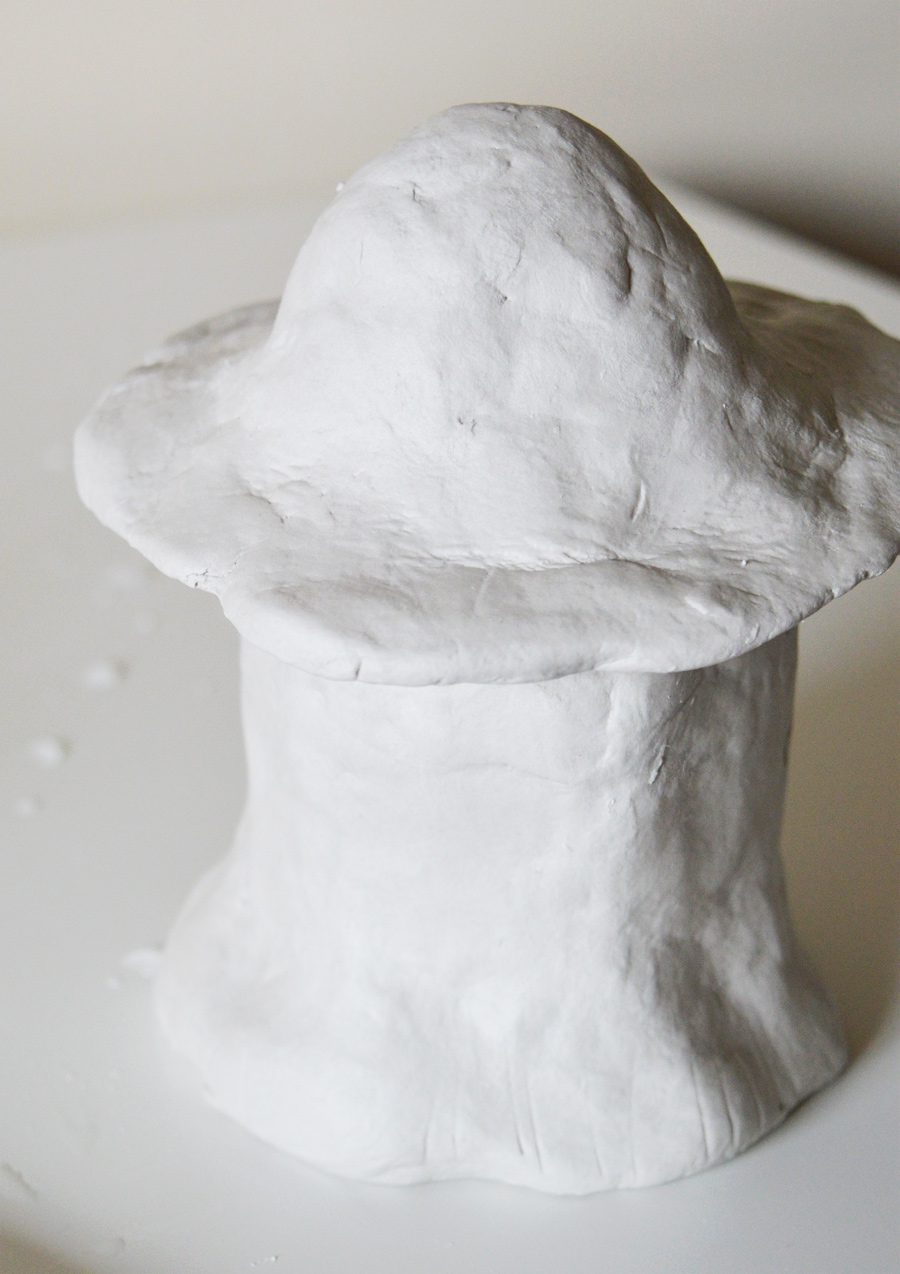
Once the lid lip is in place, shape the cap to your heart’s content! It’s good to test it now and again on the drying base to see how it fits.
Mine is a bit smurf inspired, don’t you think?
I left my mushroom cap and base to dry overnight. I sanded both parts down to get rid of excess texture.
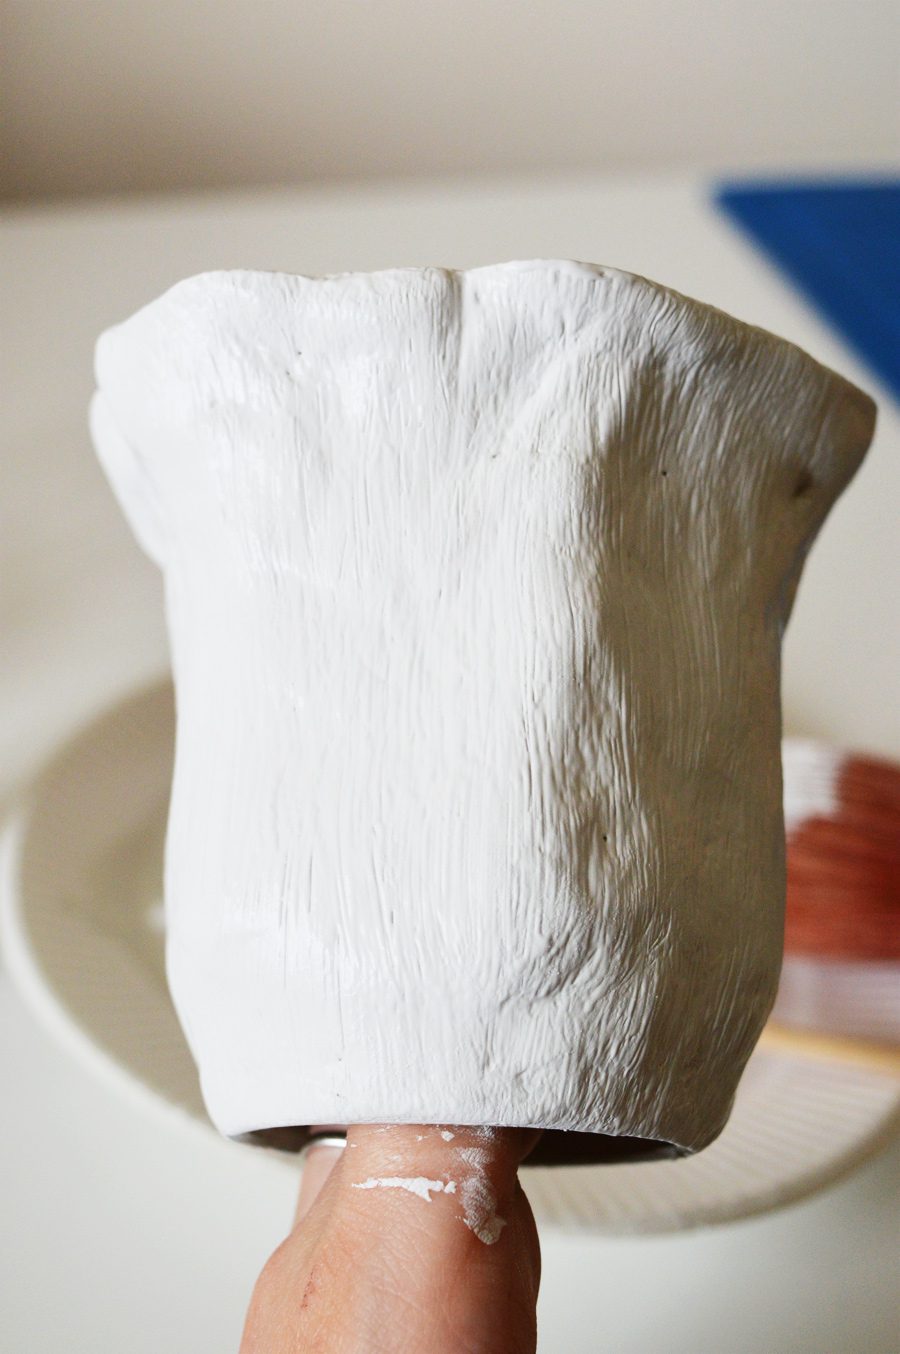
Paint the base and the underside of the cap in ‘Old White’. I used an Annie Sloan bristle brush and very thick paint to get a woodsy texture. Set aside to dry. (It doesn’t take long!)
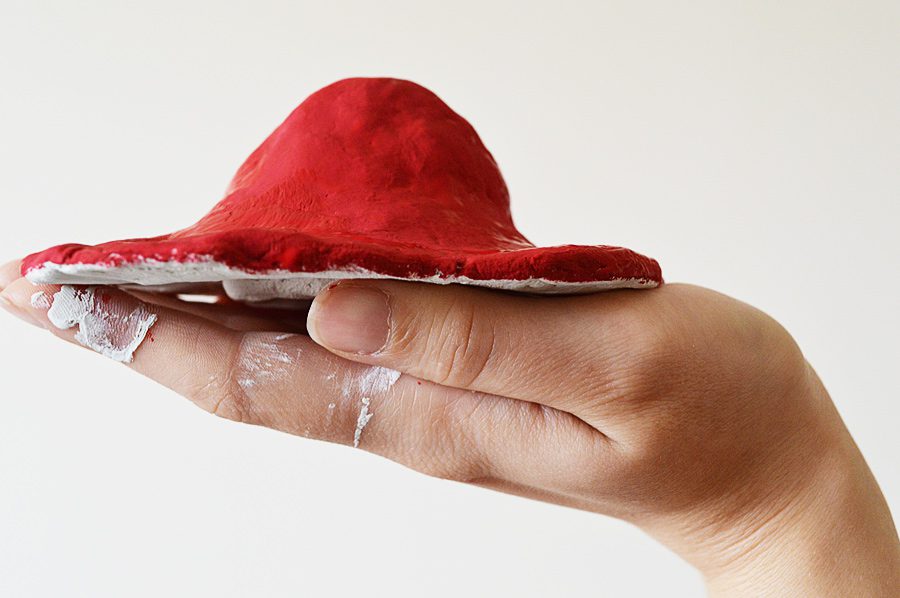
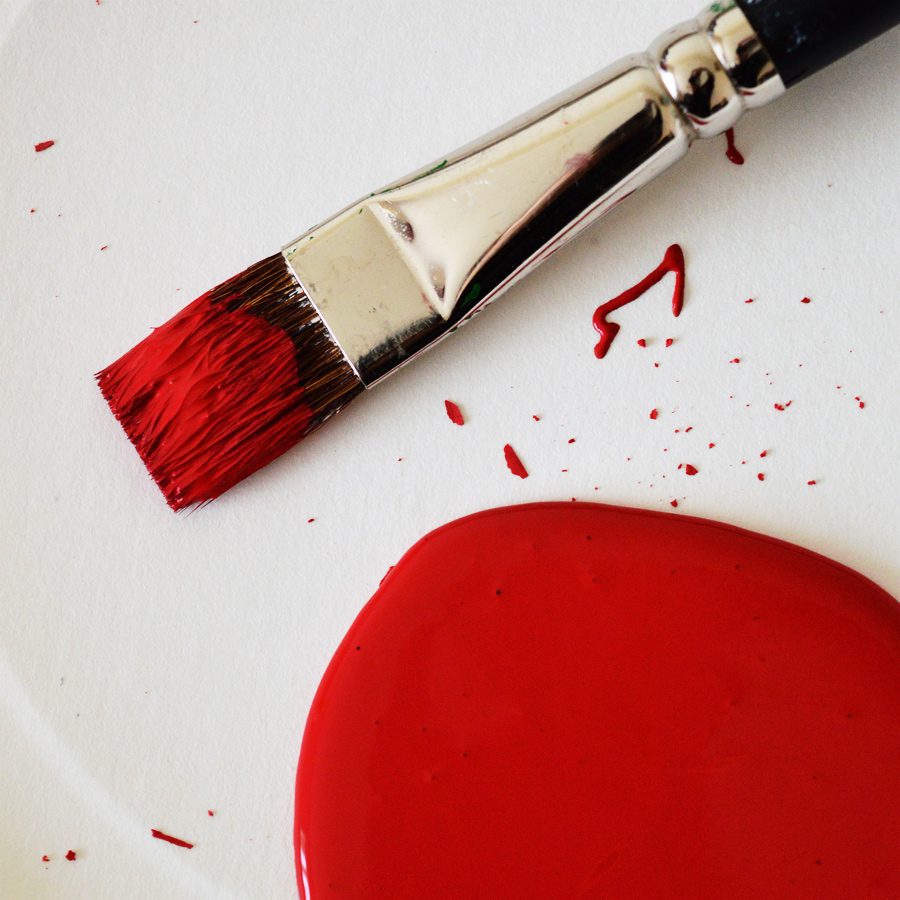
Once the underside of the cap is dry (I left mine for just 20 minutes until touch dry) turn over and paint the top in ‘Emperor’s Silk’. Let dry.
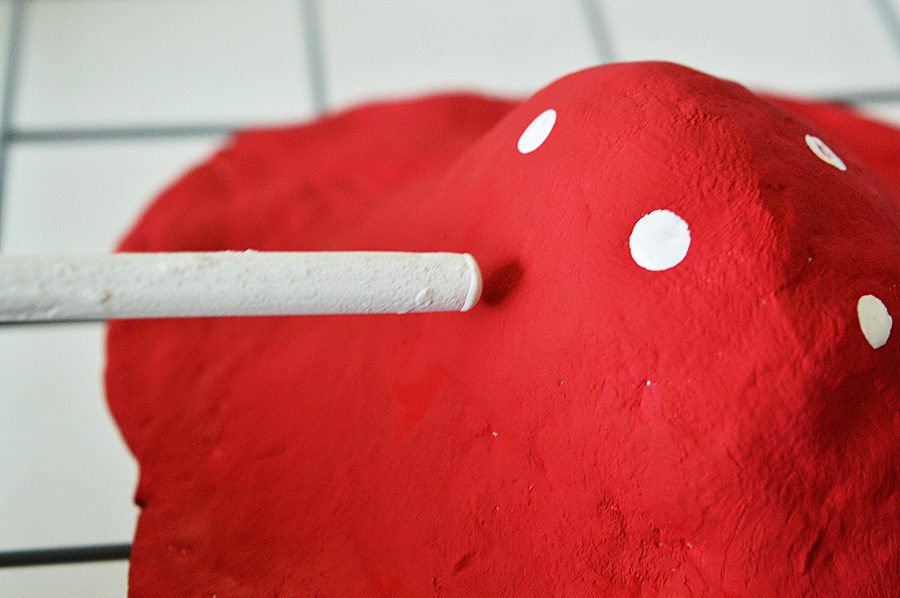
Use a thin dowel or pencil eraser to add spots in ‘Old White’. Leave the paint to dry for a couple hours. With a lint-free cloth, gently rub in the Clear Wax to protect the paint.
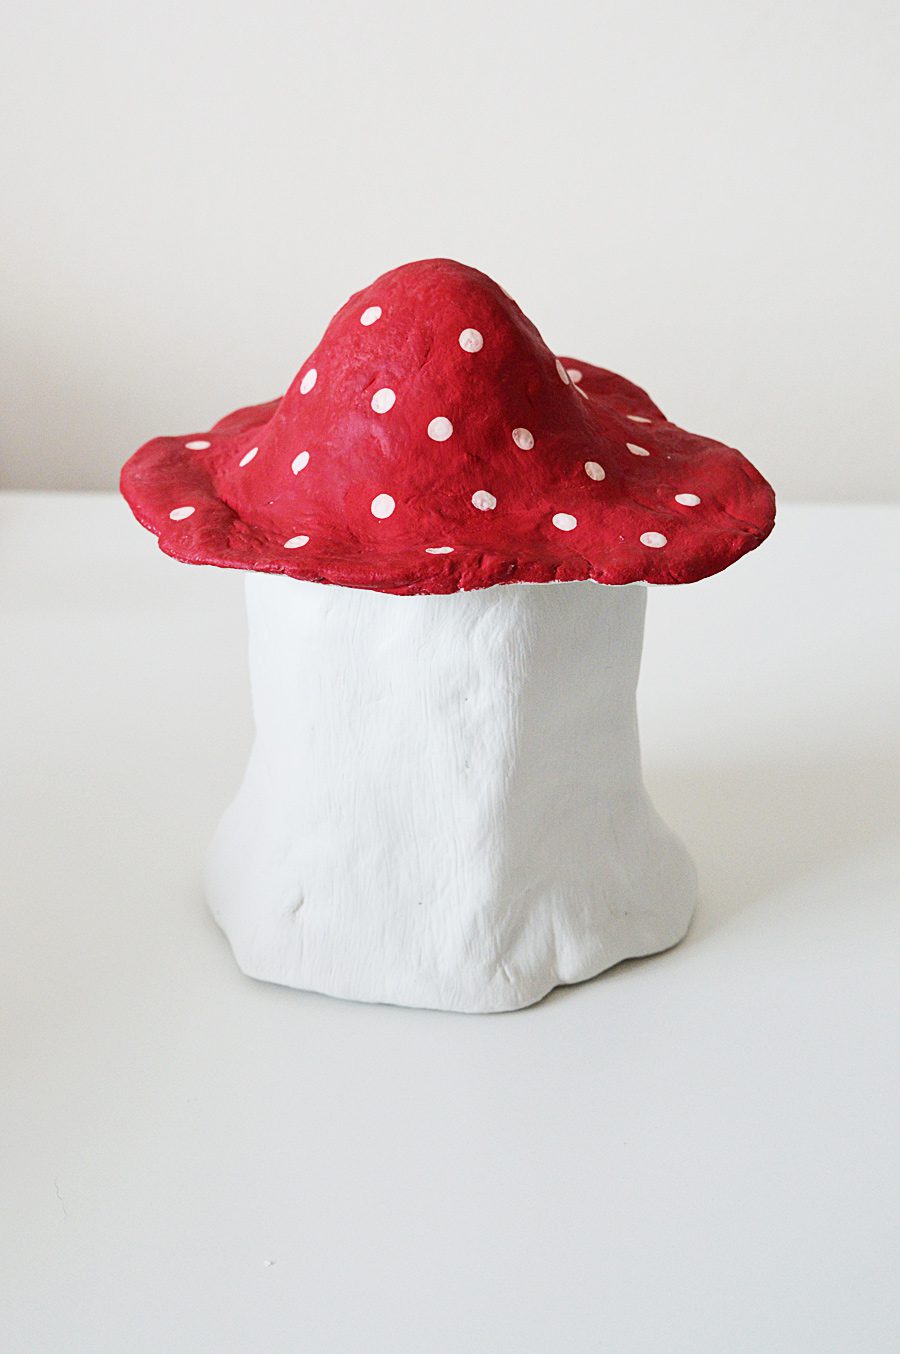
Job done!
The kitties love it!
Lots of crafty love,
![]()


What a cute idea! I love the mushroom!!
The smurf-esque shape totally made me think of you!
Cute. I love, love, love frogs. Where there’s a frog, there’s a mushroom to hop off of…. very cute idea. Can’t wait to get out my clay and make one. I will most likely make a Frog to jump off of my mushroom. Thank you for a great idea.
Does this clay shrink as it dries? I want to make something similar but stick a fairy door and pebbles in to the clay to make it look like a little house