DIY Oversized Ribbon Rose
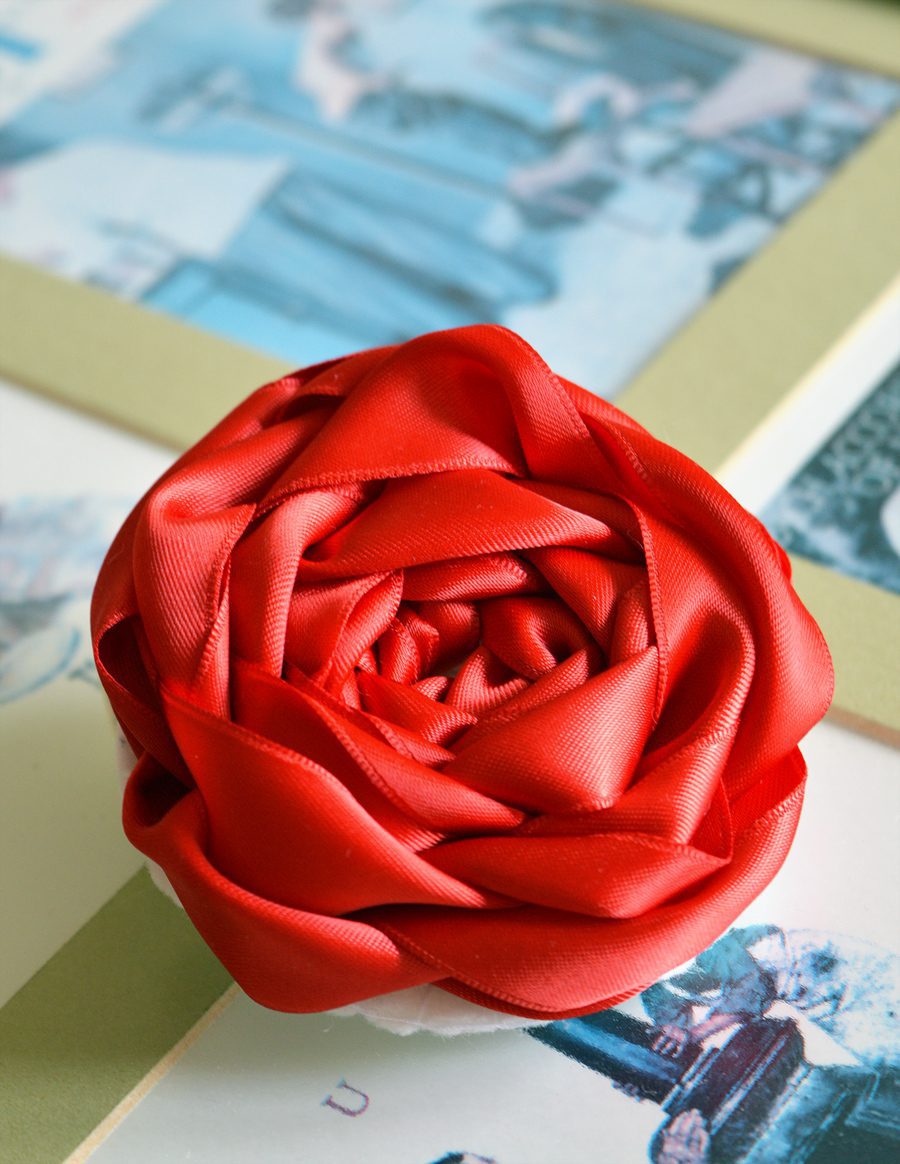
Ribbon roses are technically an embroidery stitch.
This rose just happens to be big enough to be made with a crochet hook.
I love the look of ribbon embroidery and learned to make roses when I designed my planner cover. In fact, I love the look so much I wanted to make it supersized!
This project would be perfect for making brooches, throw pillows, and hair accessories.
What you’ll need
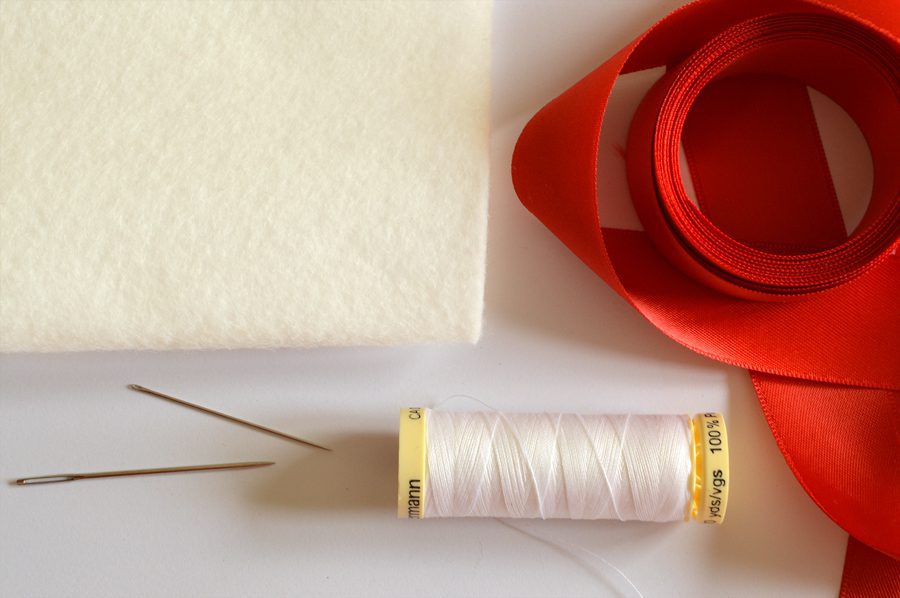
- Felt and matching thread
- Sewing needle
- Yarn needle or crochet hook
- 20mm satin ribbon (I used 1.5m)
Putting it together
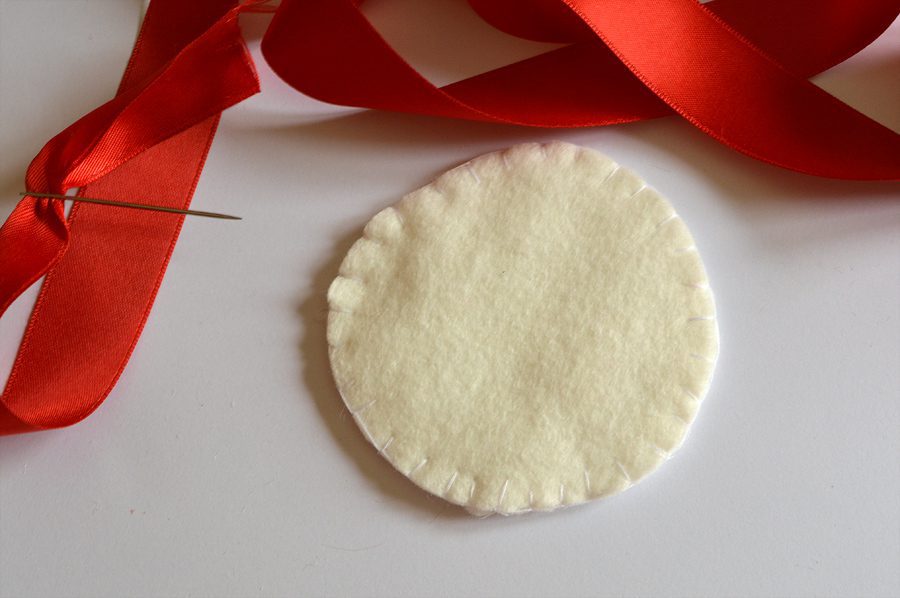
As my rose will become a brooch, I used blanket stitch to sew two felt circles together.
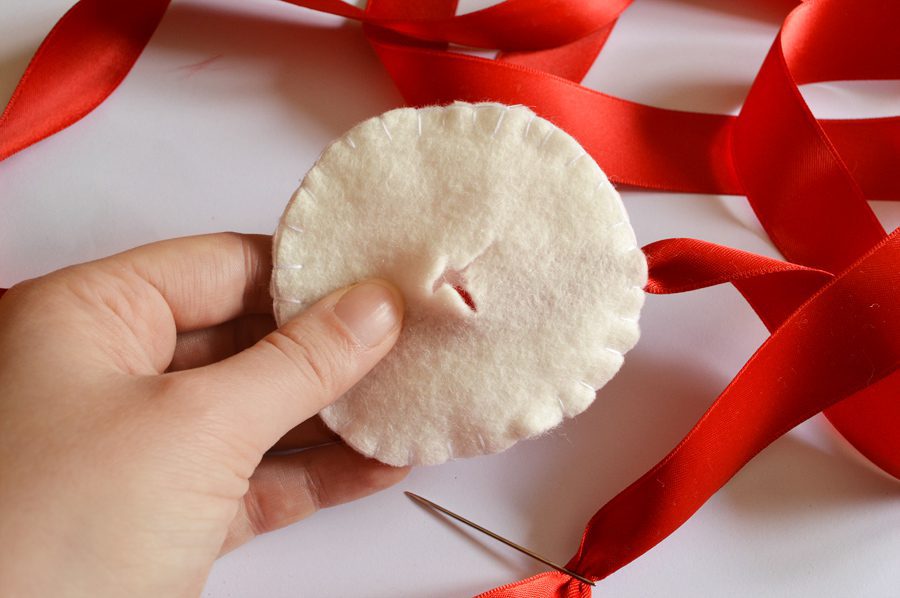
Make a snip through the top layer of felt and thread your ribbon through the centre to the edge. I’ve used a yarn needle. A crochet hook can be used, too!
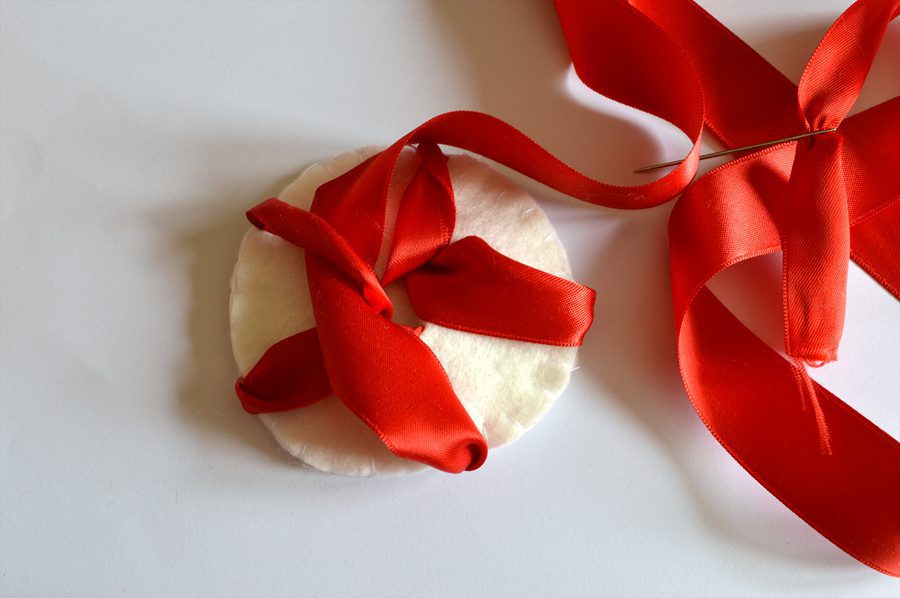
Create the base of the rose: first thread the ribbon through the edge then back through the middle. Do this to make 5 legs roughly equal distance apart. On the last leg, wrap the ribbon under a previous leg. This is the centre of the rose.
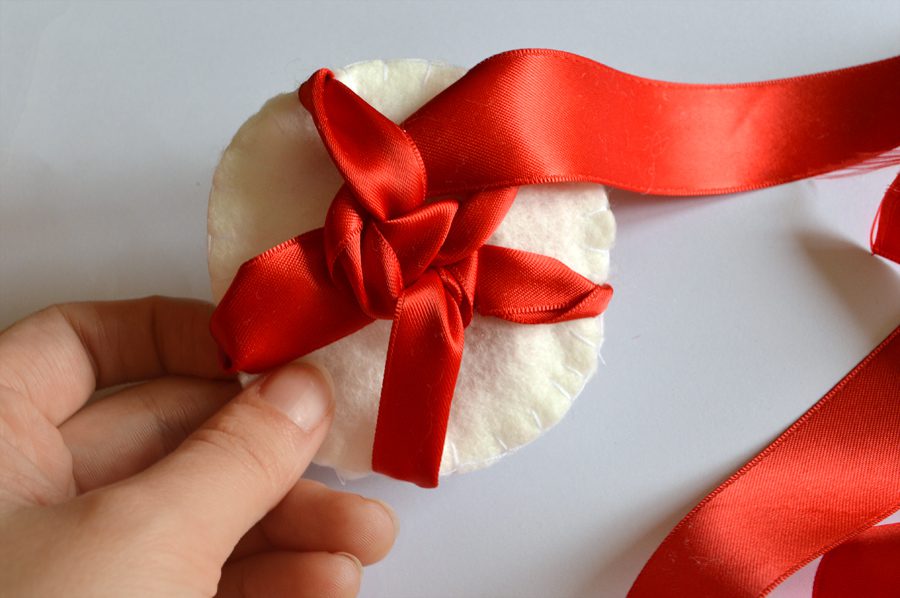
Wrap the ribbon over and under each leg, pulling tight enough for the ribbon to keep its shape. Make sure not to distort the felt too much.
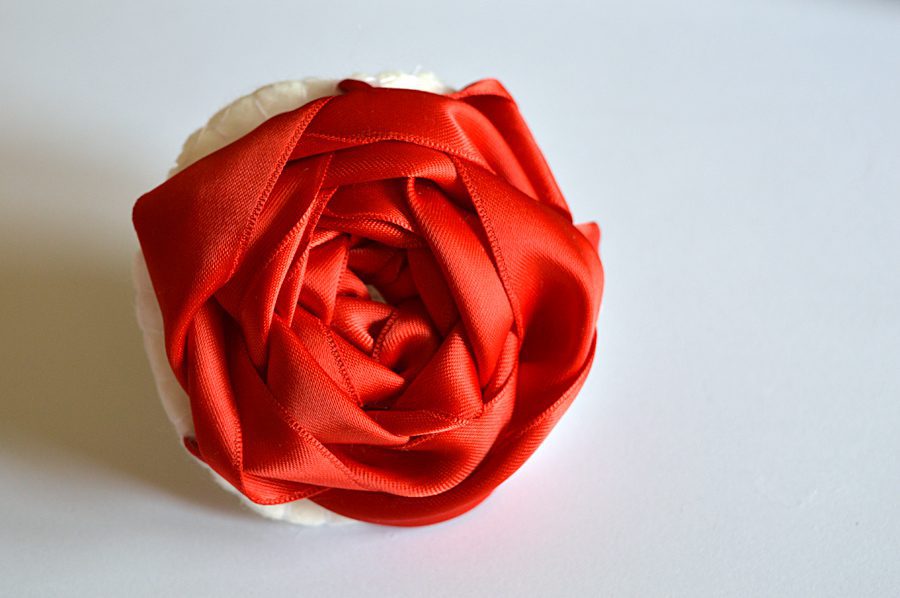
Over, under, over, under. The rose keeps growing!
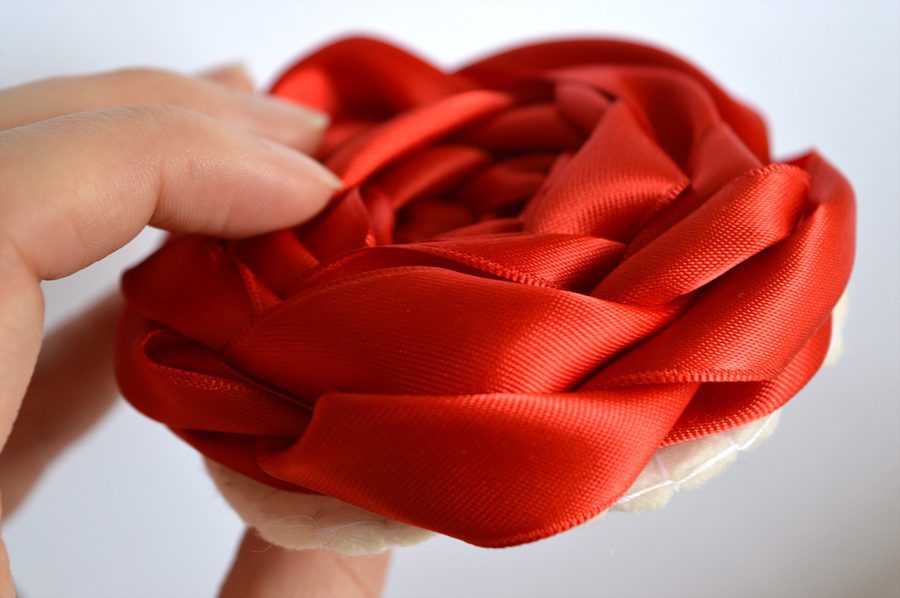
When the ribbon covers the legs at the edges it’s complete.
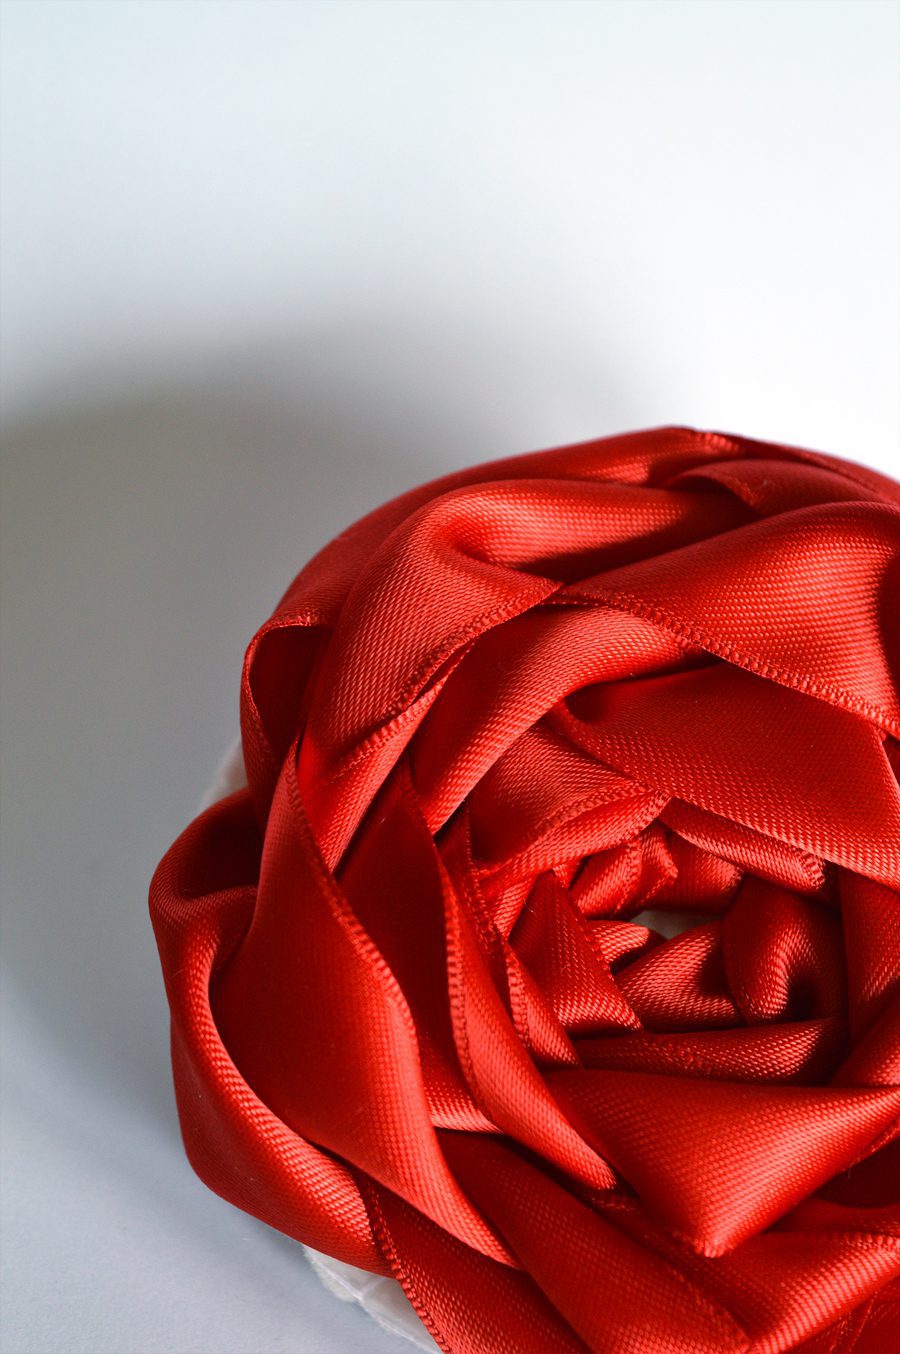
Attach a brooch or pin to the back and the rose is ready to use as a pretty accessory.
The bigger the ribbon, the bigger the rose!
What have you been making lately?
Lots of crafty love,
![]()


lovely.
Thanks Klara! x
[…] Oversized Red Ribbon Rose […]