Annie Sloan Wall Paint Review (+ Beginner Friendly Wall Painting Guide)
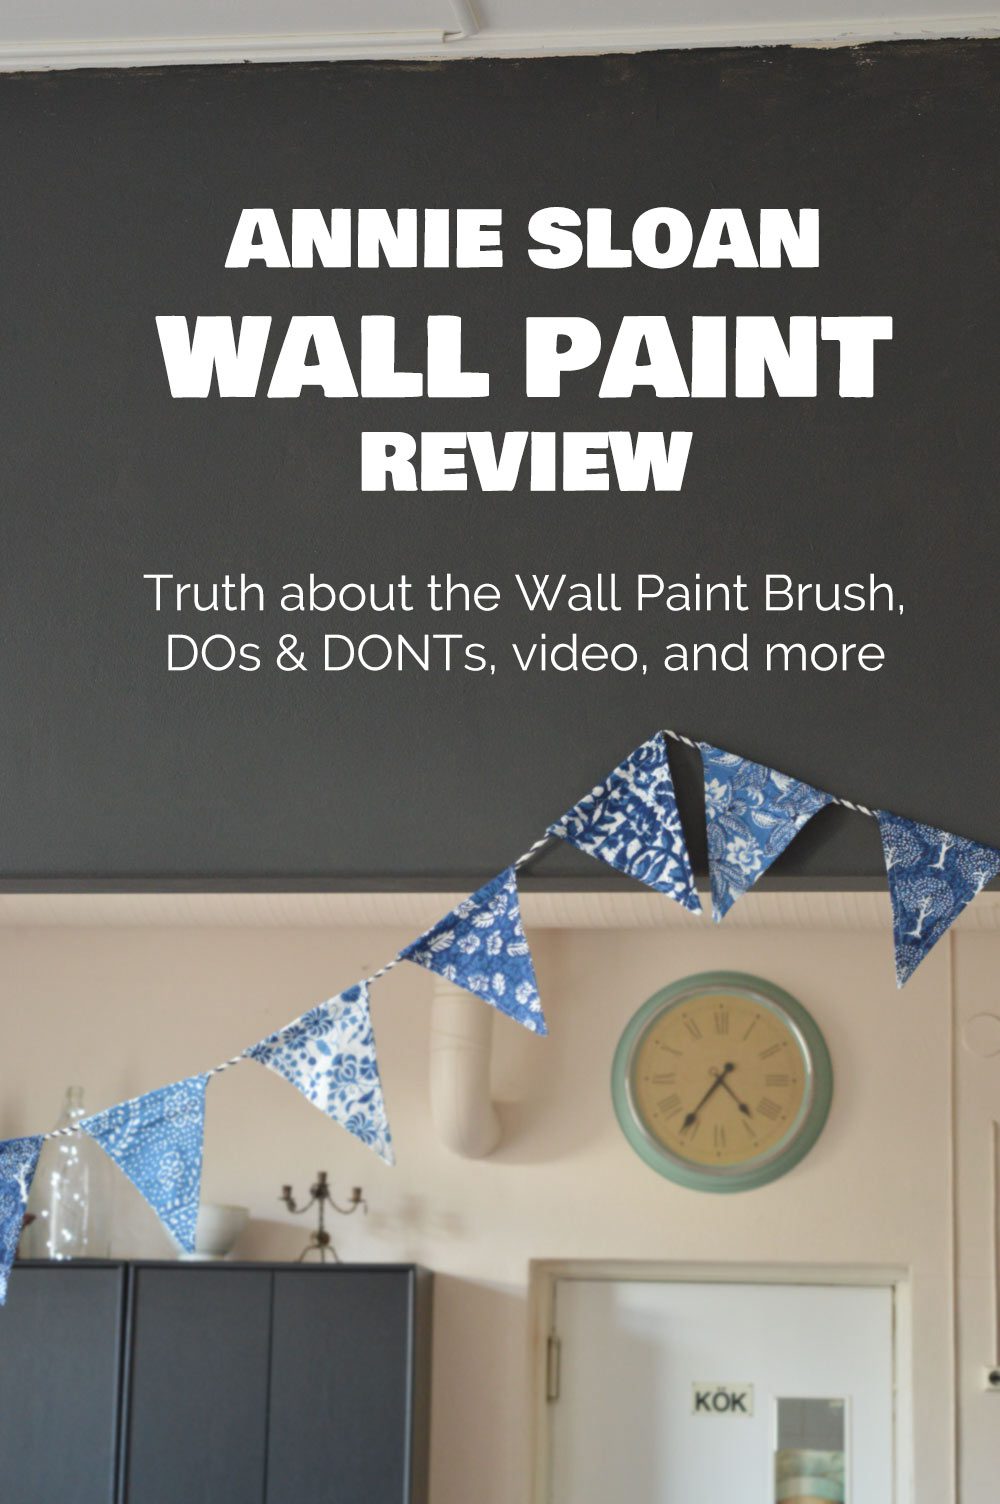
The second best part about staying at my parents in Finland is their house. (The best best part is, obviously, spending time with family.)
Mom and Dad’s house is HUGE. As in, the place is massive. As in, you can lose someone in it and so we regularly use our smartphones to find each other. As in, there’s always a cool project to dig your teeth into. (Skolbacka used to be a schoolhouse, how cool is that?)
Because I move a lot and rent I’ve never bothered painting walls. So at Mom and Dad’s I jumped on the opportunity to try wall painting.
That’s right. This is the first time I’ve ever painted a wall and it’s the first time I’ve ever used Annie Sloan Wall Paint. Let the experiment commence!
BEFORE ANNIE SLOAN
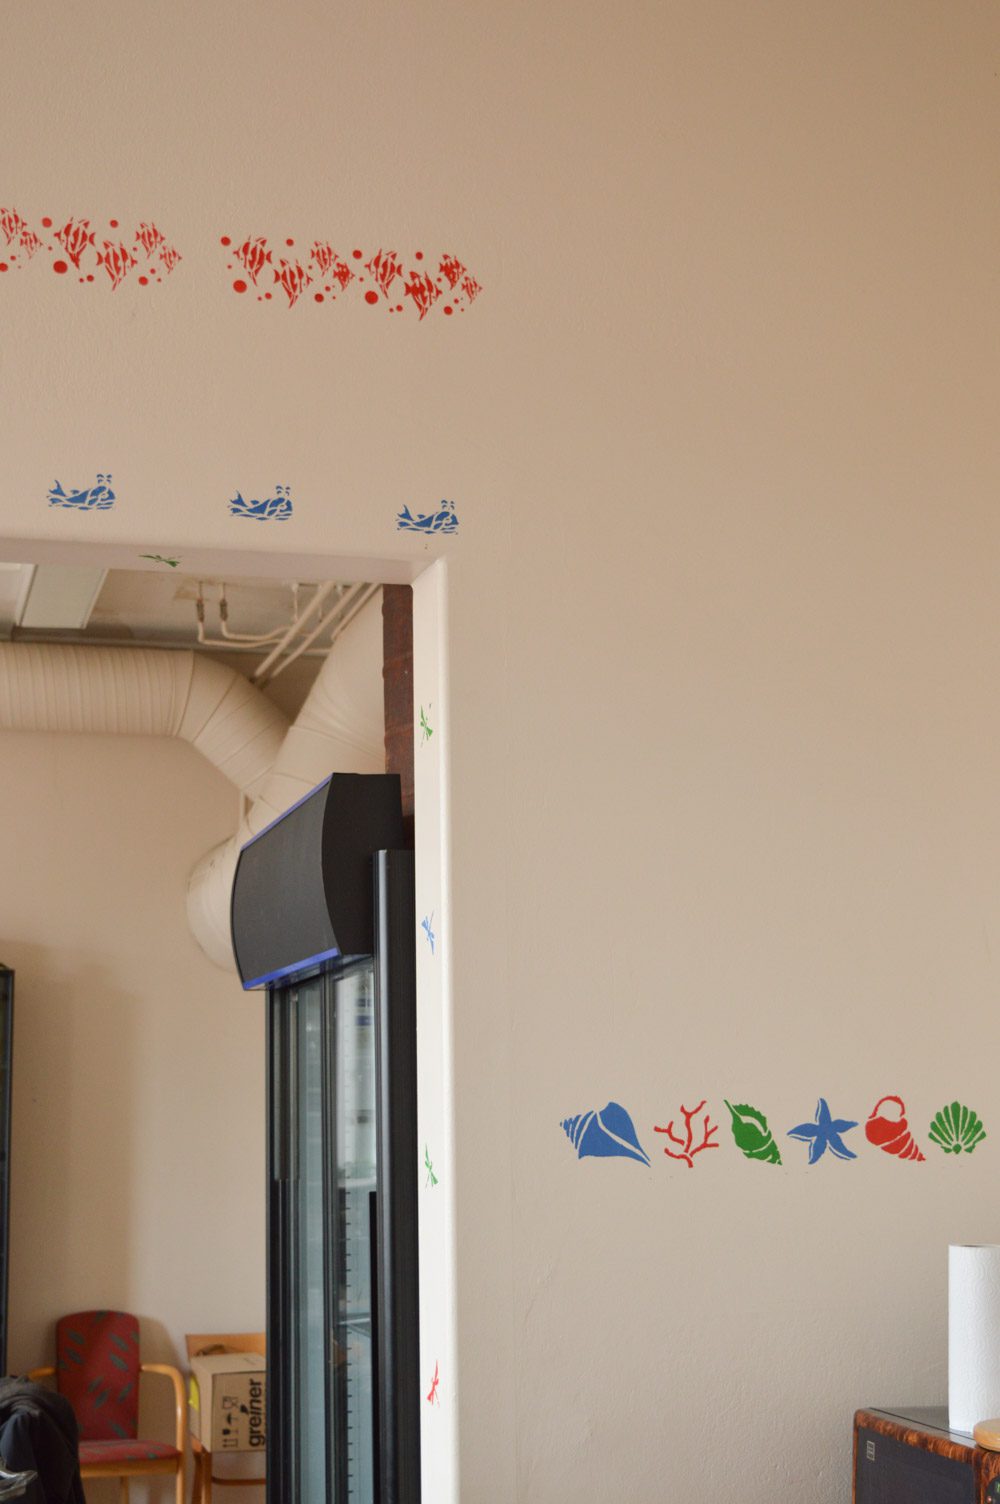
Every wall of the cafeteria, including the arch, was painted magnolia from floor to ceiling. As you walk in, the first thing you notice are the bright stencils all over the arch. Artistic license I guess? Yeah, those stencils gotta go.
AFTER ANNIE SLOAN
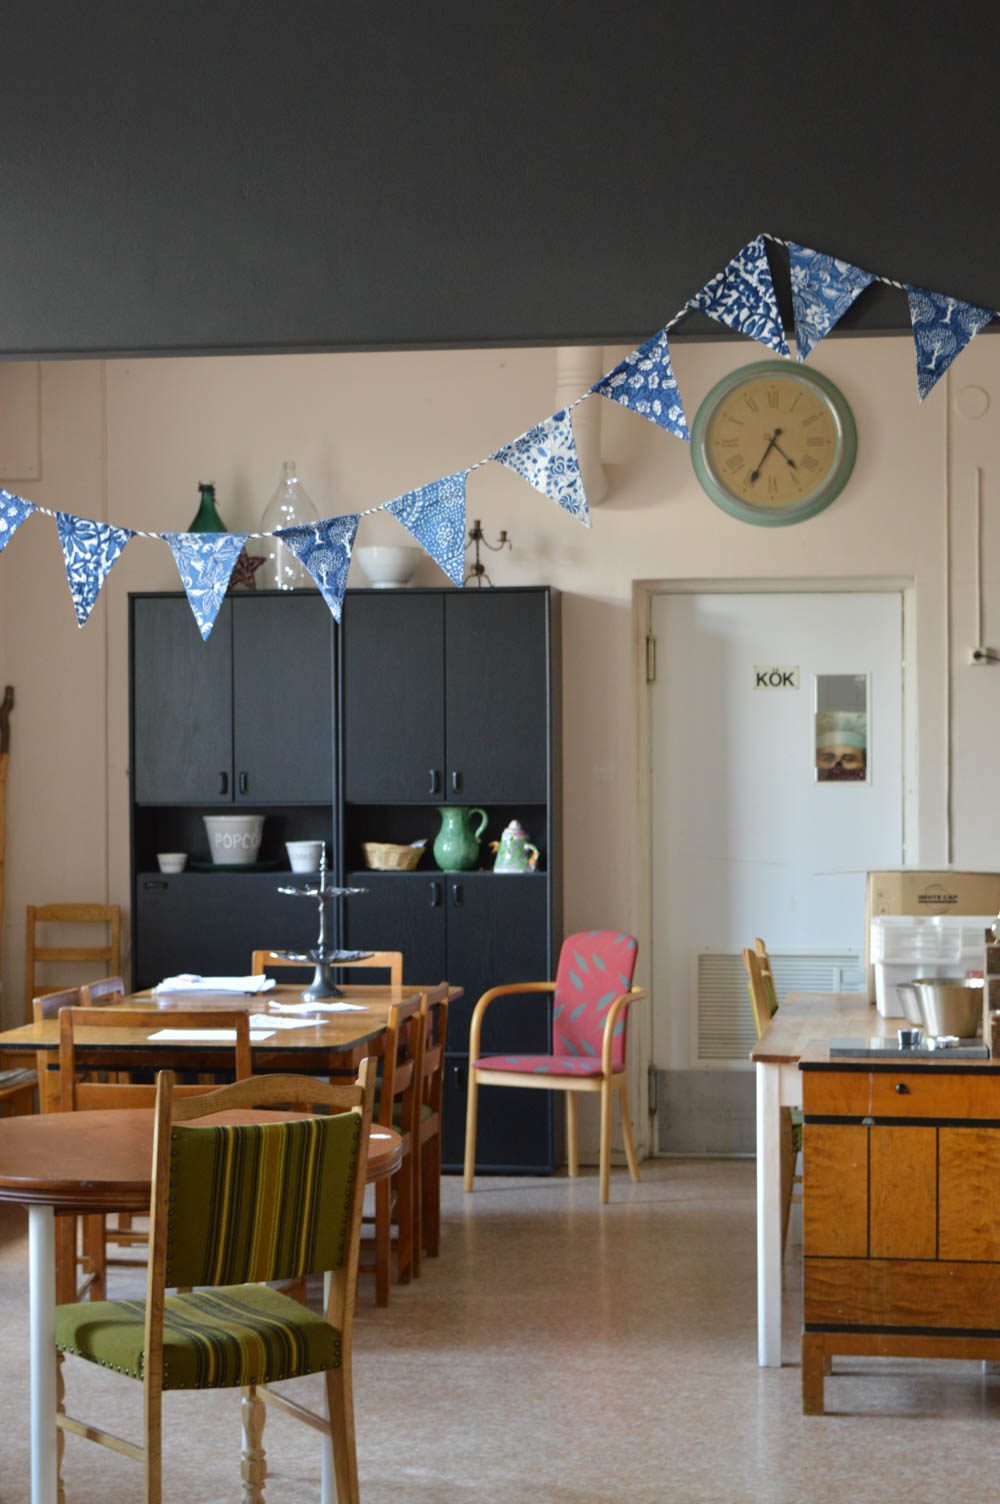
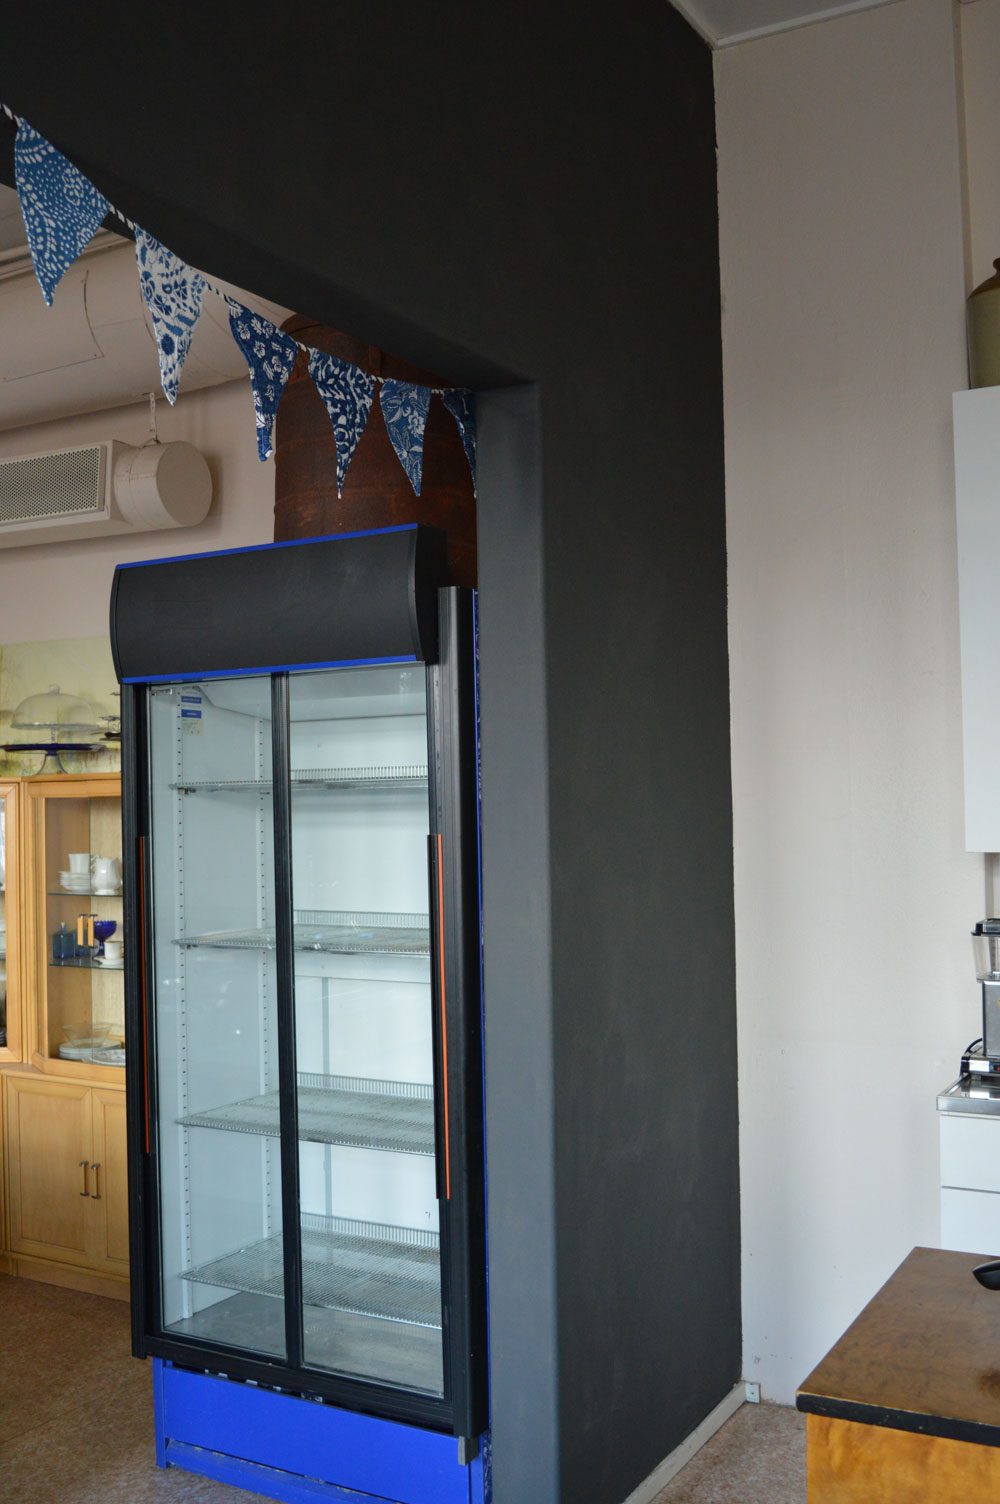
With just a bit of paint and some elbow grease (OK a brush and a roller too) the arch has been transformed into a chalkboard black accent. All we need is some wall decor and it will look ace!
We’re thinking of large letters spelling Skolbacka. What would you do with it?
What you’ll need:
- Annie Sloan Wall Paint (shown here in Graphite)
- Wide brush OR roller (I got the official Wall Paint Brush – verdict below!)
- Tape, newspaper, apron, etc to keep tidy
- Appropriate tin to pour in your “working” paint (something you can cover works well)
- Paint stirrer
- Ladder, if necessary
There’s no fancy cleaning equipment required. Just use lots of (cold) water to wash out the brush and anything else.
You can actually use Annie Sloan paint to dye fabrics, too, so definitely use paint clothes. Even if the texture washes out, it might dye! (My paint clothes were some old jeans and top. Not those overall things you can find in DIY stores.)
Putting it all together:
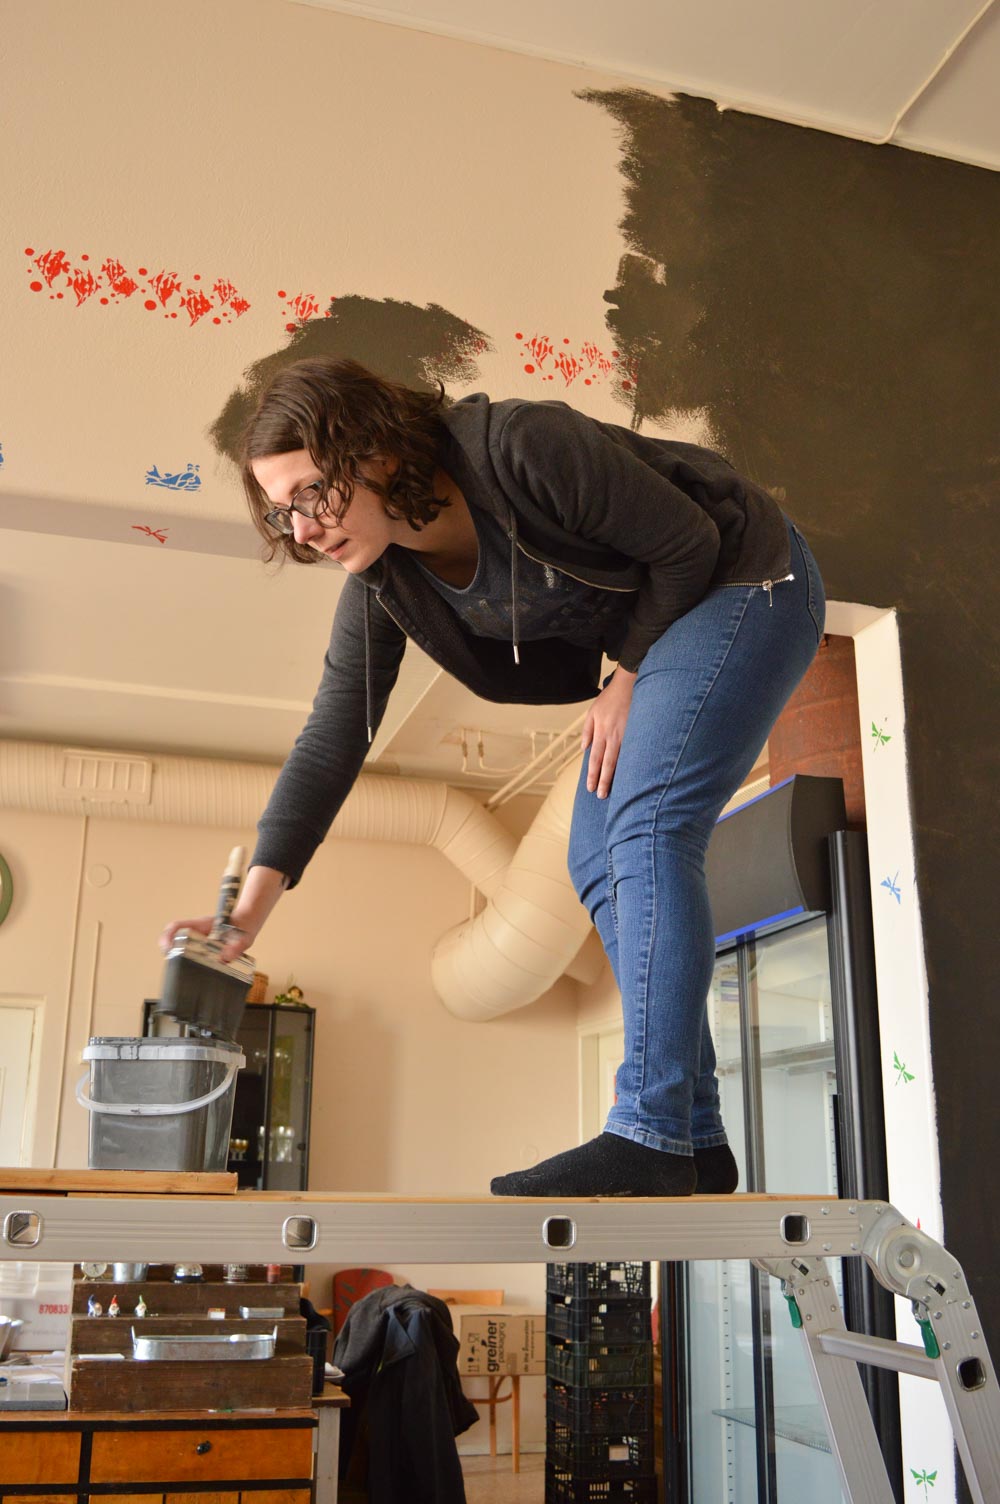
Working with Annie Sloan Chalk Paint is incredibly simple, and using the Wall Paint is almost as easy. I used this paint because it doesn’t need any special prep.
When you’re painting a 15ft tall wall who has the time to sand, prime, and paint multiple layers? No thanks! With Annie Sloan you don’t need to sand, prime, or (in most cases) paint multiple layers.
And as part of the Wall Paint formula, it claims no waxing or other finishing is required. So you get a wipeable, scrubbable surface straight out of the tin. I’m sold!
To sum up the fantastic properties of Annie Sloan Wall Paint:
- No sanding required
- No priming required
- Covers in ONE LAYER
- Dries with a wipeable finish
- No strong stinky smell
- It’s non-toxic, perfectly safe for kids
- Cruelty free with no animal testing or animal products
- Water-based (easy to clean & thin down)
- Can tolerate heat, e.g. when used on radiators
- Dries in approx 40min
Get all the product info on the official Annie Sloan website
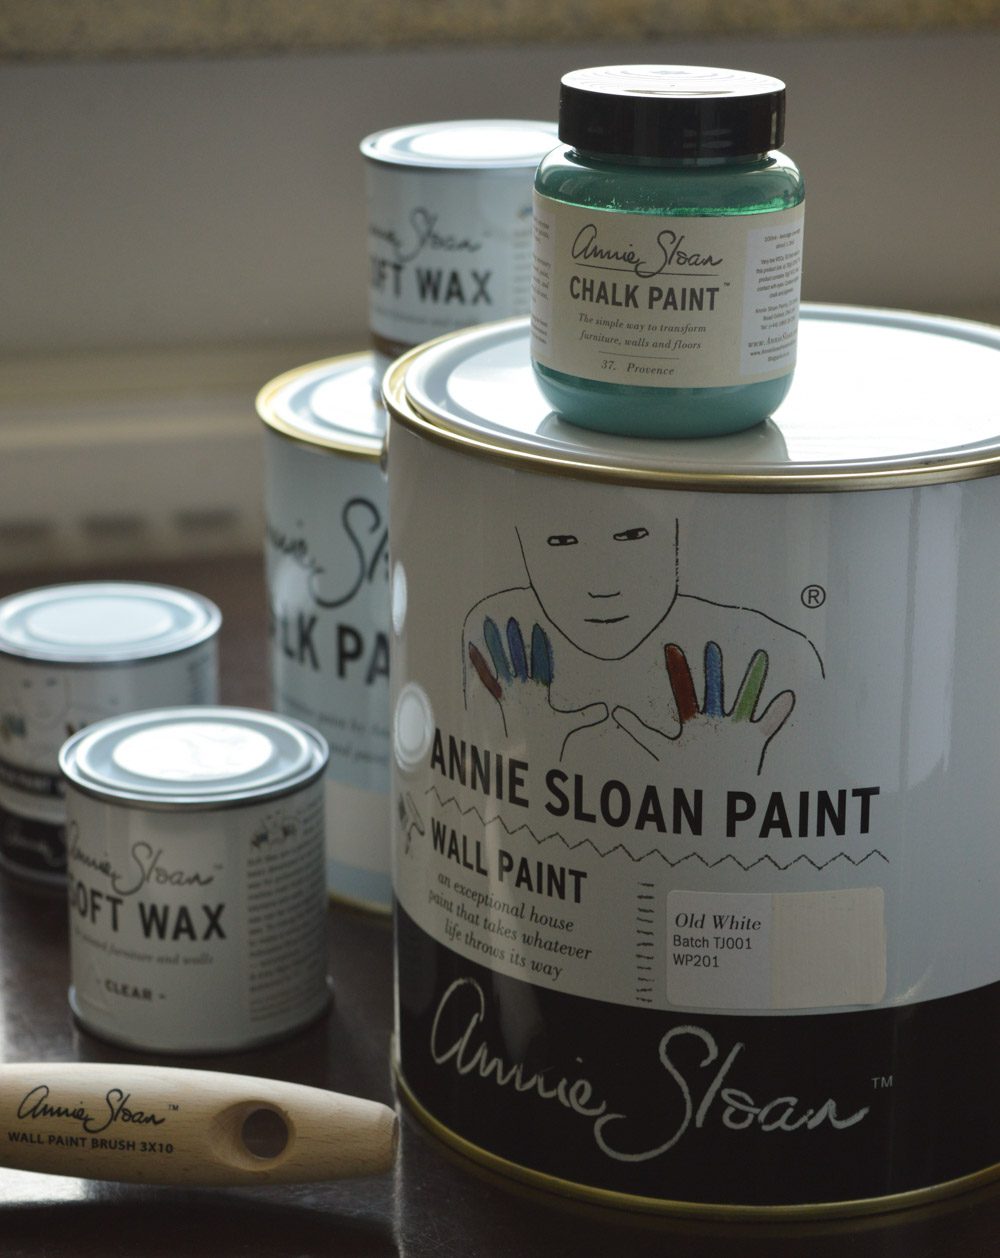
The wall paint comes in 2.5L tins, and it claims each litre should cover about 14.5 square metres. We bought it from måla & more in Helsinki for 79€. (So it’s 31.90€ a litre vs 38€ for a litre of the normal Chalk Paint – the wall paint is actually cheaper!)
BUT. Fabulous, high-performance paint and a high-quality brush don’t automatically mean magical results. This was, after all, my first wall painting project.
How to use Annie Sloan Wall Paint
Here are some tips and tricks to save YOU the time and hassle. (And money, as I’m sure I wasted a bit of paint in the process!) I spent about 8 hours solid over two days to finish this wall, and I know it could have been done MUCH more quickly and easily.
WALL PAINT DOs:
- Make sure the wall is clean & dry before painting
- Use masking tape and perhaps some newspapers to cover up surrounding surfaces
- Wear paint clothes! (The paint is drip free, but are YOU drip free? Yup, I’m messy.)
- Try both a brush and a roller to see what works best for you
- Buddy up, someone needs to spot the ladder!
- Supply yourself with easy drinks and snacks
- Pour some paint into another container so you don’t contaminate the tin with any dust or residue
- Something that has an air tight cover is even better!
WALL PAINT DON’Ts:
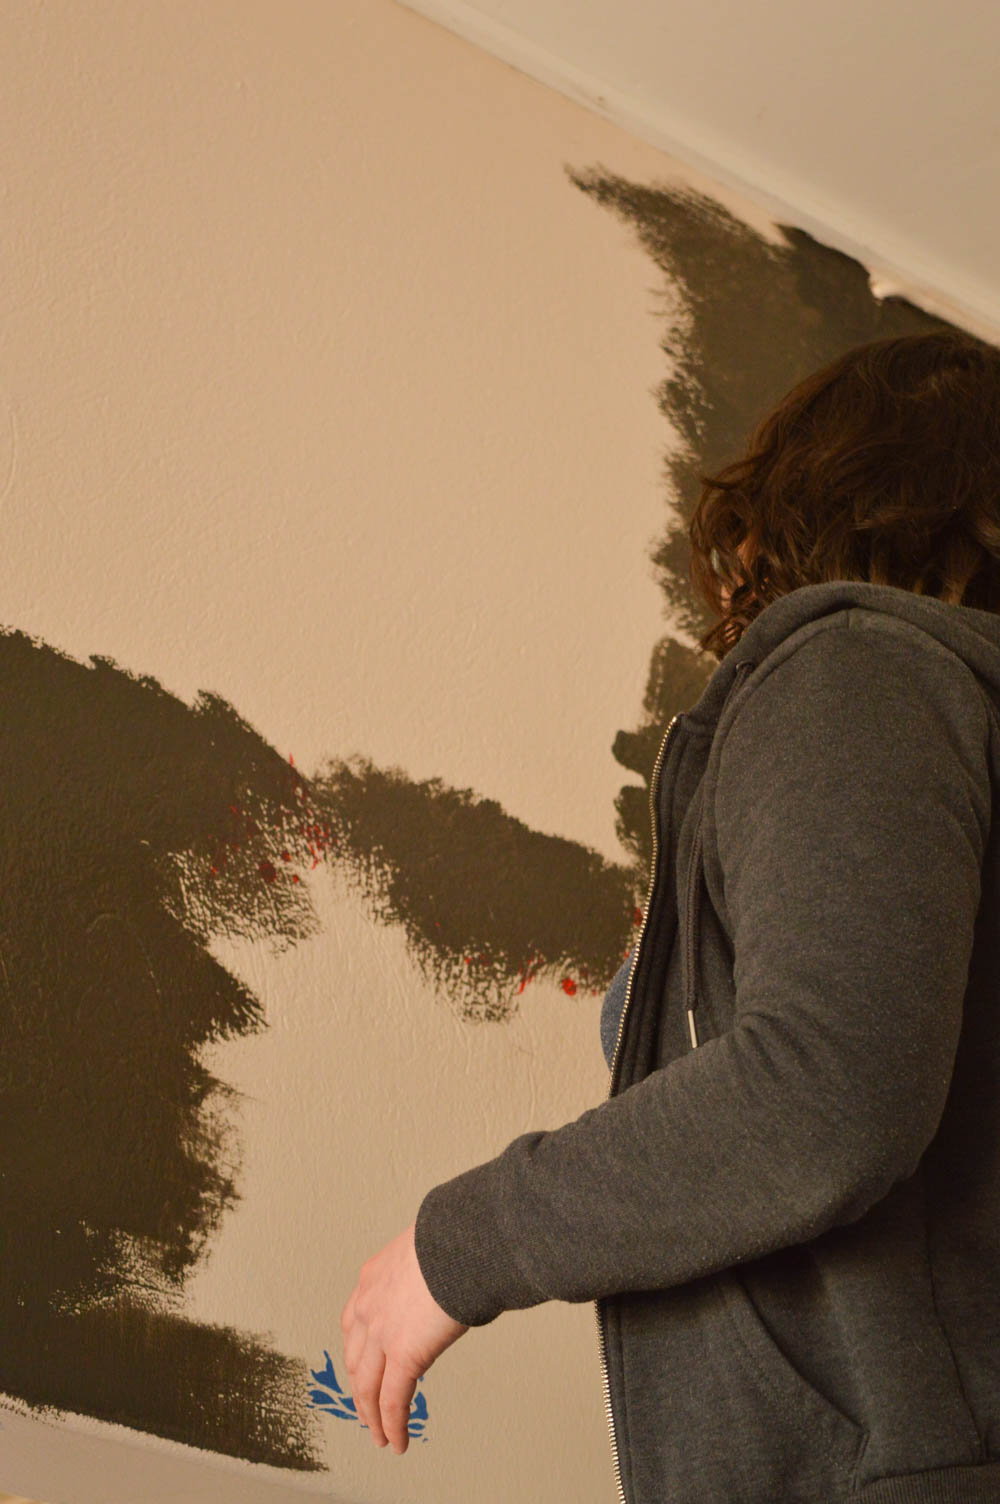
- Water down the paint UNLESS you want to make multiple layers for a silky smooth finish. The paint sits on a brush or roller better straight out of the tin, so if you want a single layer just use it as is.
- If you water down the paint, be prepared for a little dripping. You’ll likely need to paint multiple layers, too.
- Paint a second layer before the first layer is dry. You’ll just pull off the drying paint.
See how many DOs there are compared to DON’Ts? This paint is that easy to work with!
So, about that Wall Paint Brush…
After watching a comparison video by Annie Sloan showing off her brush skills, I bought the official Wall Paint Brush. According to the video you get the same quality coverage AND use much less paint. I love the all-natural Annie Sloan brushes (which I’ve used on furniture) so I jumped in and bought the Wall Paint Brush, too.
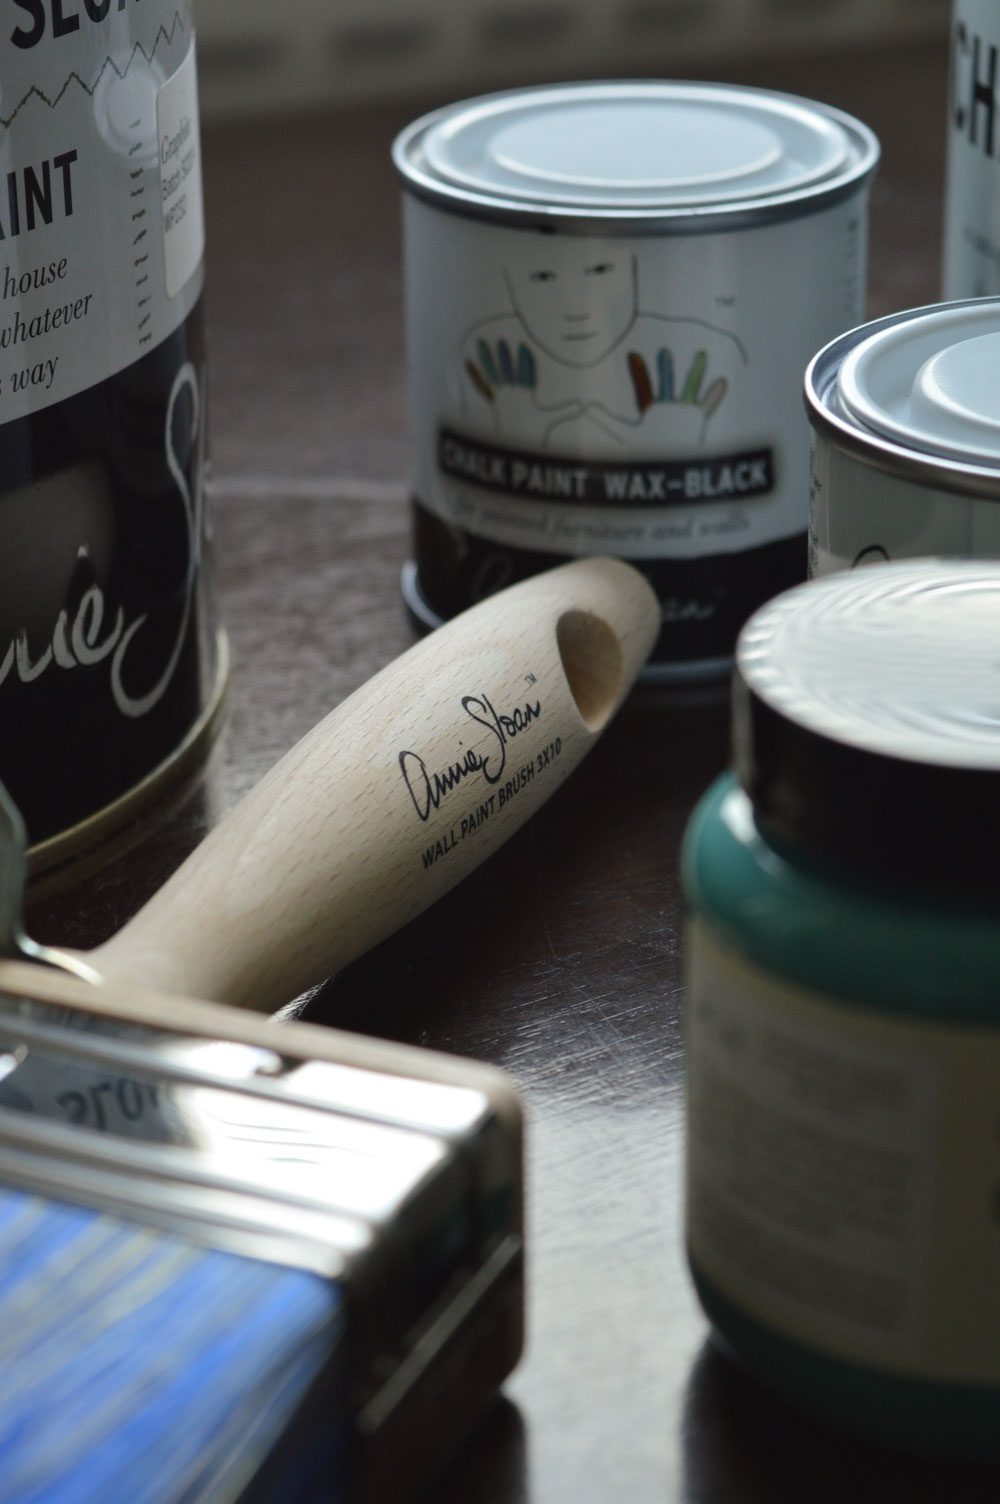
The verdict? I’m 50/50. The Wall Paint Brush is incredibly comfortable to hold and well-balanced, so my hands never hurt even after hours of painting. However, the fibres just didn’t dig into nooks and crannies as well as the other Annie Sloan brushes I’ve used. I’d say this is down to the mix of natural and synthetic fibres; whatever the reason, it was difficult to cover the textured wall. The fibres did hold up well and still look great after use.
(If you do use the brush, leave it somewhere a bit warmer to dry off. Mine stayed damp for a couple days and got a little stinky. You can see the moment I find that out right at the end of the vid!)
On the second day, I used a roller to touch up the patches. Painting with the roller was so much easier. If I had just used a roller instead of the brush, I’m sure I could have painted the wall in a quarter of the time.
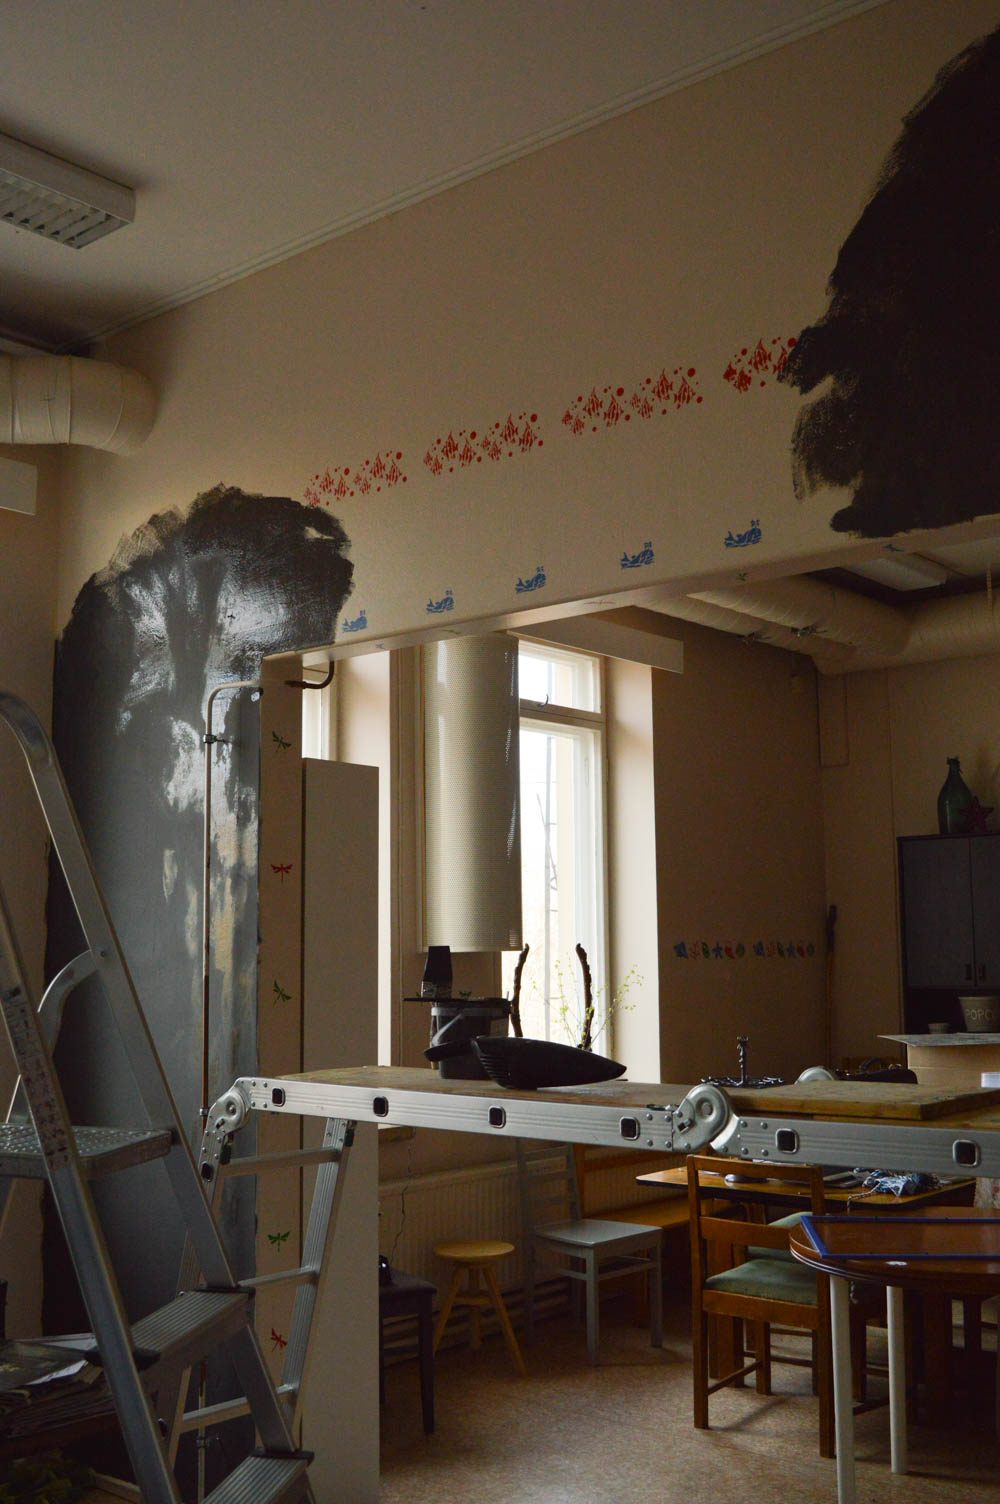
My time saving tip: Just use a roller! Or if you want to know for yourself, patch test one section with a roller and one section with a brush. Even if it uses more paint, getting the project done quickly would have been my preference. Since I had to make a second layer, I probably used more paint with the brush anyway.
Good intentions and all that. I’m going to retry the wall paint brush on a smooth wall and let you know how it goes.
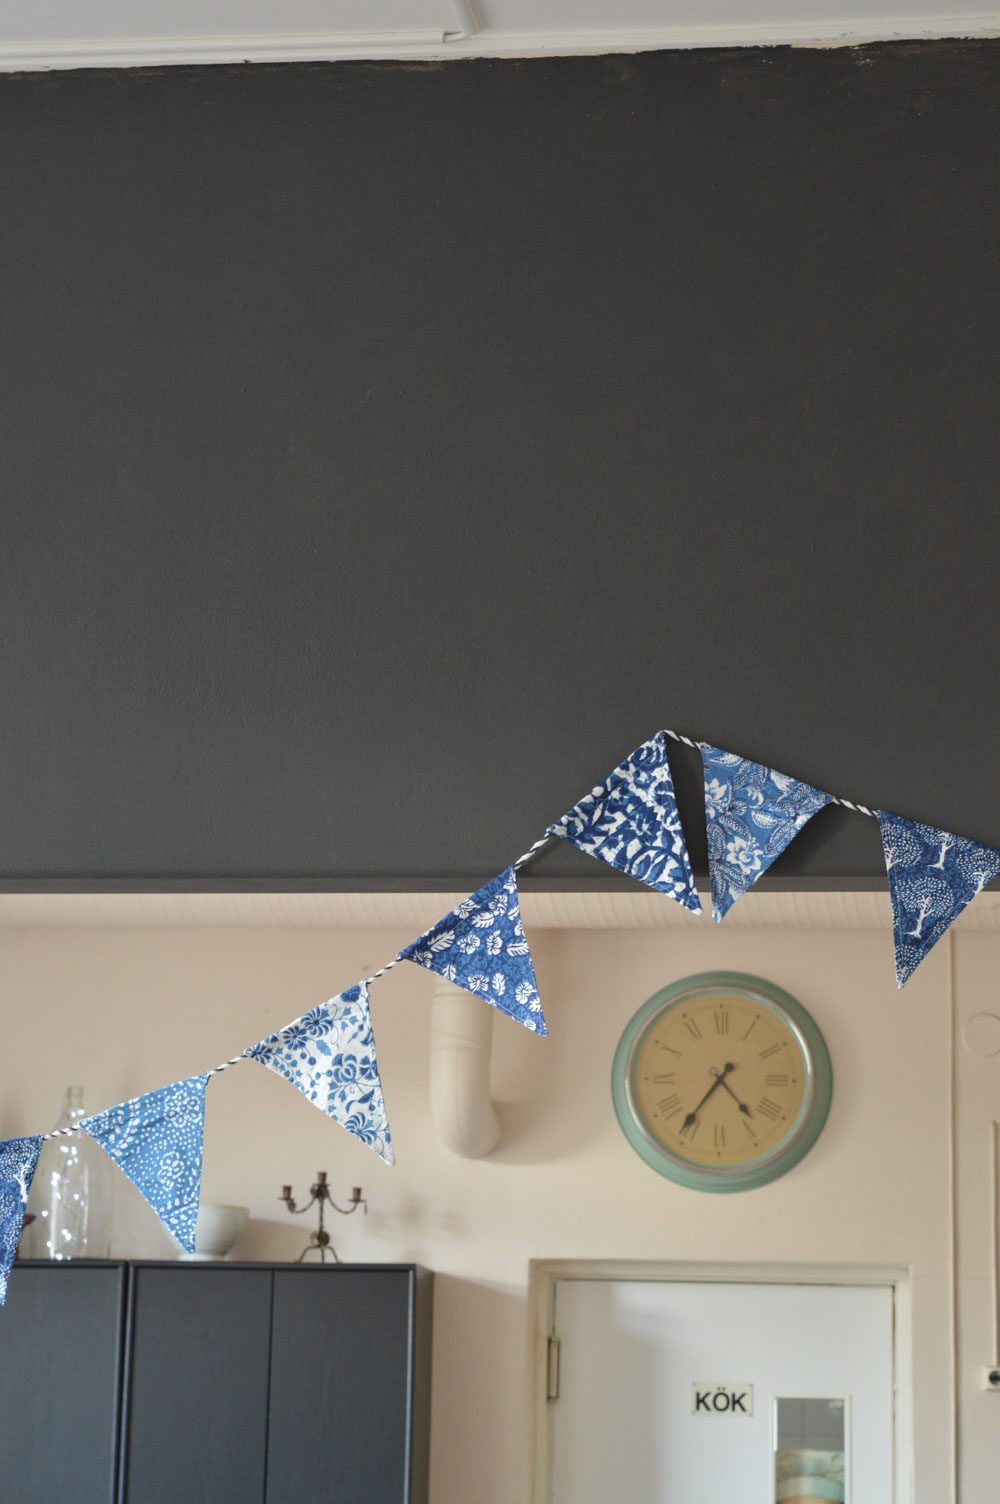
All in all, paint brush included, I’m so pleased I chose Annie Sloan. The final result is stunning and exactly the nostalgic chalkboard black look we were going for. With a bit of wall decor the transformation from dull magnolia to dark & bold will be complete!
By my estimate this wall used about 25 to 30€ of paint to get the job done, or about a third of a tin. All the tools we used, roller and paint clothes included, will be used again and again in other projects. I’d call that good value for money!
I will definitely use the Wall Paint again. I love the Chalk Paint and do think it’s even easier to use, but maybe that’s just with experience. :) After all, the wall paint was beginner proof! You can’t ask for much more than that.
Have you ever used Annie Sloan Wall Paint or Chalk Paint? I’d love to hear your experiences, good and bad.
Lots of crafty love,
![]()
P.S. In the interest of full disclosure, I did work for an Annie Sloan stockist a couple years ago. This post isn’t sponsored or affiliated in any way (I wish! Hit me up!) but I did learn about Annie Sloan’s range of products in a work setting. The Wall Paint didn’t exist when I worked there, so I was really excited to finally get the perfect excuse to use some.
P.P.S. The Wall Paint is only available in Europe for now. If you’re outside Europe, you can definitely use the normal Chalk Paint on your walls. It just takes a little bit of extra elbow grease to finish it off with wax, too.
P.P.P.S. Here’s the video again if you missed it:


Hi, do you find that this colour of wall paint marks easily ? Thanks.