Basic embroidery stitches
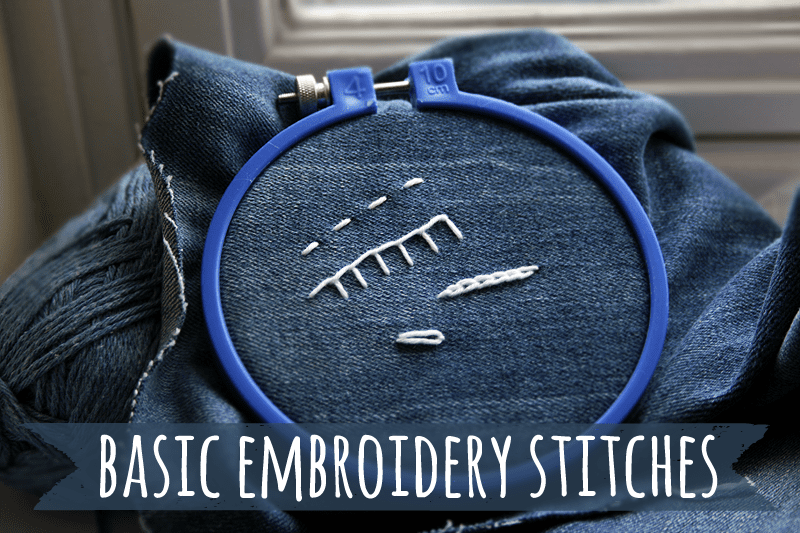
It’s time to celebrate! Every month in 2013 I’m learning a new craft, and now I’m halfway through.
When I learned embroidery in February I got close to giving up. The fine embroidery threads I had bought didn’t appreciate my fumbling. I got sore fingers and tangled threads for my trouble.
Then I tried embroidering with yarn. I loved it! If you’re nervous to tackle embroidery, try yarn. It exaggerates the stitches, so it’s perfect for learning how they work. It helps that it builds up quick and looks good, too!
You need:
- DK or thinner yarn
- Needle with large enough eyelet for yarn
(Yarn needles might not be sharp enough) - Fabric of choice (I’m using denim)
- Embroidery hoop
The stitches you’ll learn:
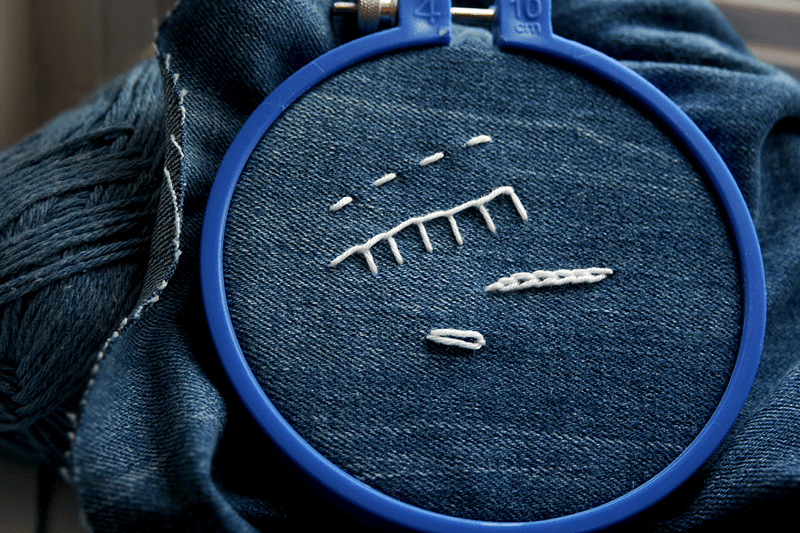
- Running stitch
- Blanket stitch
- Lazy daisy stitch
- Chain stitch
Let’s get started!
Running Stitch
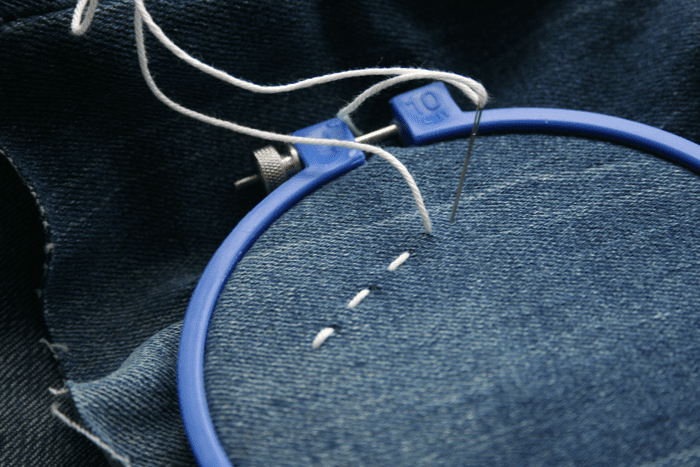
Running stitch is the simplest of stitches. It’s good to know for hand-sewing, too. The trick is to keep the spacing and length of stitches even. When sewing, the smaller and closer together the stitches, the more secure it is.
Blanket Stitch
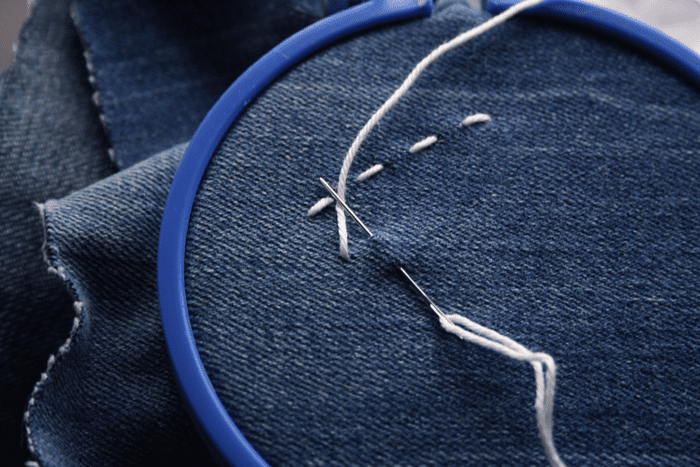
Blanket stitch starts at the ‘top’, where you want the upper line of the blanket stitch to be. Take the yarn to the front, then take the yarn through the fabric like shown. The ‘legs’ of blanket stitch will be in line with where you put the needle.
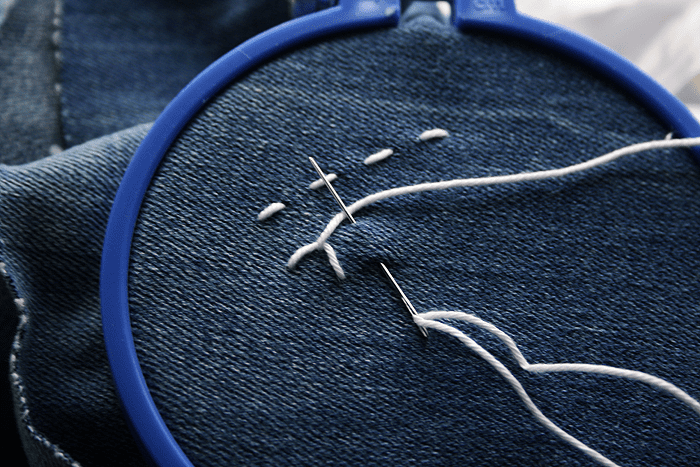
Blanket stitch builds up in the same way. The needle always goes over the yarn, to catch it in place.
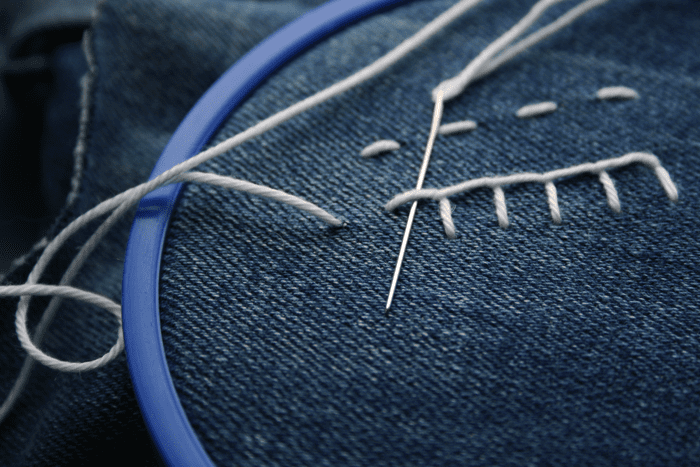
When you need to connect to blanket stitch, take the yarn to the front like shown. Be sure to match the spacing. Take the yarn under the established blanket stitch and pull the yarn through the back. Again, match the spacing and length of the ‘leg’ to the blanket stitch you’re connecting to.
Lazy Daisy Stitch
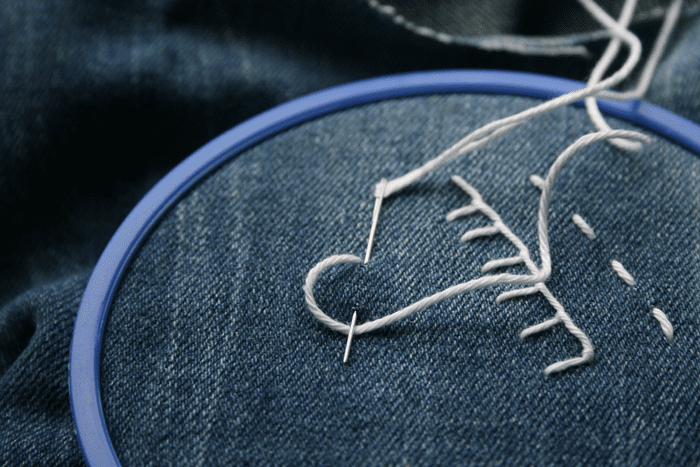
Lazy daisy is the quickest way to make a flower in embroidery. Take the yarn to the front, then first push the needle back through the same hole and through to the front again like shown in the photo. The length of the needle underneath the fabric will be the length of the lazy daisy petal.
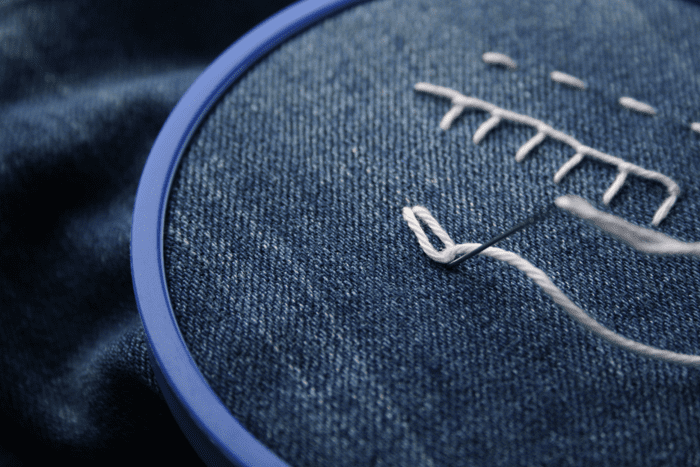
Pull the yarn through, then fasten in place with a tiny running stitch.
Get more tips for the lazy daisy stitch in my lazy daisy lavender cushion tutorial.
Chain Stitch
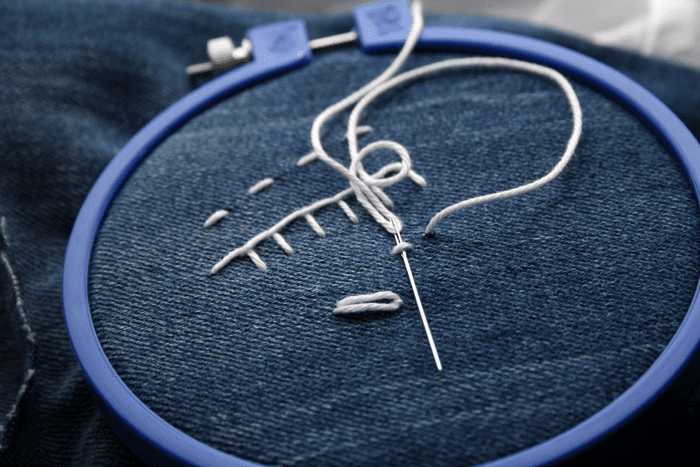
Chain stitch is very similar to lazy daisies, but the chain keeps building on itself. First, create a small running stitch. Pull the yarn to the front again, the distance away being how long you want each chain to be. Take the yarn underneath the running stitch, and pull through to the back in the same hole.
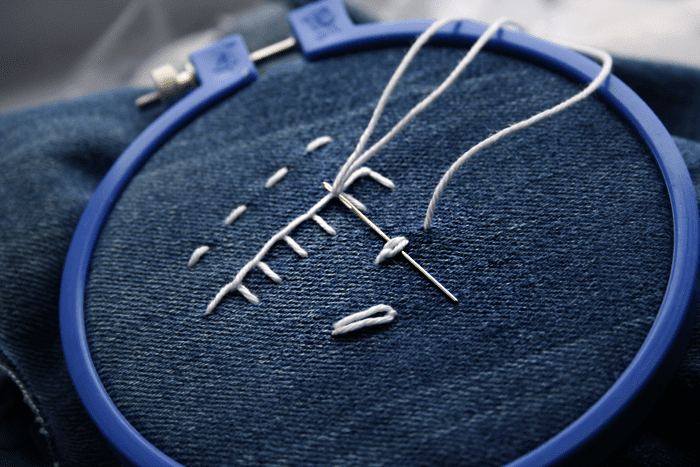
Keep taking the yarn underneath each chain, keeping the spacing regular.
[divider top=”0″]Done! You’re ready to tackle some patterns or create a decorative sampler for yourself. Edging tote bags or tea towels with different stitches is a quick and beautiful way to practise stitches.
In July I’m learning sewing. Be sure to practise these stitches, because I’m going to share a bright sewing project to better enjoy some summer sunshine…
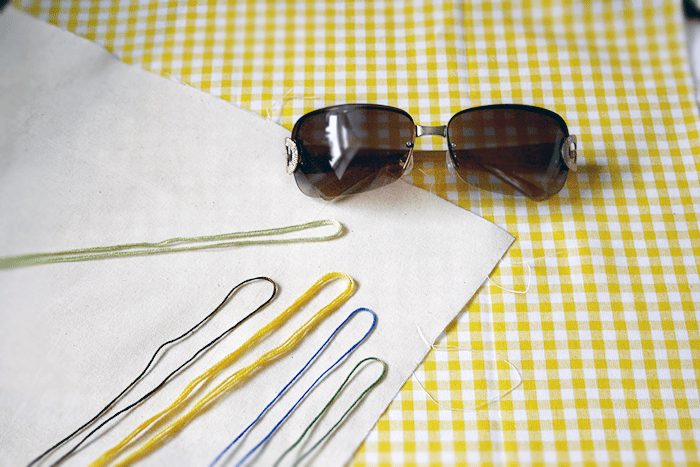
Can you guess what it’s going to be? ;)
Happy crafting,
![]()
More embroidery goodness on these fantastic blogs:


Very clear instructions and glad you are finding a way to enjoy embroidery without the tangle of threads!
I am guess you are going for a sunglasses case?!
Bingo, sunglasses case it is! I’m decorating the front with some sun-inspired embroidery, I can’t wait to share it. :)
Embroidering a finished garment is a bit more challenging than embroidering a piece of fabric and then transforming the fabric into a garment but it is not impossible. It is successful when you take your time hooping and stabilizing the shirt.