Beginner-Friendly Tote Bag Tutorial (and 3 ways to pretty it up!)
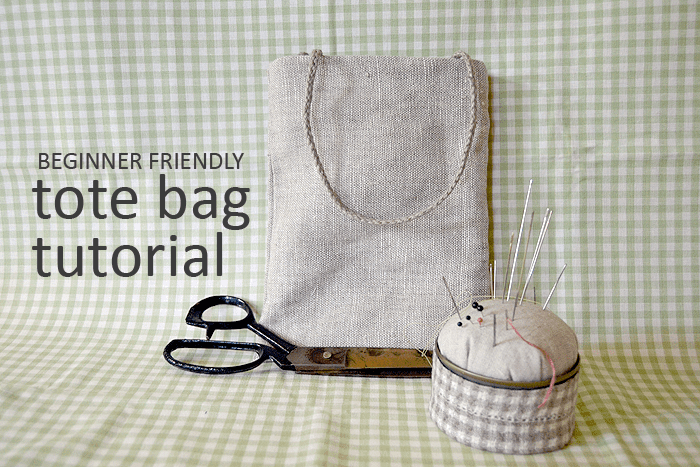
I’m pretty sure someone is playing a huge practical joke on me.
I mean, it can’t surely be a week into August already, can it? Where in the world did July go??
July’s craft of the month was sewing. My first project was a lined tote bag, and I thought I’d share a sweet and simple tutorial to get you making your own little totes!
Already know how to sew a lined tote? Skip to the end for some ways to pretty your bags up — and August’s craft announcement.
Materials
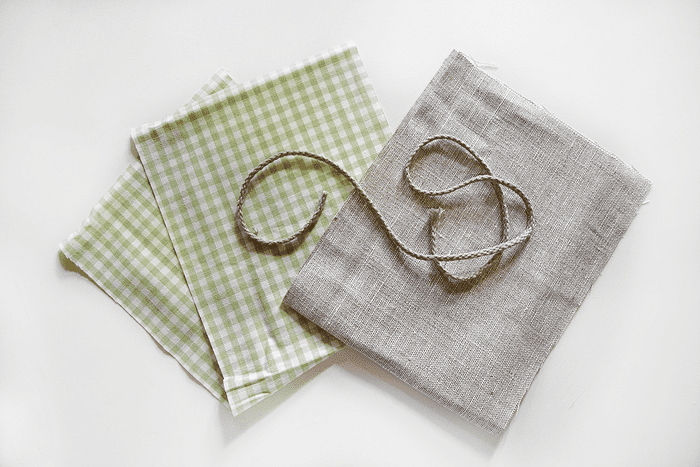
- One outer fabric (L 50cm x W 20cm)
- One liner fabric (L 47cm x W 20cm)
- Cord for handles (40cm, to be cut in half)
I’m using linen for the outer fabric and some 100% cotton green gingham fabric for the lining.
The measurements include seam allowance, and the lengths are to be folded in half. Grab some pins, a ruler and some scissors, get your iron ready, and turn on your sewing machine.
Time to make a tote!
Note: I’m using about 1cm for seam allowance throughout.
Instructions
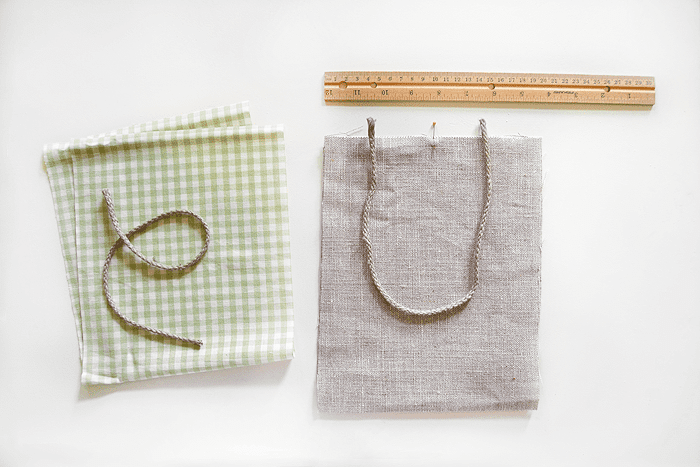
Cut your fabric to size, and cut the 40cm cord in half.
Find and mark the centre of the outer fabric.
Place the handle ends 5cm from the centre
on both sides, with a 1cm tail at each end.
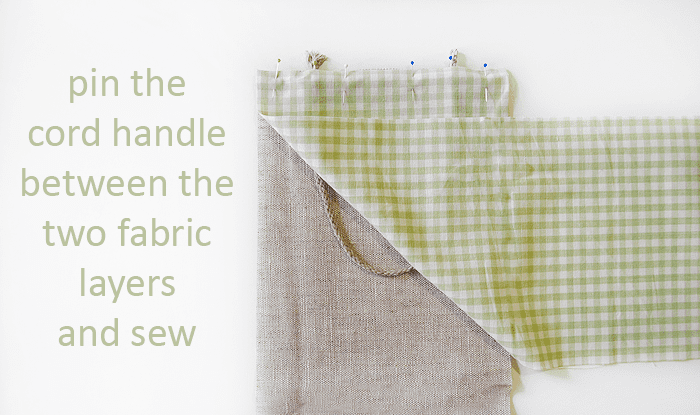
Cover the handle with the liner fabric
and pin all three layers (outer, handle, liner) in place.
Sew, going over the handle ends twice.
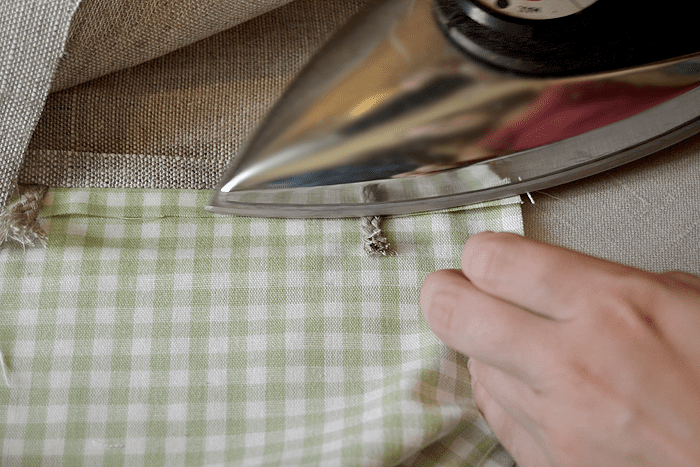
After sewing any seam in the tote, press it!
(That’s a tip straight from my fashion-designing grandmother.)
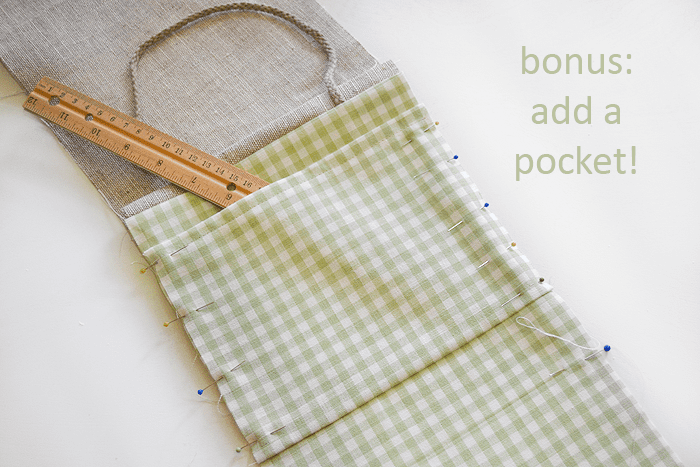
As an optional bonus:
If you want to add a pocket, the time to do it is after sewing in the first handle.
First, cut a piece of fabric the same width as the bag (20cm).
I marked the bottom of the liner (blue pin in pic) to see how tall I wanted my pocket.
Fold the pocket fabric’s top edge over twice, press, and sew.
Fold and press the bottom edge once.
Pin the pocket in place on the liner fabric, and sew the bottom seam.
The sides of the pocket will get sewn with the rest of the tote, so pin it and continue! :)
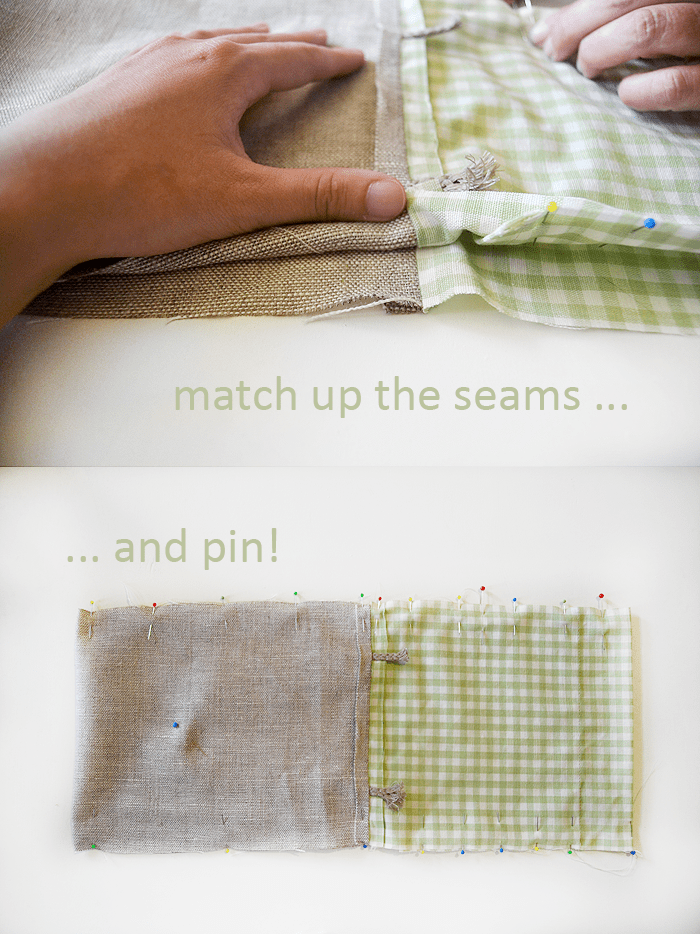
After sewing in the second handle, match up the seams with the right side in.
Pin everything in place.
(I pinned the handles out of the way of the sewing, too.)
The red pins on the liner fabric mark where I will leave a gap to turn the bag.
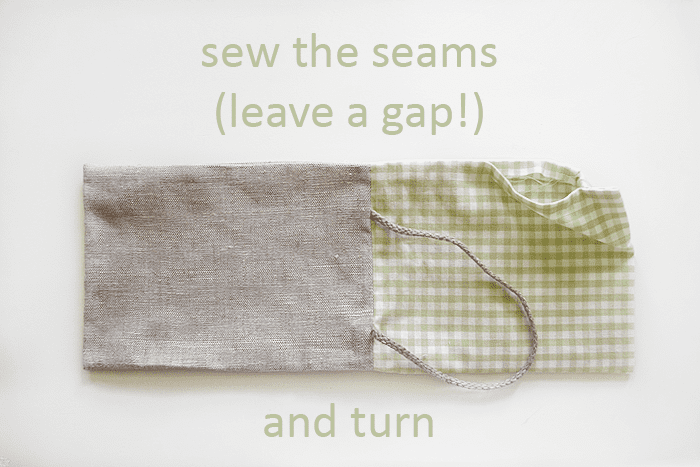
Sew, remembering the gap, and then turn! Hand-sew the gap.
Make sure to keep pressing after every seam :)
Isn’t it starting to look pretty??
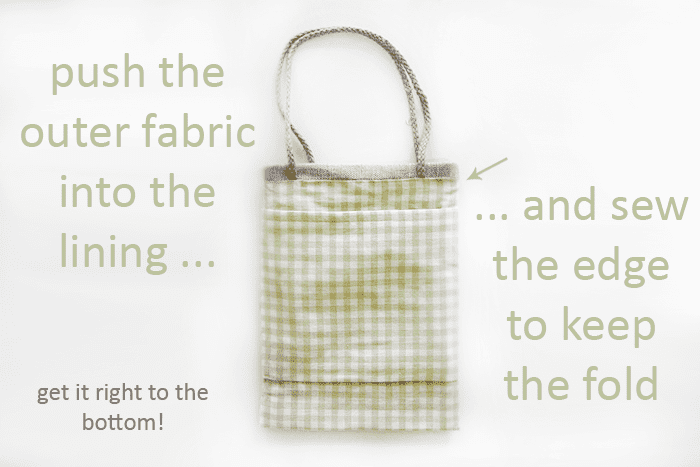
After finishing the seam, push the outer fabric into the liner fabric.
Basically, you’re turning the bag inside out.
As the outer fabric is longer, pushing it into the liner fabric gives us
a fail-safe way to see how long the edge should be.
Press the edge when you’re happy with how the fabrics are sitting.
Sew, to keep the fold. :)
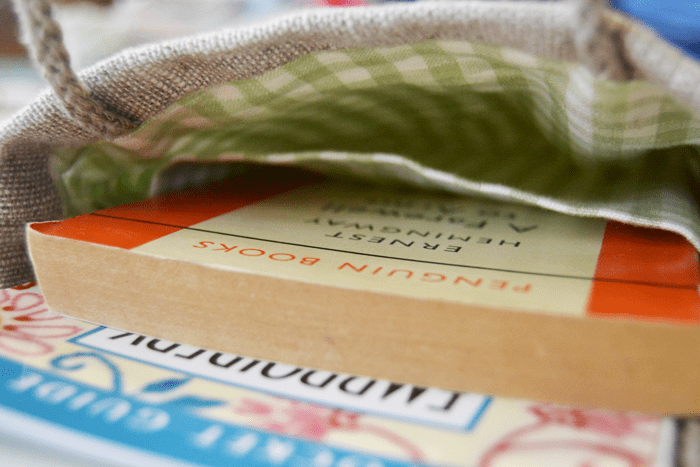
Turn the bag right side out …
And voilà! Your tote is finished!
[divider top=”0″]
Out of every craft that I have learned this year, sewing is right at the top for the amount of time it takes to master. It’s a craft that is so much about your dexterity with the machine and how much time you take to finish every project.
It’s safe to say that a sewing machine is on my wishlist for Christmas!
Decorate Your Totes
If you aren’t a regular reader of the Harley Gallery blog, you might have missed my guest post.
I’m sharing three ways to decorate your totes, so don’t miss it! Go look now, before sewing a tote. Some of the techniques need to be done before the liner is in place. :)
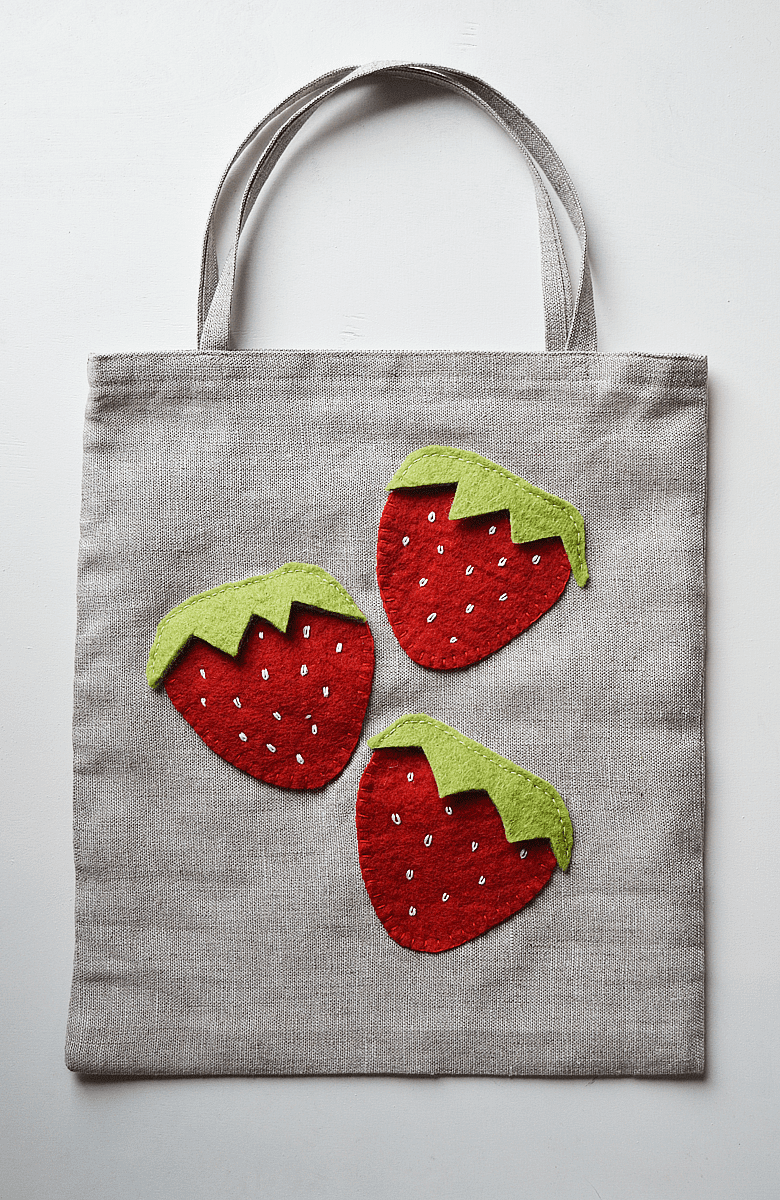
I made this yummy looking tote for my sister’s birthday! Tutorial here.
August’s Craft of the Month …
… is needle felting. After working with some luxurious wool felt and admiring the talents of some local crafters, I knew I had to try it myself.
Just check out this astonishing collection of needle felted figures. Inspiring! (on Pinterest)
How would you decorate your tote?
xo,
![]()


Love the tutorial and my awesome strawberry tote! =)
Like I said it is my favourite of the bunch! :) And extra special, with bits from Mom and Mommo, too!
I can make a tote bag, but I love the way you’ve made yours, it looks gorgeous :)
Thank you Kate! The design itself was my mother’s work, but I did all the sewing. It was her solution to making the liner as simple to sew as possible. I’m itching to make more!
Loving the choice of fabrics:)
Thanks Vicky. I love a colourful liner, it perks up any bag! Linen is one of my favourite materials, too.
Ooh the strawberry tote is fantastic!
Well done a fab tutorial and the feature on the Harley Gallery is great.
Have fun needle felting and beware of the barbs!
Claire, thank you! The strawberry design is my favourite of the ones I made. I always like designing crafts that will be for a specific person. (In this case, my sister.)
I’ll try to keep the barb pricks to a minimum! ;)
[…] Crafting Fingers to find out how to make a beautifully lined tote bag. Make it, decorate it and please do let us […]
thanks! very good instructions – i made a handbag from upholstery fabric remnants, then added a zip just below the handles at the end. very happy!
Thank you for sharing this tote. I am a beginner at sewing. I am looking forward to creating a leather tote from a skirt.
I haven’t sewn leather yet, I imagine a simple tote looking gorgeous though! Hope your project went well x