A couple years ago I was challenged to style a dining table for Christmas. (It still feels crazy to say “as seen on Kirstie Allsopp’s Handmade Christmas”.) Of all the things I made for my festive table, this tablecloth has been my favourite every season since.
And it’s definitely not just during Christmas.
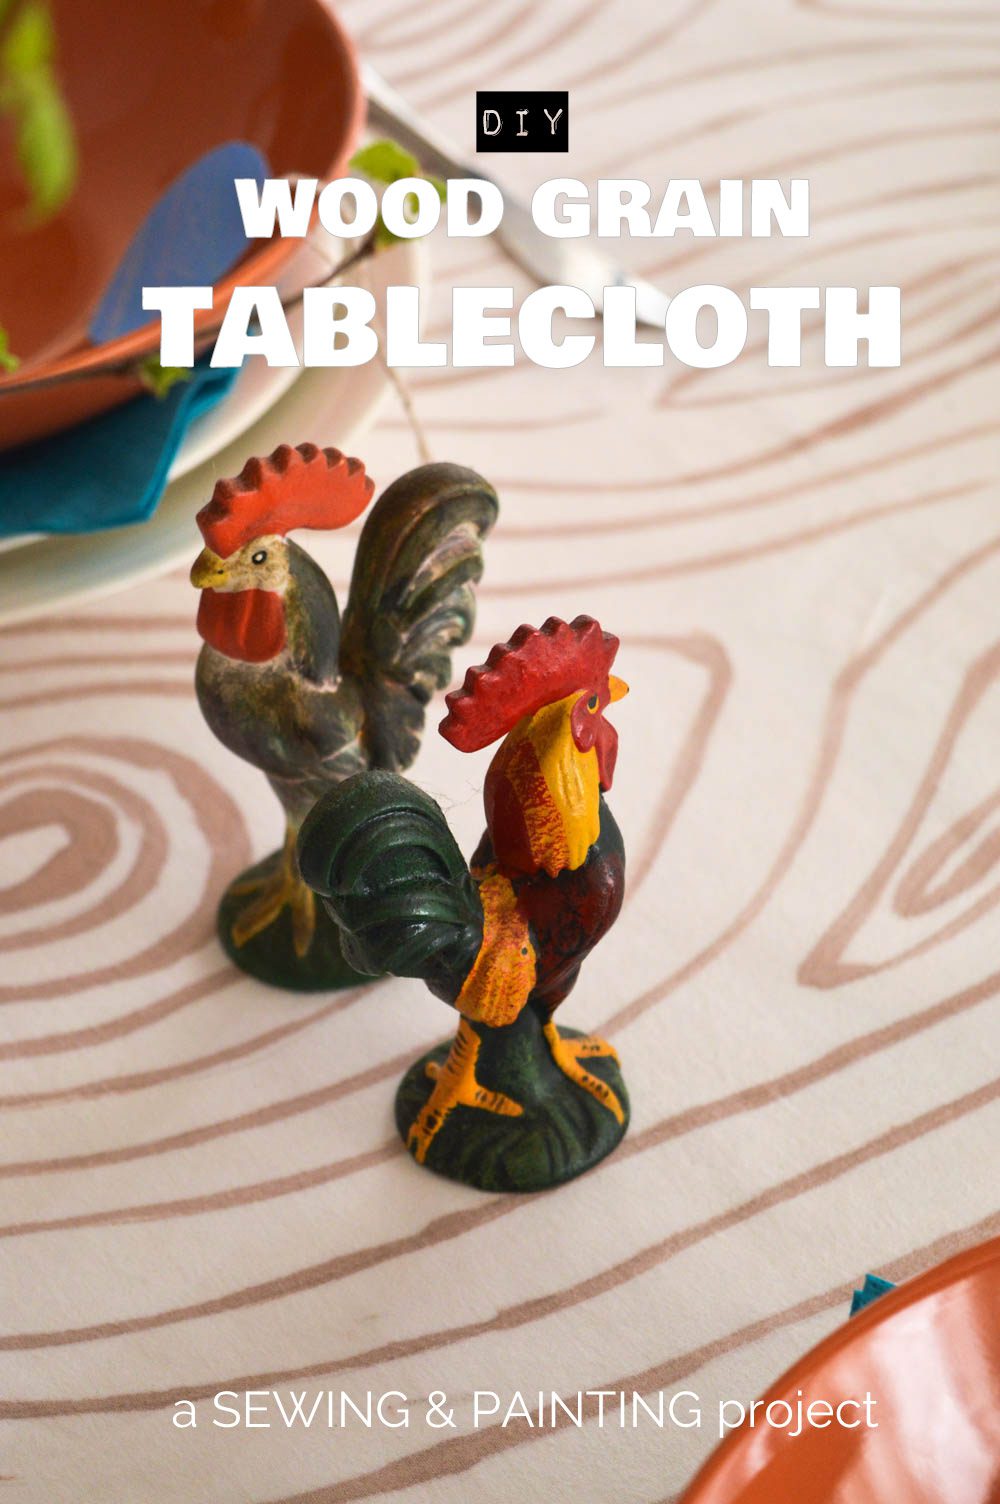
This painted wood grain tablecloth was designed to enjoy throughout the seasons. When I put together my table setting for the Handmade Christmas programme, I wanted every minute of DIY time to work as hard as possible. This tablecloth took me (in all honesty) about six hours to make from sewing to painting to ironing. It’s a good weekend project to spread over a couple afternoons. To get ready for the show, I rushed around making it all in one day. (Not recommended. Do try to enjoy the process itself.)
BUT, panic DIY aside, this tablecloth suits any season depending on how it’s styled. Multi-purpose for the win!
Wood grain and other nature-inspired designs are perfect for beginners. Uneven brush strokes and wobbly lines just add to the organic feel. If you want to practise, use these same techniques on scrap fabric or some napkins before you make your tablecloth.

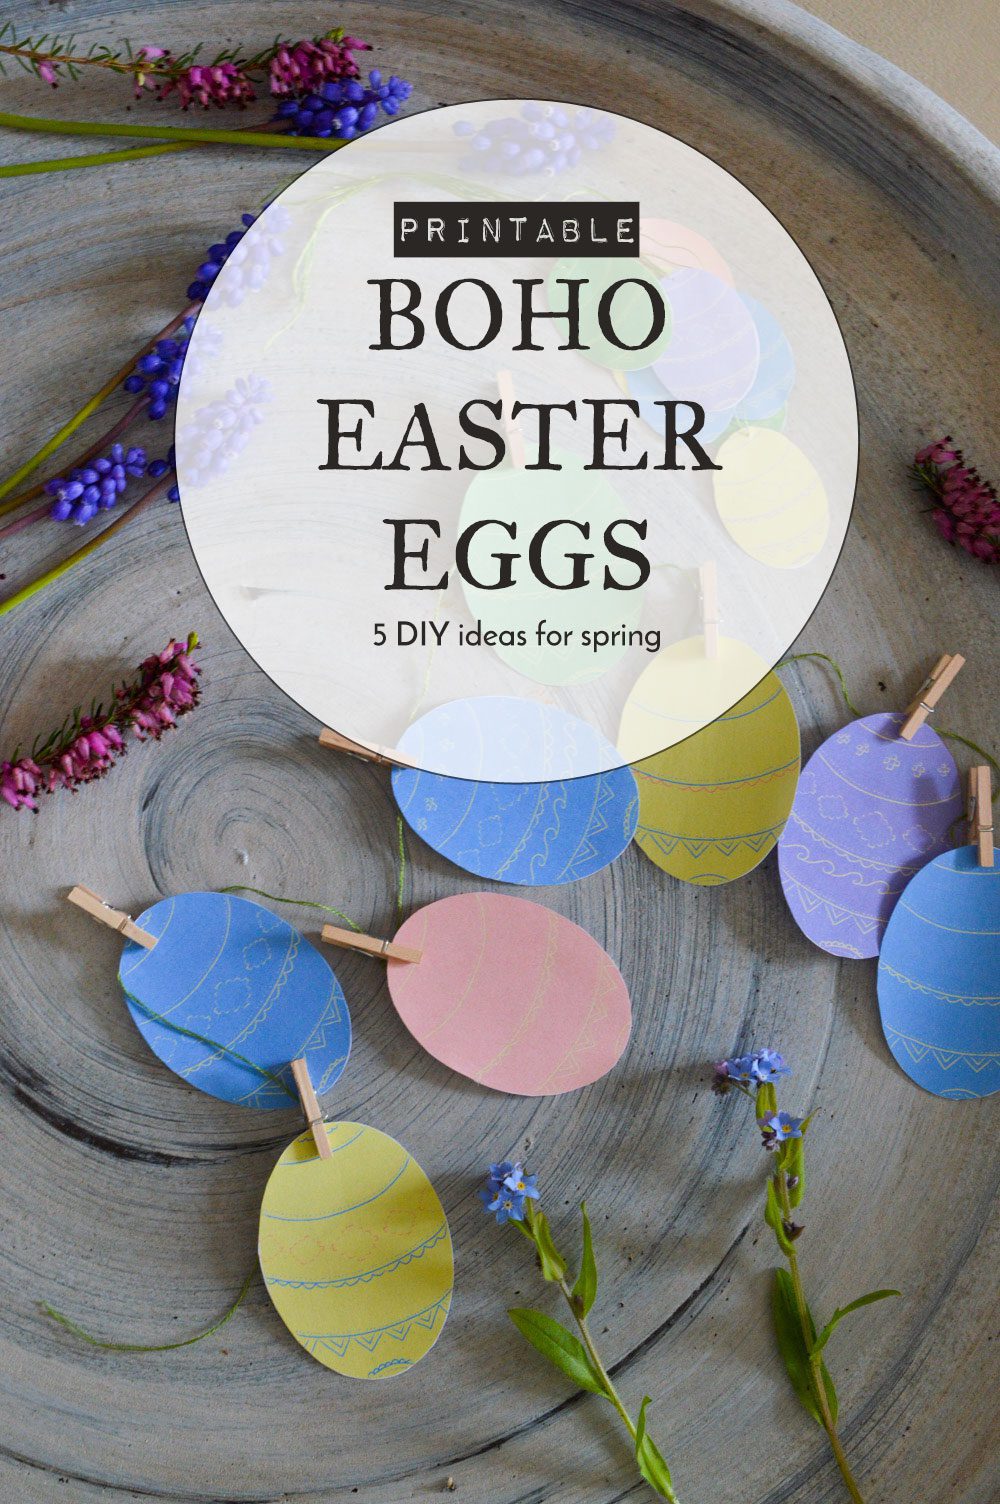
In two weeks, Easter will be upon us! The unwieldy grass and blooming wildflowers around our house give proof that spring is here.
To celebrate my love for spring, earthy pastels, and boho chic I’ve made this Easter egg printable that’s too good to keep to myself. I designed this printable with DIYs in mind. There are so many things you can do with a bit of paper, glue, and imagination. I’ve listed a few DIY ideas below, and I’d love to hear what you make!
Scroll down to download the PDF. Here’s what the sheet looks like once you’ve printed it out:
Disclosure: I got Chalkola chalk markers in exchange for a review. Affiliate links are marked with a *.
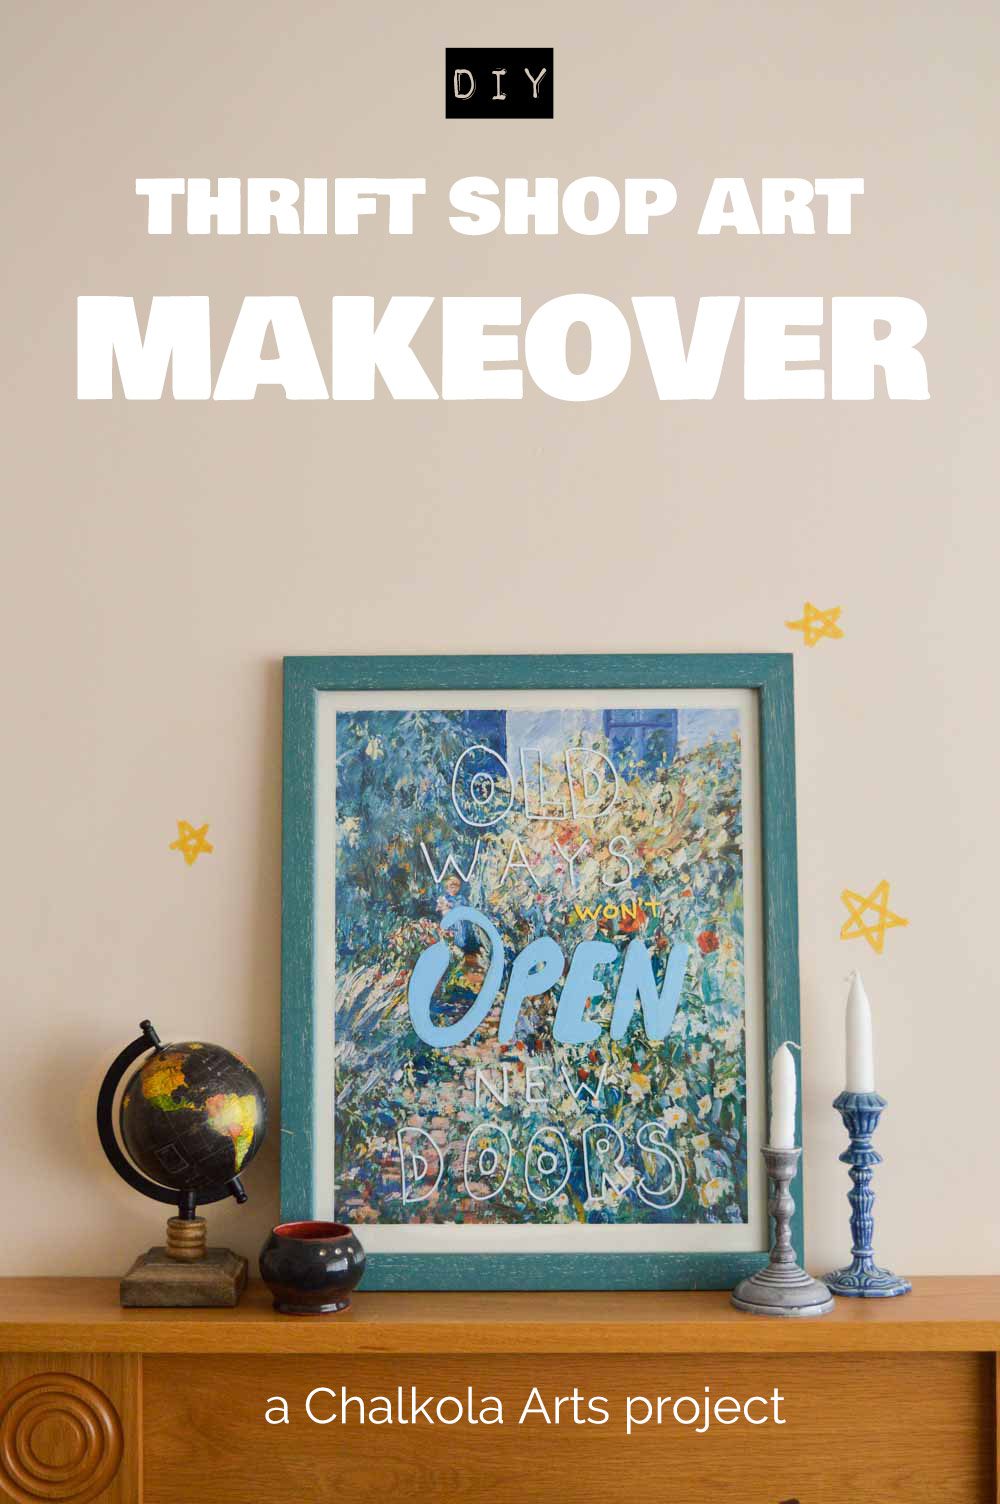
Whenever I go into a thrift shop or charity shop there’s always a good piece of wall art or two.
In other words, I might have a bit of a collection at this point. My favourite find so far is this A2 sized impressionist art print within a matching blue frame. After being in our home for a few years, I wanted to give it an update. (And the print doesn’t have any info on the artist, so if you recognise the work please let me know!)
I wanted a quick art makeover that still celebrated the beauty of the print and could be easily changed in the future, too. Armed with chalk markers and a bit of Pinterest inspiration, here’s the process so you can makeover your own thrift shop art finds.
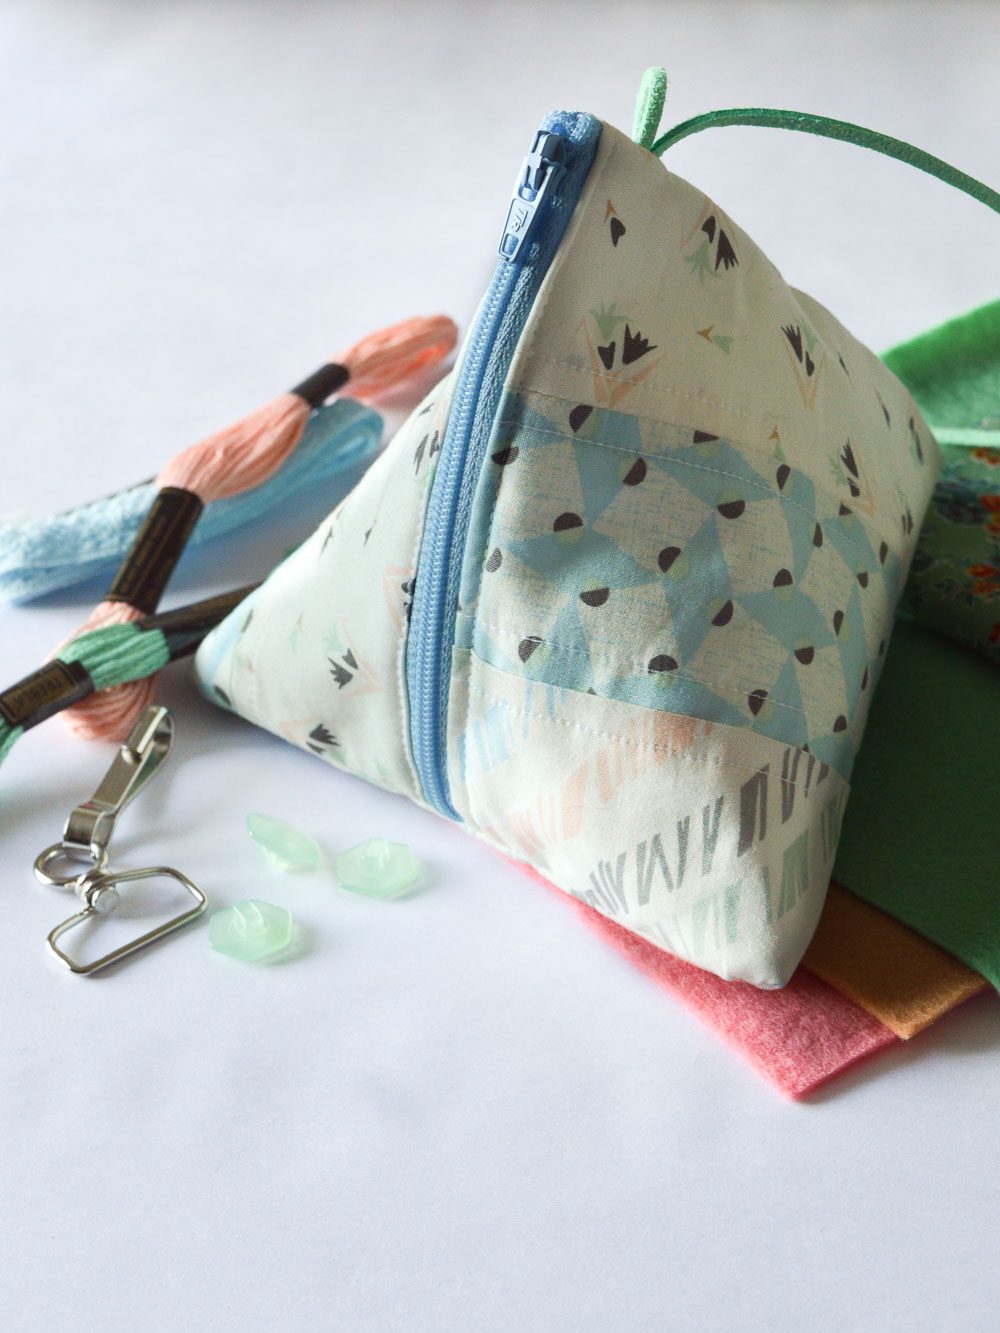
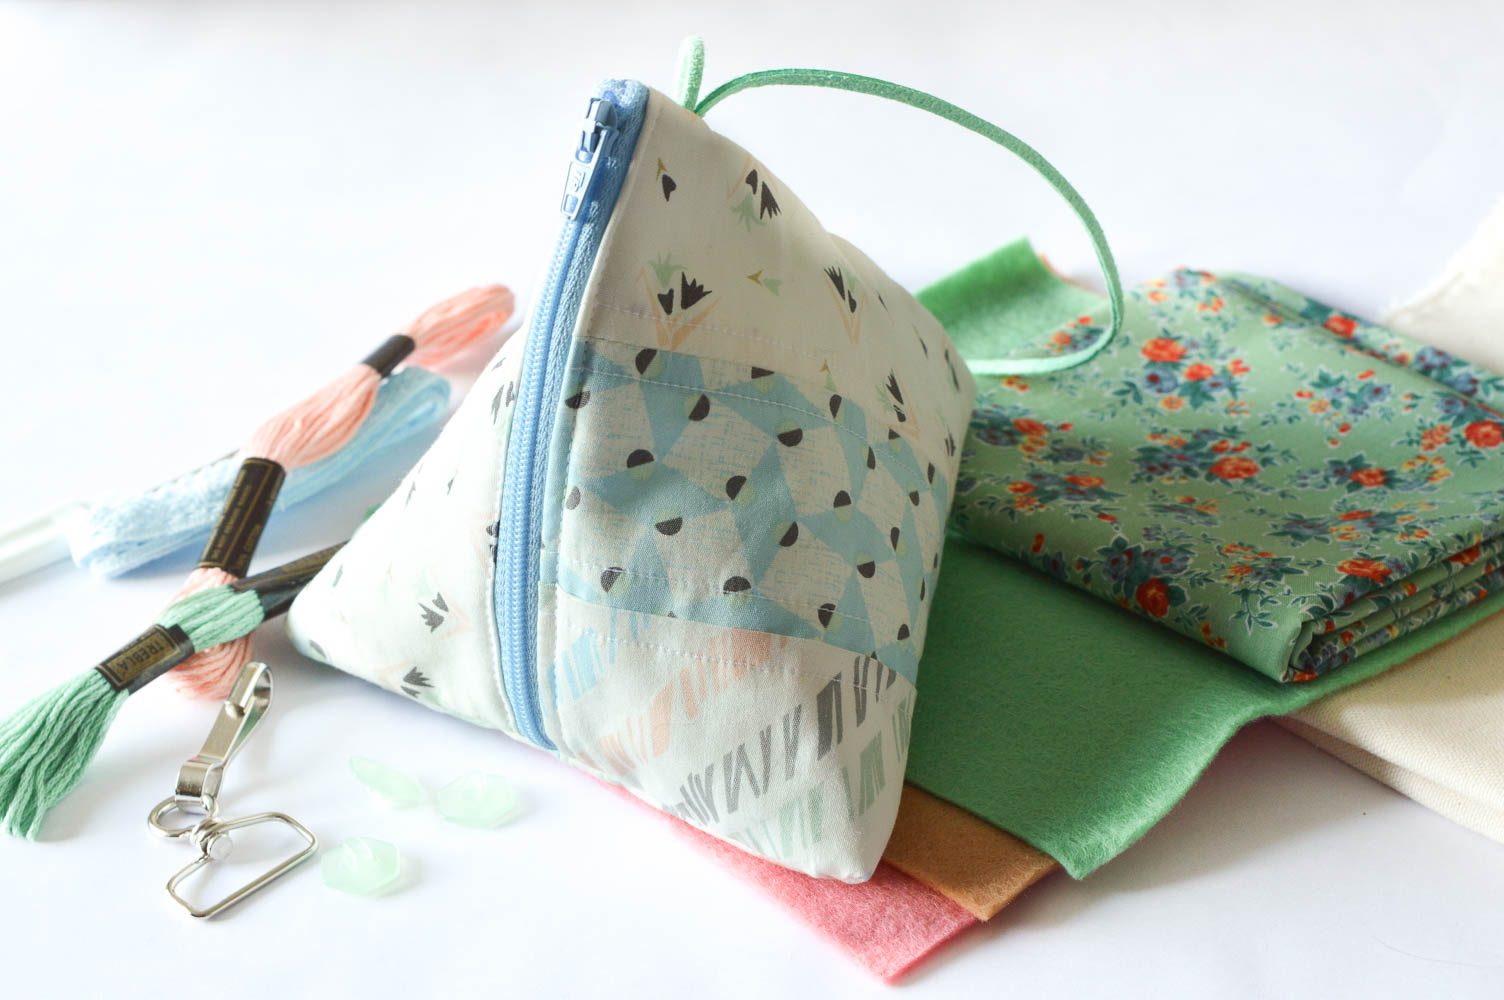
Above: The results of my first Craft Club Box
Sewing is my big craft focus this year. So when Courtney of Craft Club Box offered me a trial of her craft box subscription, I couldn’t resist. Each box has a surprise pack of beautiful materials, instructions for a project, and a complementary eMagazine with hundreds of curated projects for inspiration.
Neatly packed, April’s kit is a wonderful bundle of spring colours and useful materials, including the main star of the show: the triangle zipper pouch kit with step-by-step instructions. I really enjoyed this project, but more on that below!
For a total of £10 per box and £3 p&p, I think the box is a bargain. As well as kit materials and instructions, there’s a few bits to add to your craft stash for other projects. April’s box contains:
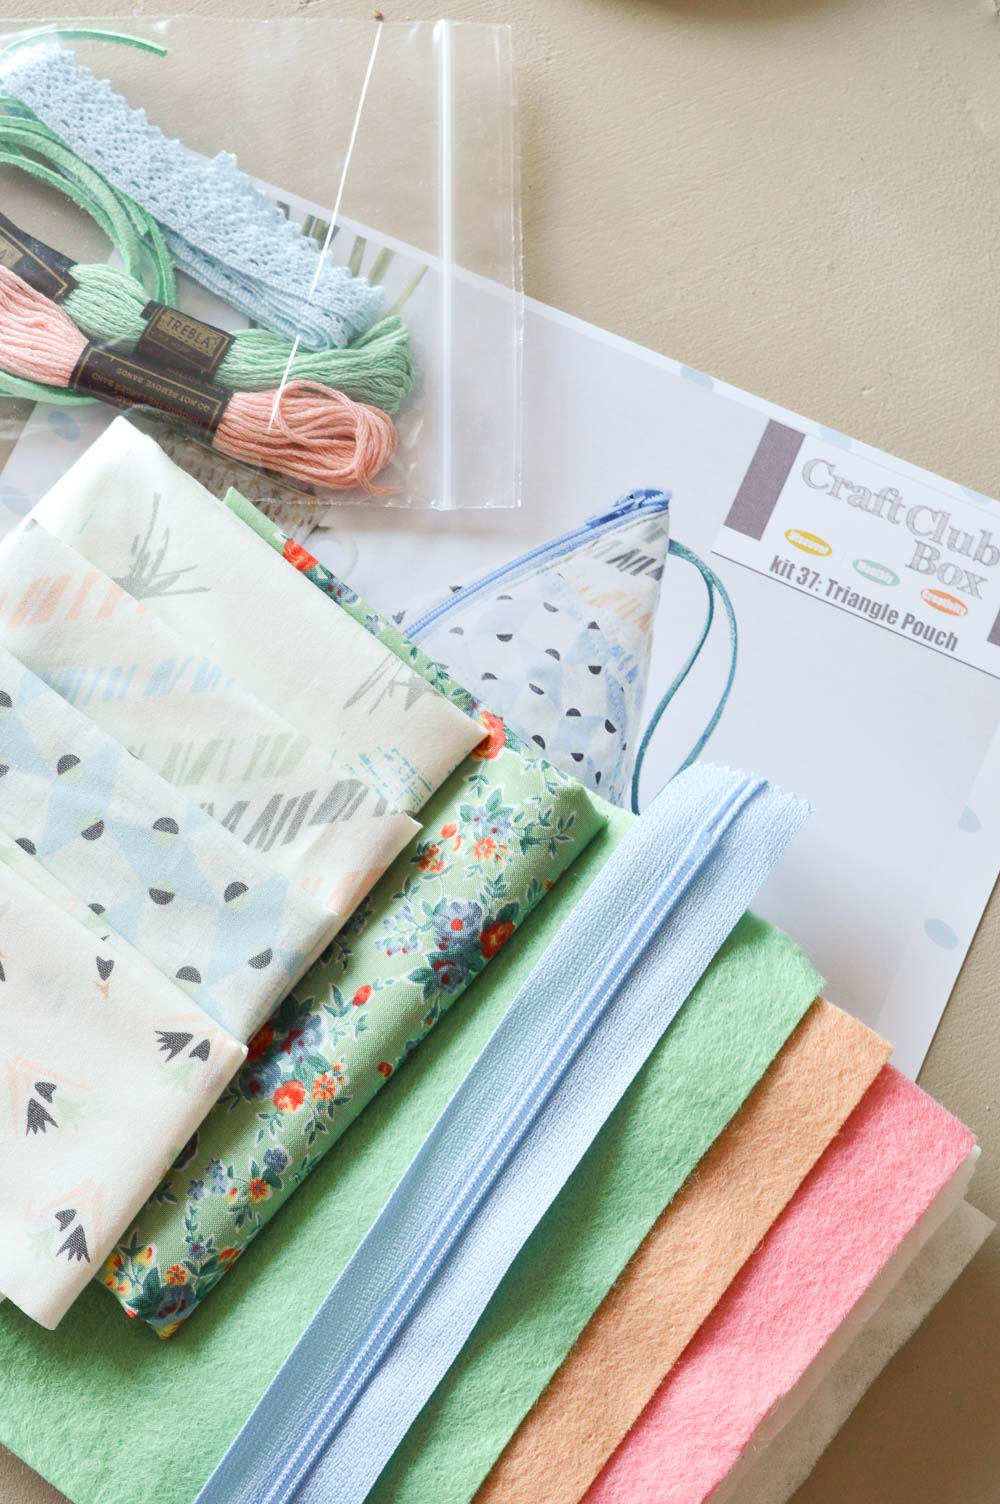
And every month, Courtney sends subscribers a helpful emag. As well as including a peek of the box contents, the Craft Club Box emag includes a wealth of more crafting inspiration and helpful tips for the month’s sewing kit.
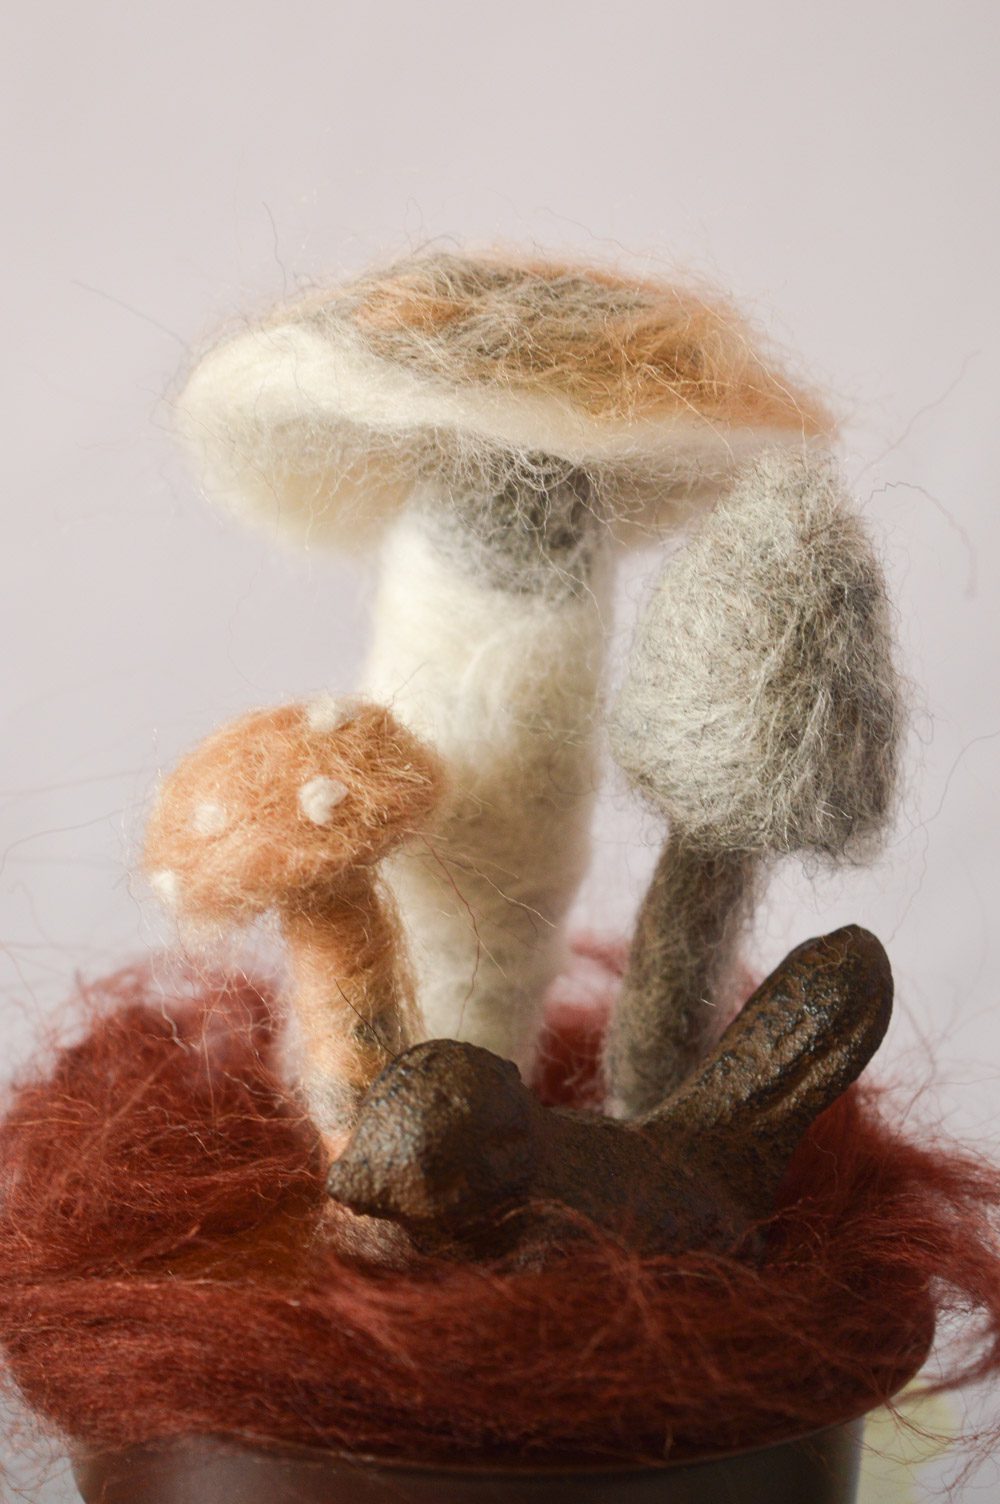
I love how felted fungi look. Mushrooms are a wonderful, whimsical piece of décor that can look as cultured or as fantastical as you like. Whether gourmet chantarelles or little Smurf houses, mushrooms look lovely all year round. All they need is a bit of styling for a seasonal look. (Although a certain Italian plumber definitely thinks mushrooms are in fashion ALL year.)
For a whimsical, earthy, and delicious fungi-friendly look I used needle felt to make this DIY mushroom display. I’ve shared the full tutorial over on Minerva Crafts:
Read the full DIY Felted Mushrooms tutorial on Minerva Crafts >

To make your own mushroom display you’ll need:
- Natural wool roving in grey, brown, white, and other suitable woodland shades (the Assorted Browns felt pack is perfect)
- Felting needle(s)
- Felting mat
- Scissors
- Optional: stiff floral wire & wire cutters