DIY hanging fish decor
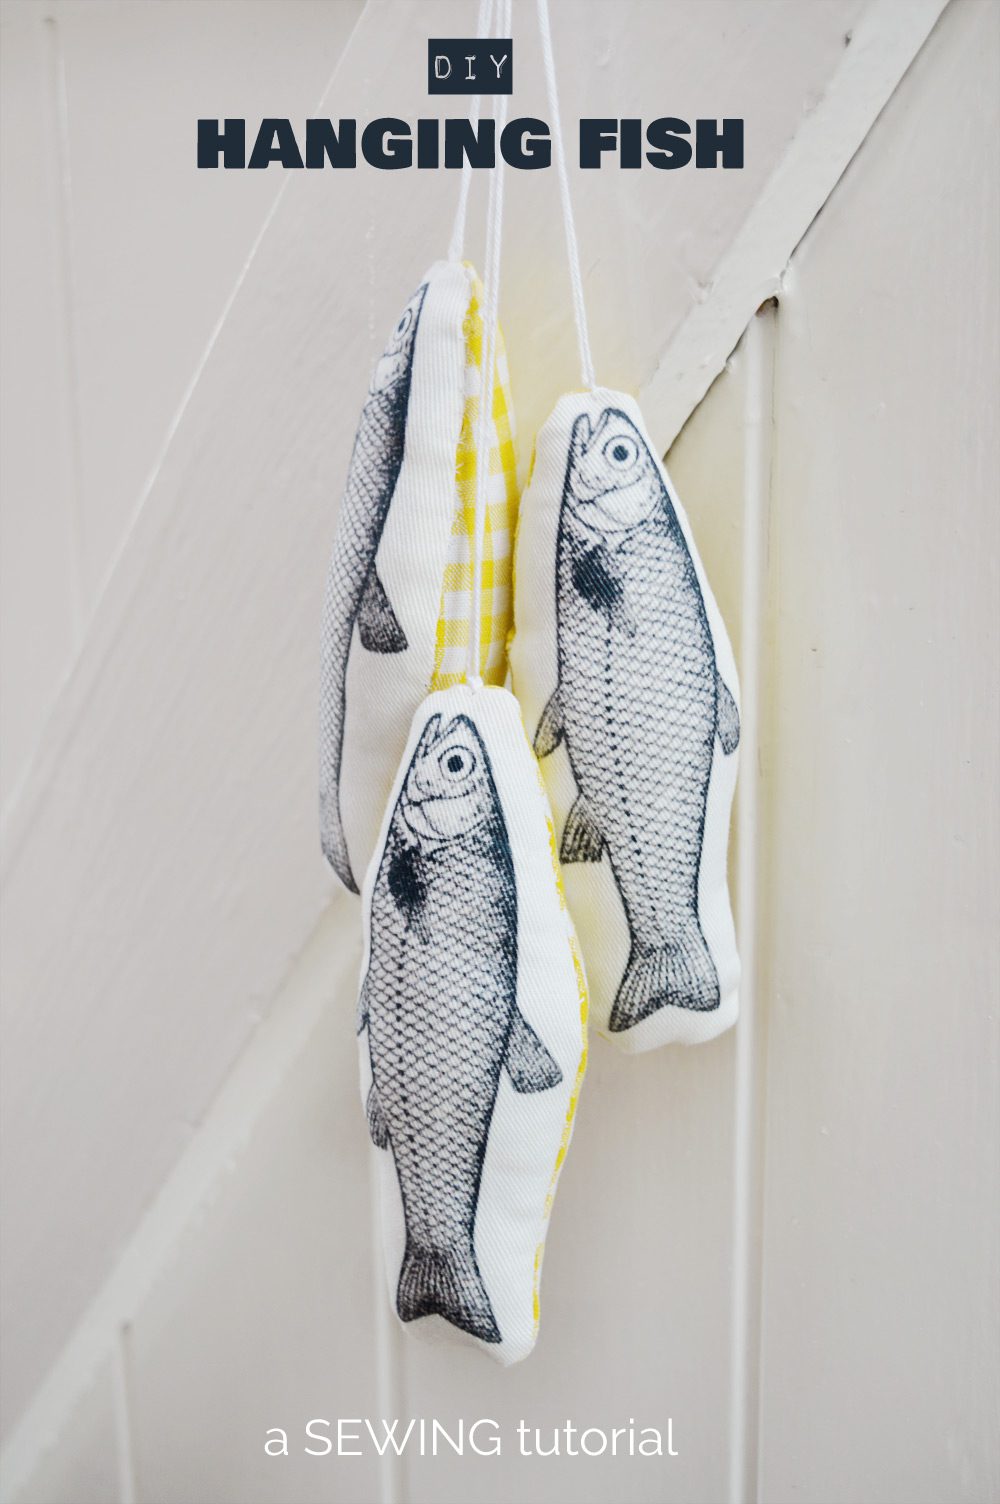
I made this project catching up on TV last night. Summer means it’s usually too sticky during the day to even think of crafting.
Sunny days in our house involve a constant supply of ice cold pop and an ever-growing stack of outdoorsy magazines. I love how bright and long the days are in summer. It’s my favourite time to make new decorations and try different arrangements in the house.
When Zazzle offered to send me a sample of their new custom fabric range, choosing a design was the hardest part. There are almost 150,000 patterns available. (If you love design, you can even make your own patterns too.)
Since we’re all about the outdoors this season, here’s a quick make inspired by my husband’s fishing habit. Bring the sunshine in!
Materials
- ‘Ordinary Fish’ fabric in cotton twill c/o Zazzle (affiliate link)
OR any suitable fish pattern fabric - Backing fabric, I used yellow gingham
- Pencil and paper for template
- Toy stuffing
- Needle & thread
- Waxed or mercerised cotton yarn
For a more classical nautical theme, try thick navy stripes or polka dot for the backing. I love the almost urban combination of yellow and black in contrast to the country themes.
How to sew the fish
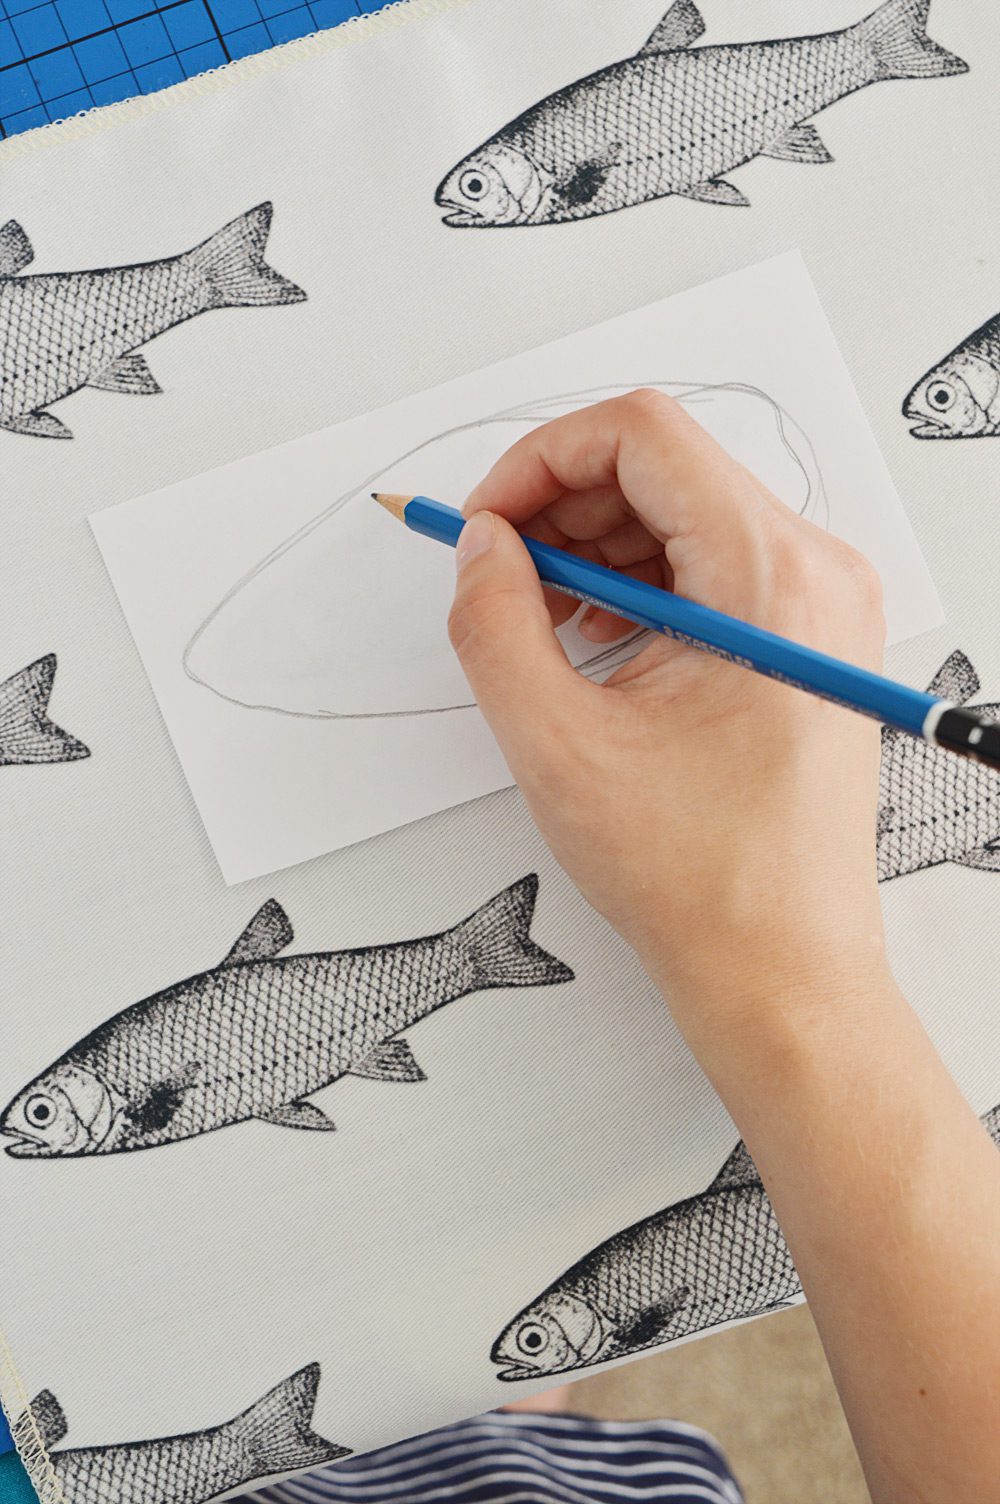
Iron the fish fabric and use pencil and paper to trace a template. Keep in mind that the more curves and corners involved, the harder it will be to sew by machine. I made my fish by hand as I’m still getting to grips with curves on the sewing machine!
Cut out the template and trace onto the back of the fabric using pencil. Cut out the shapes, leaving at least 5mm of seam allowance around the traced line.
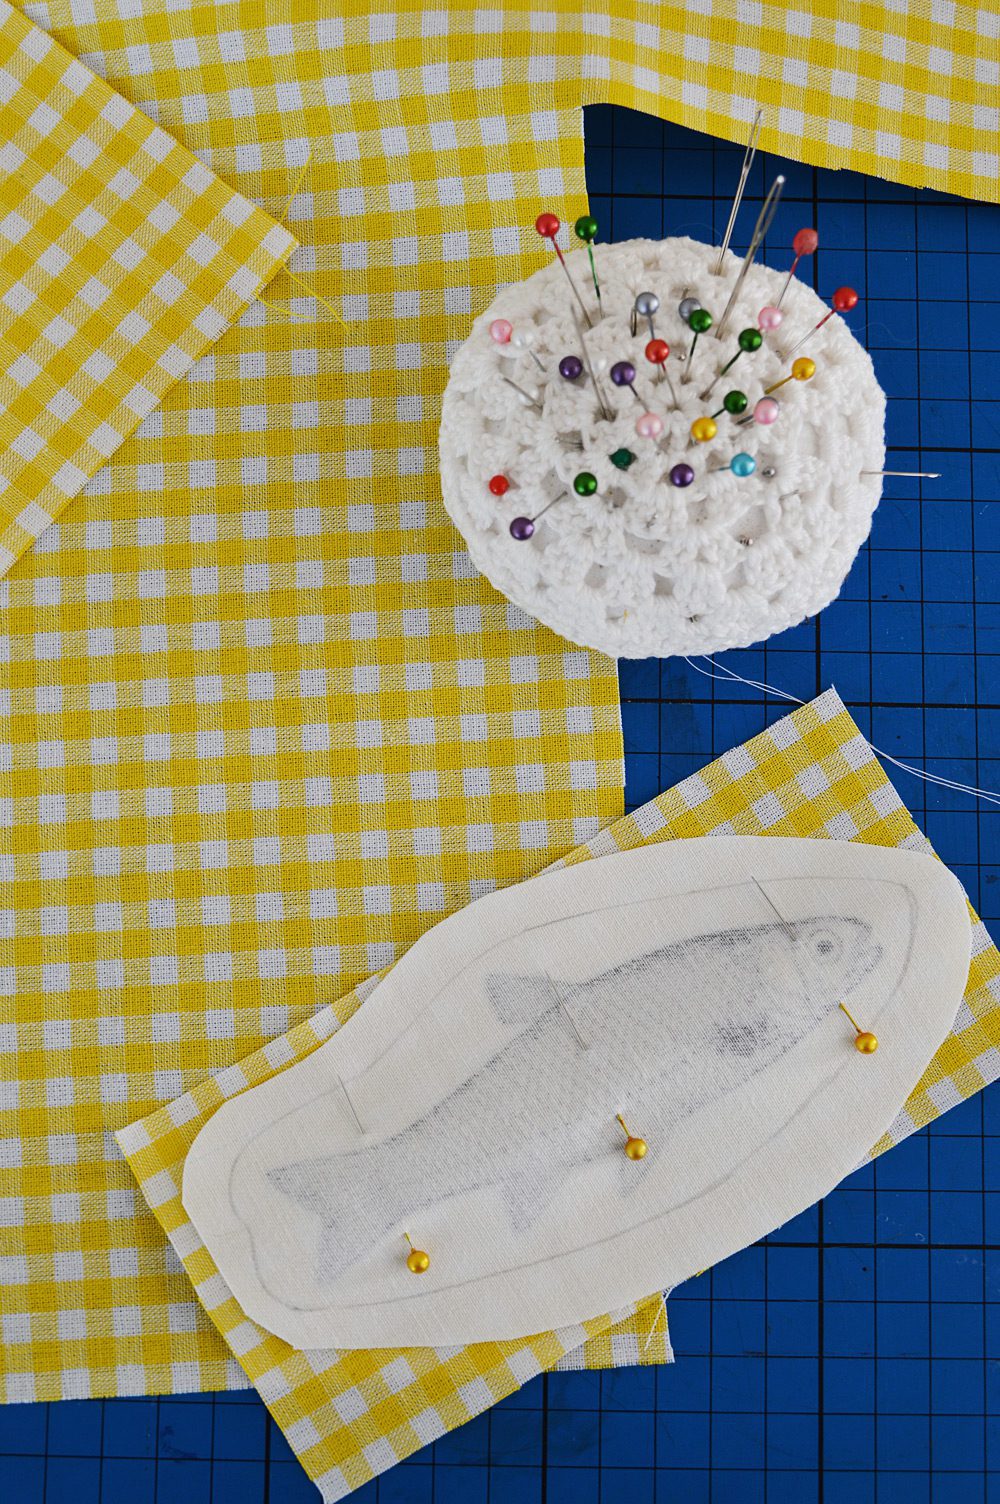
Cut out the backing. I cut out rectangles to make it easier to keep the gingham straight. You could easily use the paper template on whatever fabric you choose.
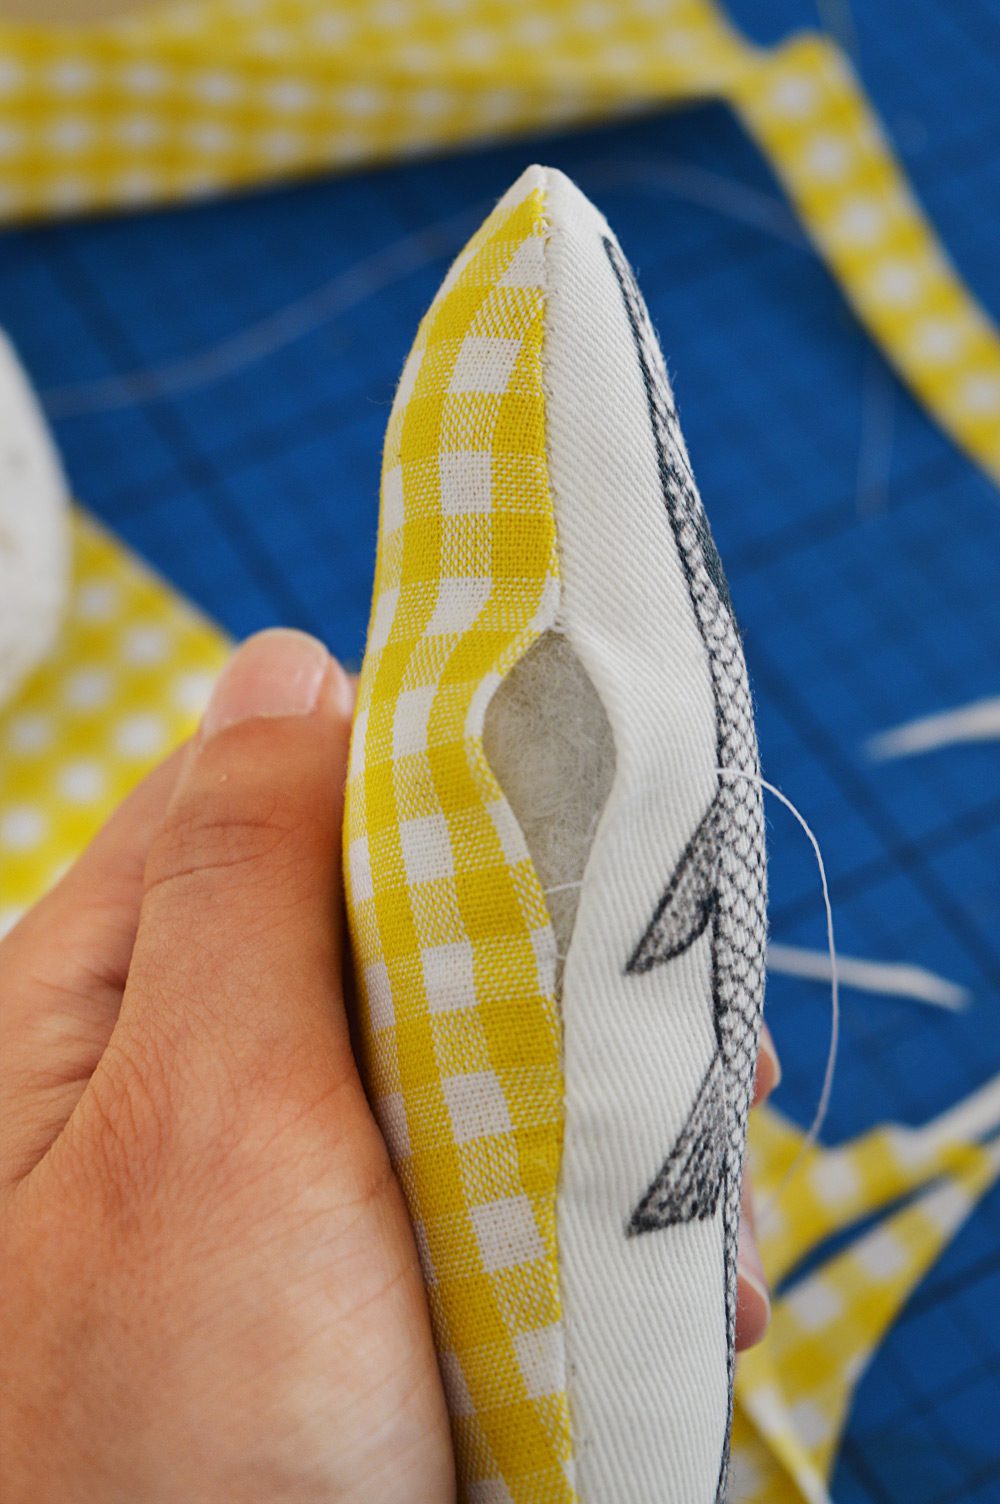
Right sides together, sew the fabrics using back stitch or a sewing machine. Leave a small gap, about 1″ wide. Trim the seam allowance and snip along the curves then turn the fish right side out.
Stuff firmly. Sew the gap with invisible stitch.
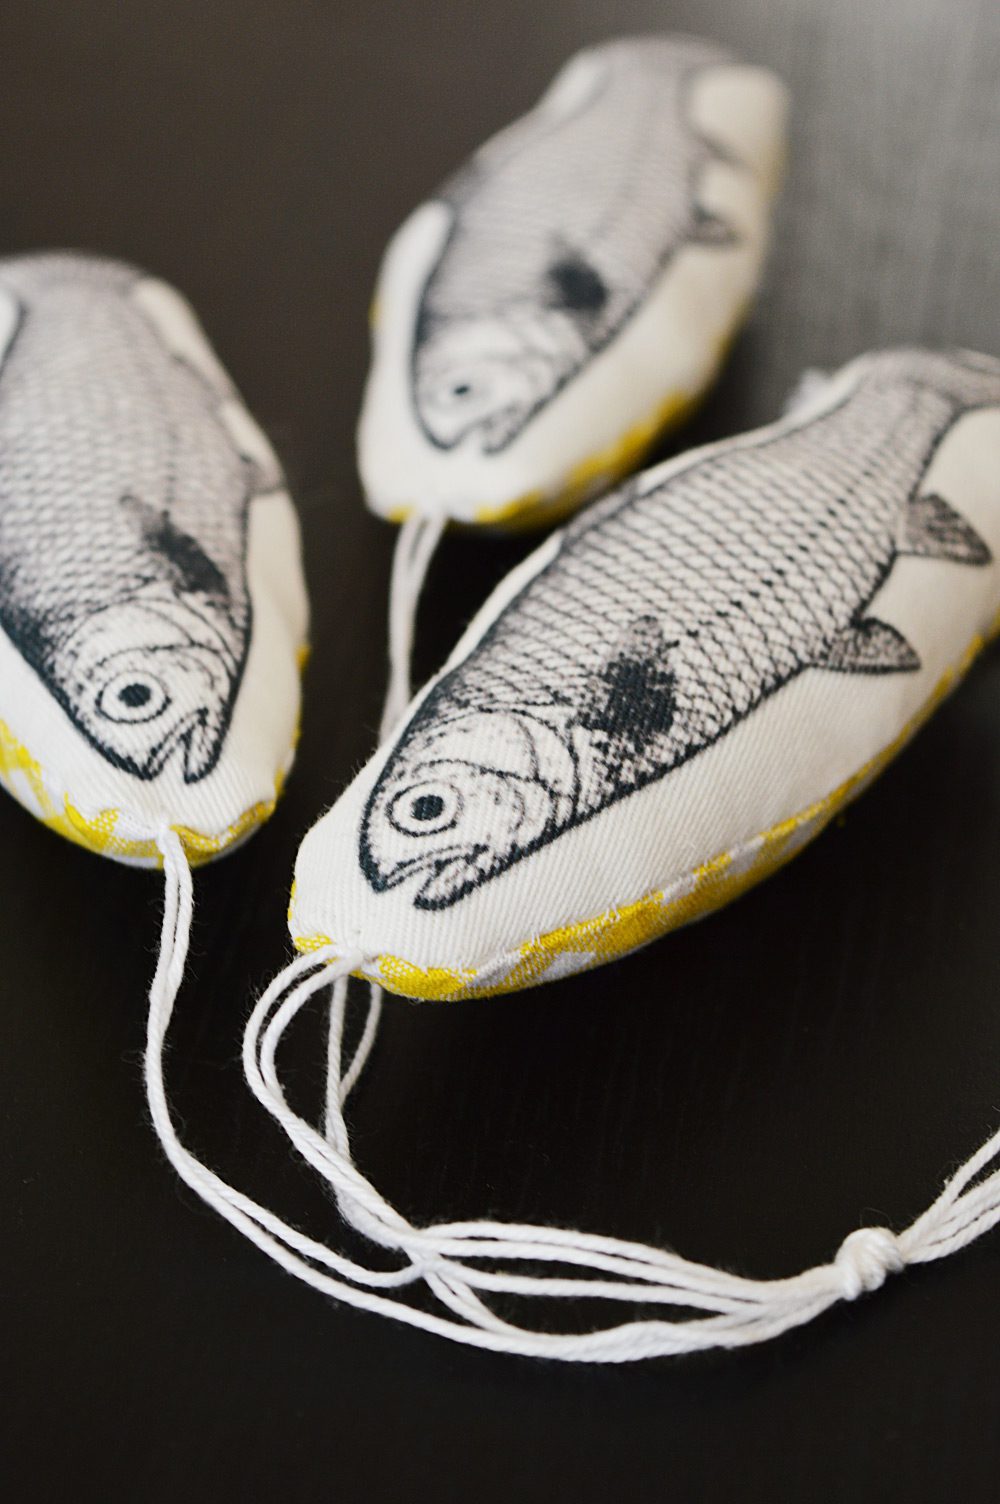
To hang, use a large-eyed needle to thread a length of yarn (60-80cm) through the tip of the fish. Tie a double knot to secure in place.
Arrange the fish as desired and secure all the threads with a knot to keep in place. Knot again at the top to create a loop, and trim the ends.
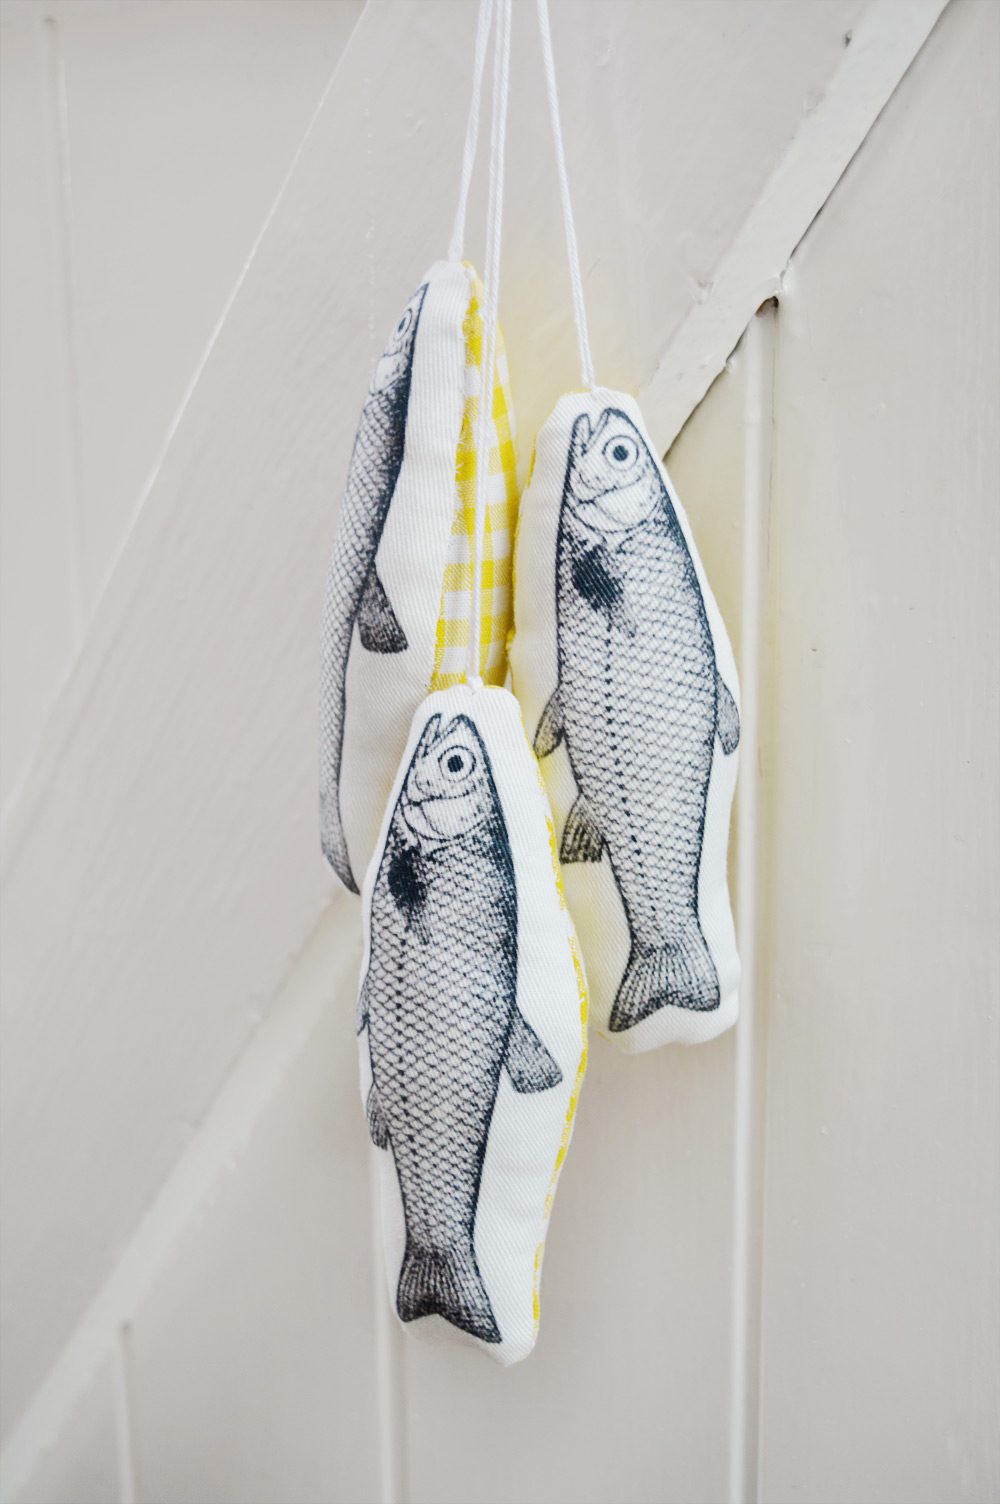
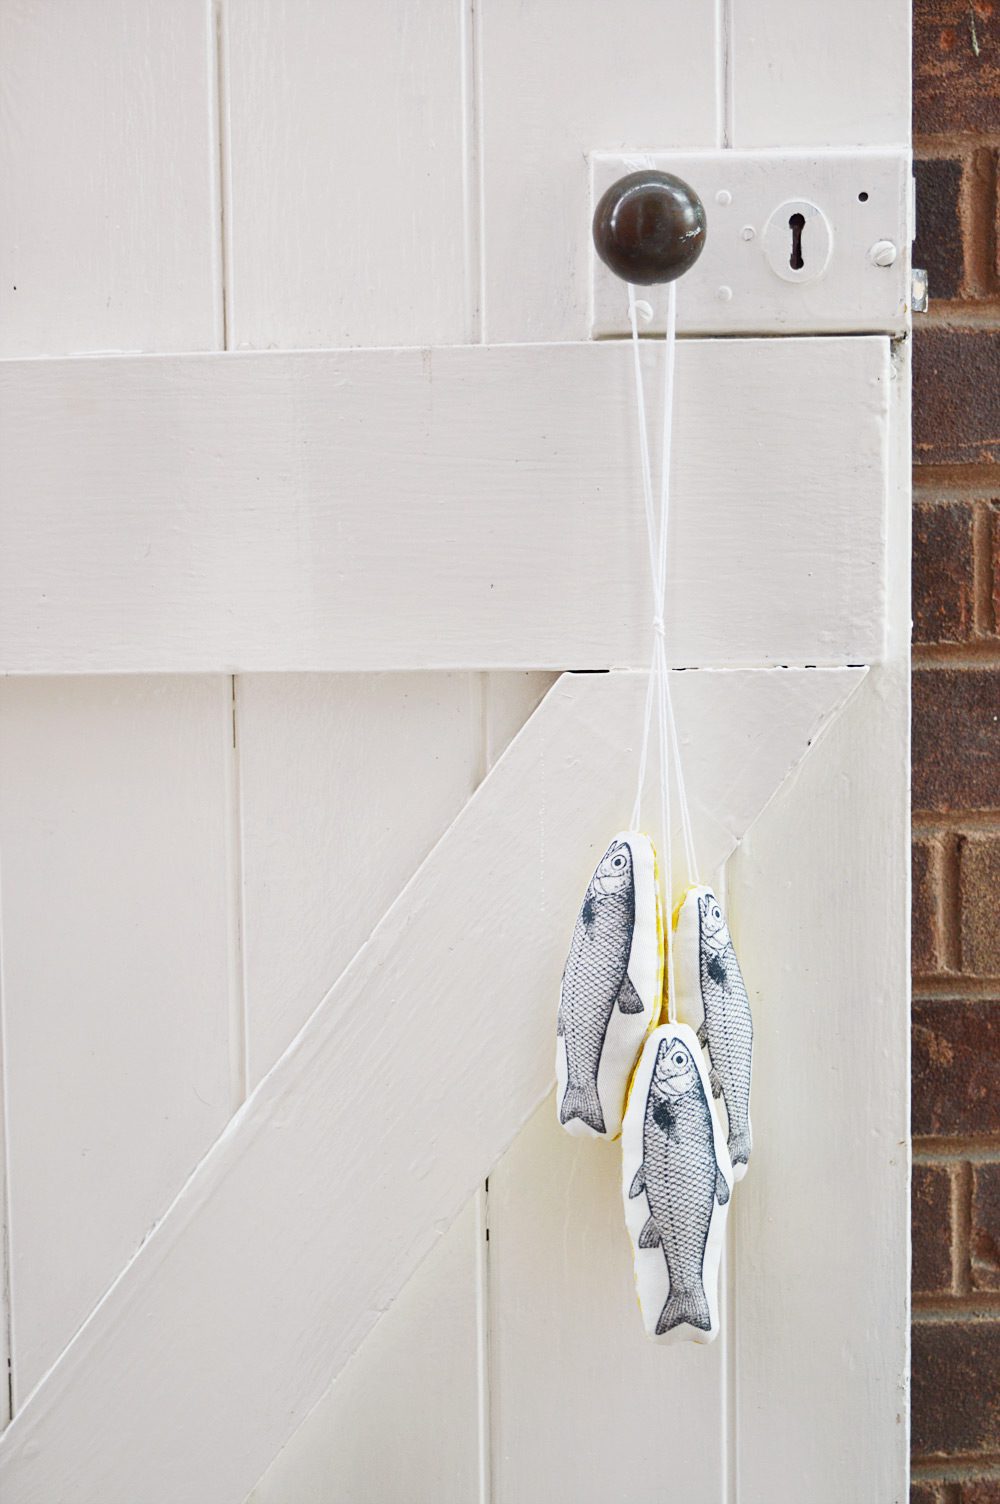
I love the fish pattern and the sturdy, textured feel of the cotton twill fabric. To give you an idea of the scale, each stuffed fish is 13cm long. Next time I’ll have to try catnip toys for the cats!
What do you love making in summer?
Lots of crafty love,
![]()
Disclosure: This post contains an affiliate link. I will earn a small commission if you make a purchase. This won’t affect the products or prices you see. I was given a sample of the Ordinary Fish fabric to test in a project.


These are adorable! I have the perfect cabin in mind where these would fit in perfectly!
Let’s Mingle Blog
Oh I can imagine these in a cabin or little seaside cottage! They could be filled with some seaside scent as well.
Those are adorable! I love any sort of fish decoration! :) Lisa
Thanks Lisa! It’s all about bringing the outdoors in and decorating with the things we love. That’s why I love DIY so much!
[…] Fish Hanging Decoration Image via CraftingFingers.co.uk […]
[…] Hanging Fish Décor […]
[…] Hanging Fish Décor […]