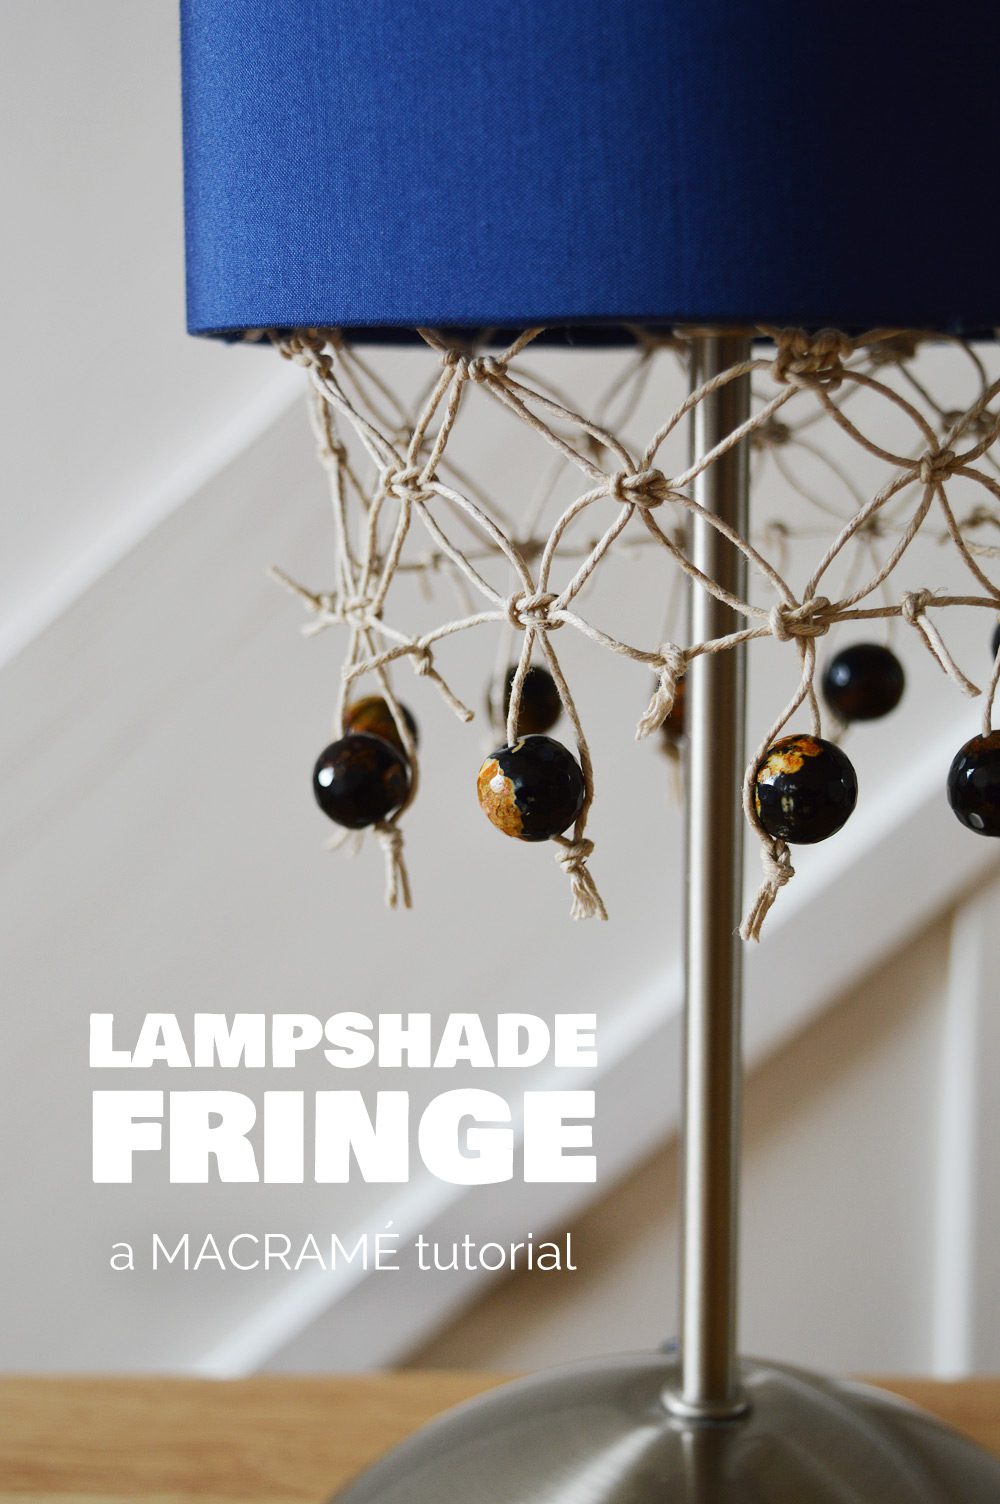
DIY Macrame Lampshade Fringe
Gemstones aren’t just for jewellery.
A bit of hemp and a few agate stones was just what I needed to make our bedroom a bit more casual. Our bedside lamps—make-do purchases from IKEA—were a bit sterile for my taste. And it’s a tried and true rule: lighting is the quickest way to change the mood of a room.
Materials
To make the lampshade fringe, you’ll need:
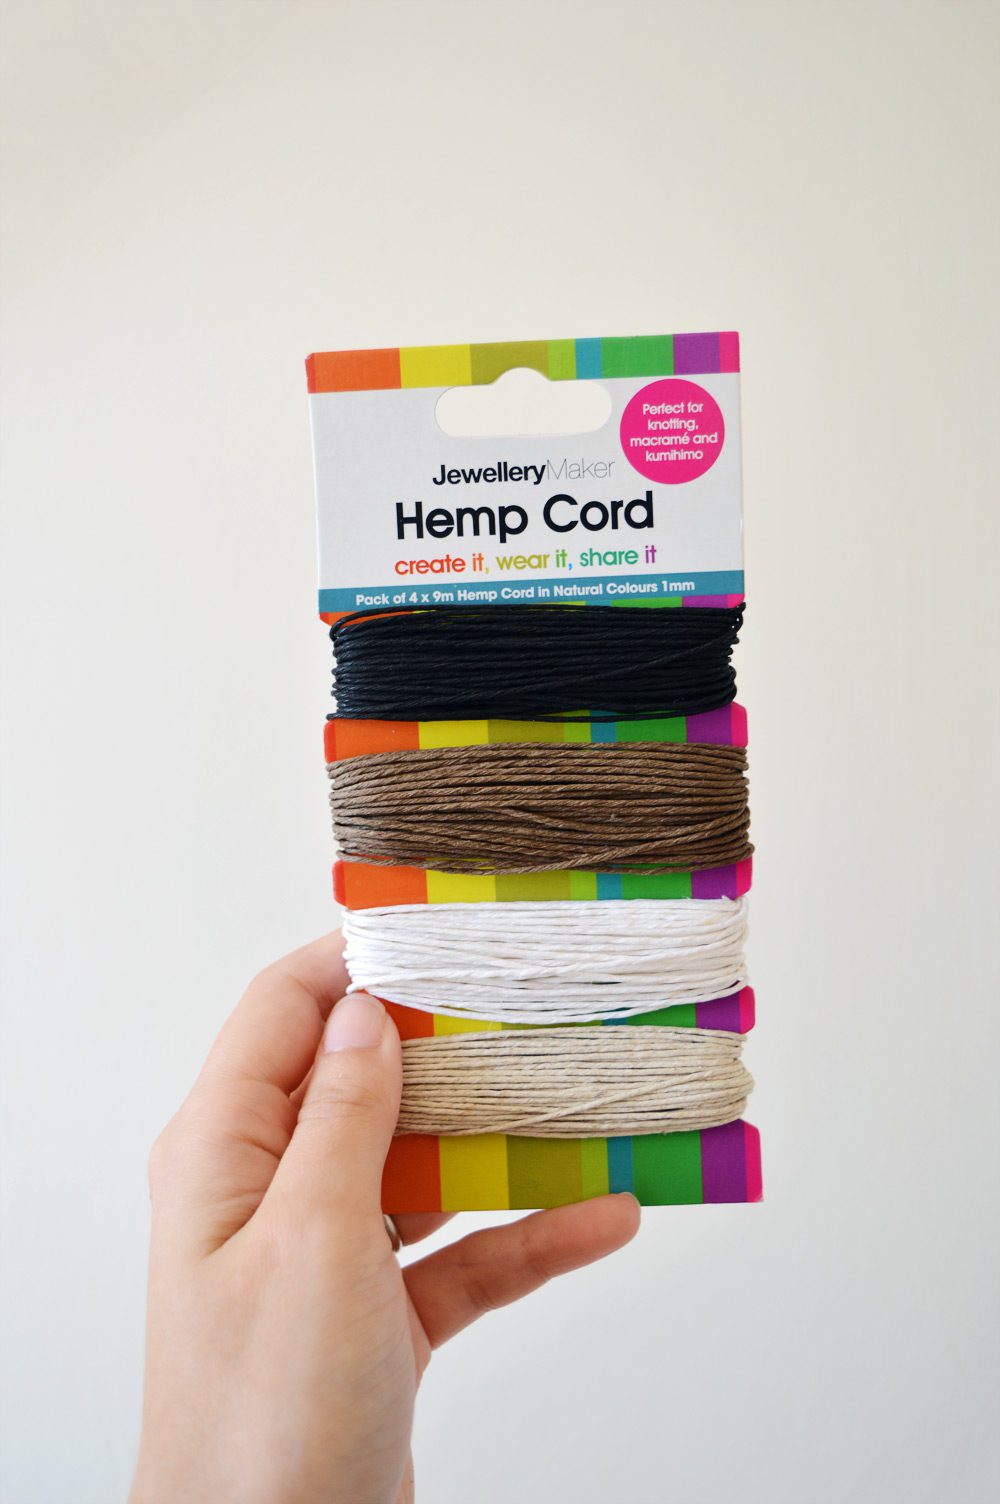
- 1mm cord, I’m using unbleached hemp from a selection c/o Jewellery Maker
- Gemstones, I’m using 14mm black & yellow agate c/o Jewellery Maker
- Washi or masking tape
- Scissors
- Surface to secure base cord
Putting it all together
To start, measure the circumference of your lampshade by wrapping the cord around it once. Add 4-5″ to that length, and cut the cord. This makes the base.
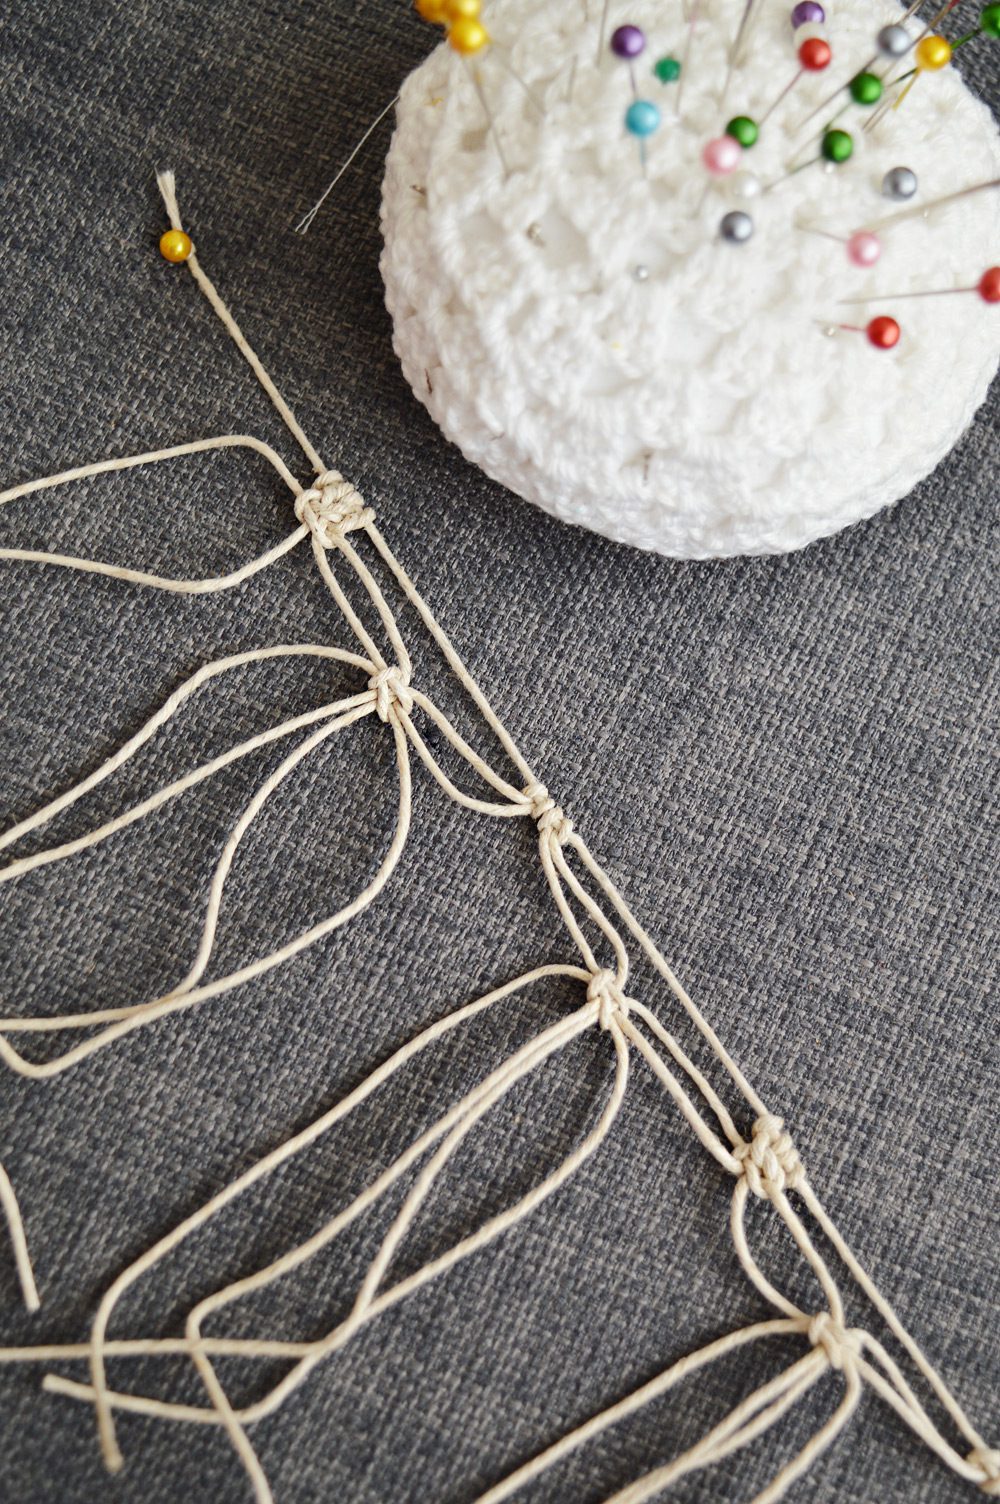
If you don’t have a macrame board, don’t worry—I don’t have one either. I tie two knots at the end of the base cord and pin them onto the couch. (A spare cushion, padded memo board, or similar would work just as well.)
I used twenty 11″ lengths of cord for the fringe. Depending on the height of your lampshade, you might want shorter or longer lengths for the fringe. Keep in mind longer lengths are easier to trim short if you change your mind!
The Macrame Knots
First, secure the base cord so it stays taut.
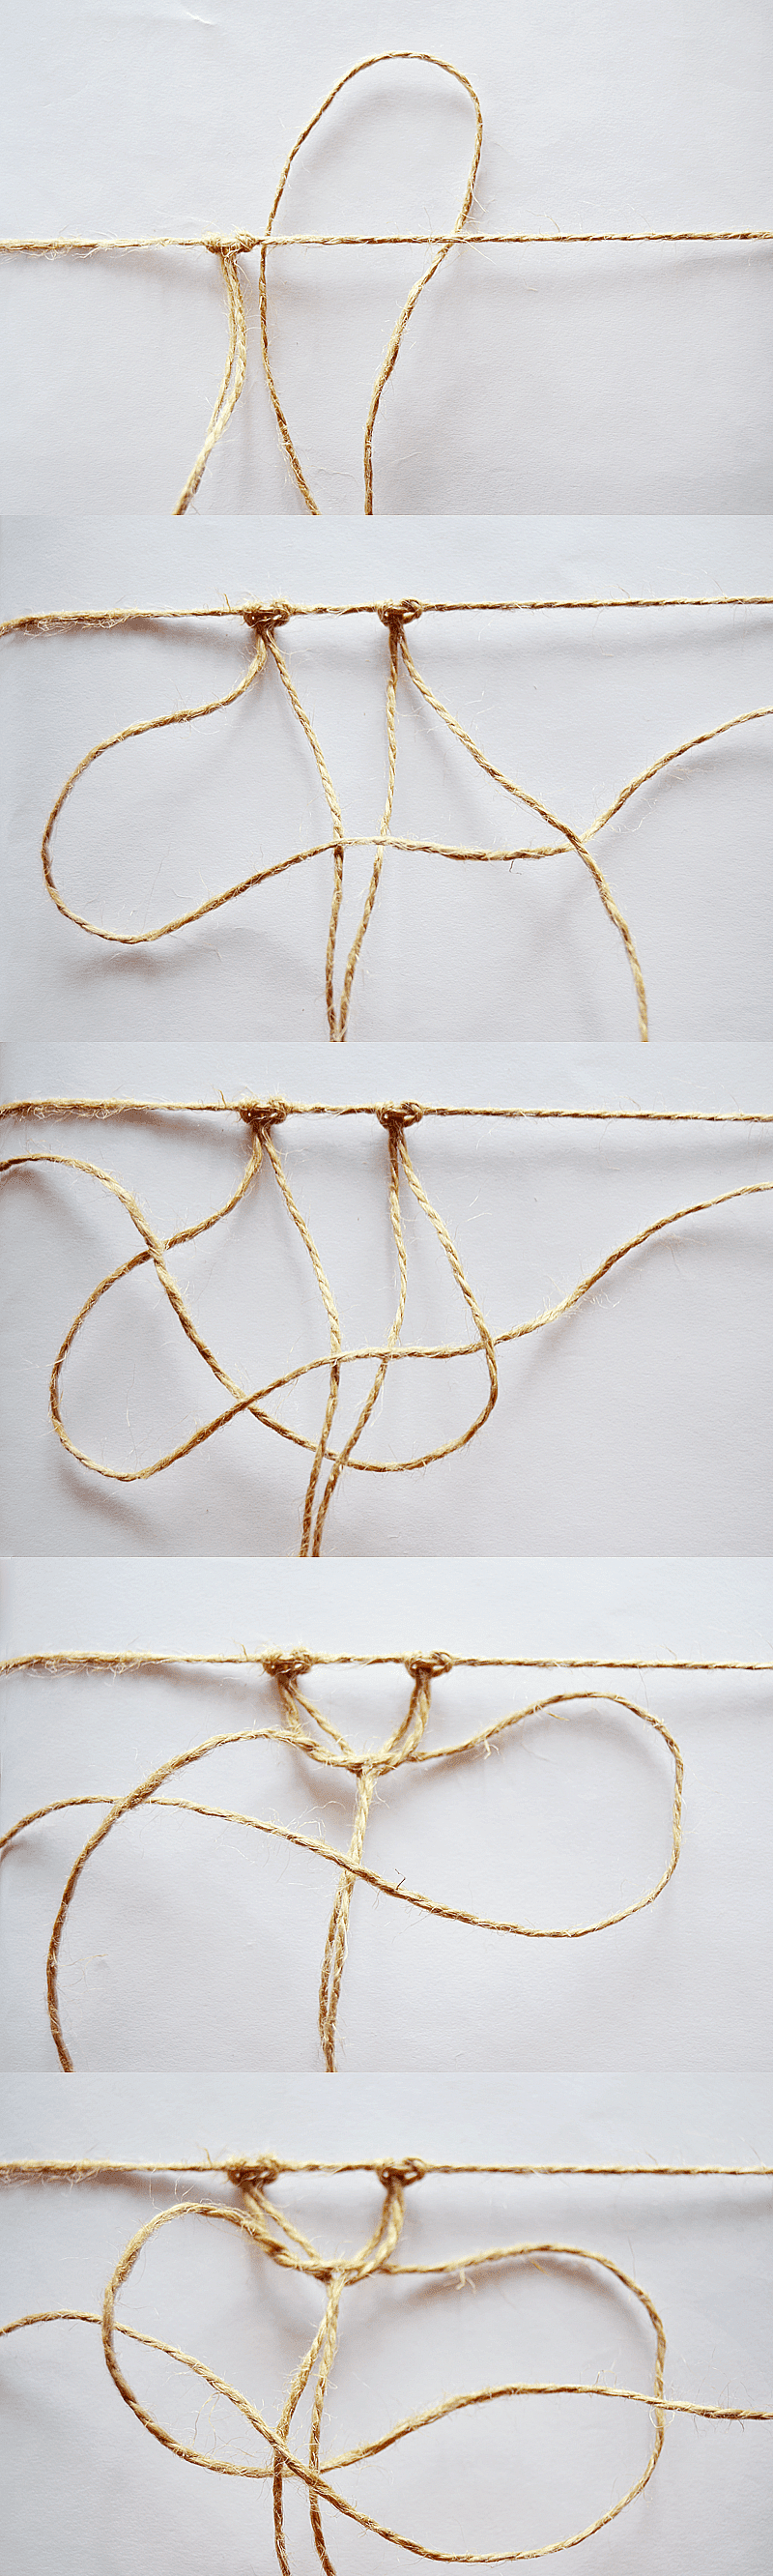
To start the pattern, tie each 11″ length onto the base cord using the lark knot: loop the centre behind the base cord, thread the legs over the base and through the centre loop. Pull tight.
The lampshade fringe pattern uses the macrame square knot. From the lark knot, this is how the square knot is tied:
The Macrame Fringe Pattern
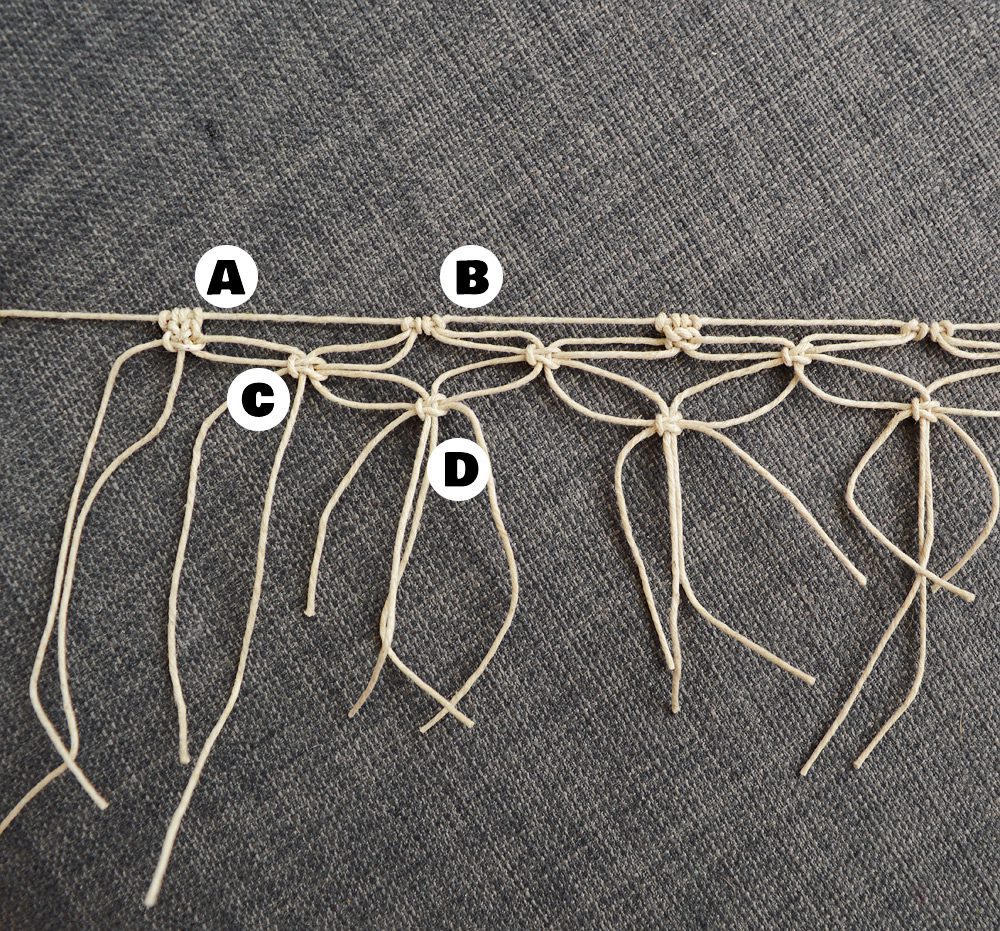
Pair the twenty 11″ lengths and space evenly across the base cord. Keep in mind that you’ve added excess to the circumference.
A = Knot every other pair into a macrame square knot.
B = Leave the other lark heads as is. If you’re using a silkier cord than hemp, you might want to make every lark pair a macrame knot or they’ll be pulled apart. I found the hemp stiff enough to stay in place.
C = Using two legs from A and two from B, tie another macrame square knot. Repeat.
At this point, you’ll have two spare legs on either side of the pattern. They’ll be knotted up once the fringe is attached to the lampshade.
D = Again, take two legs from each previous knot to form another square knot.
You should have five spare legs on either side of the pattern.

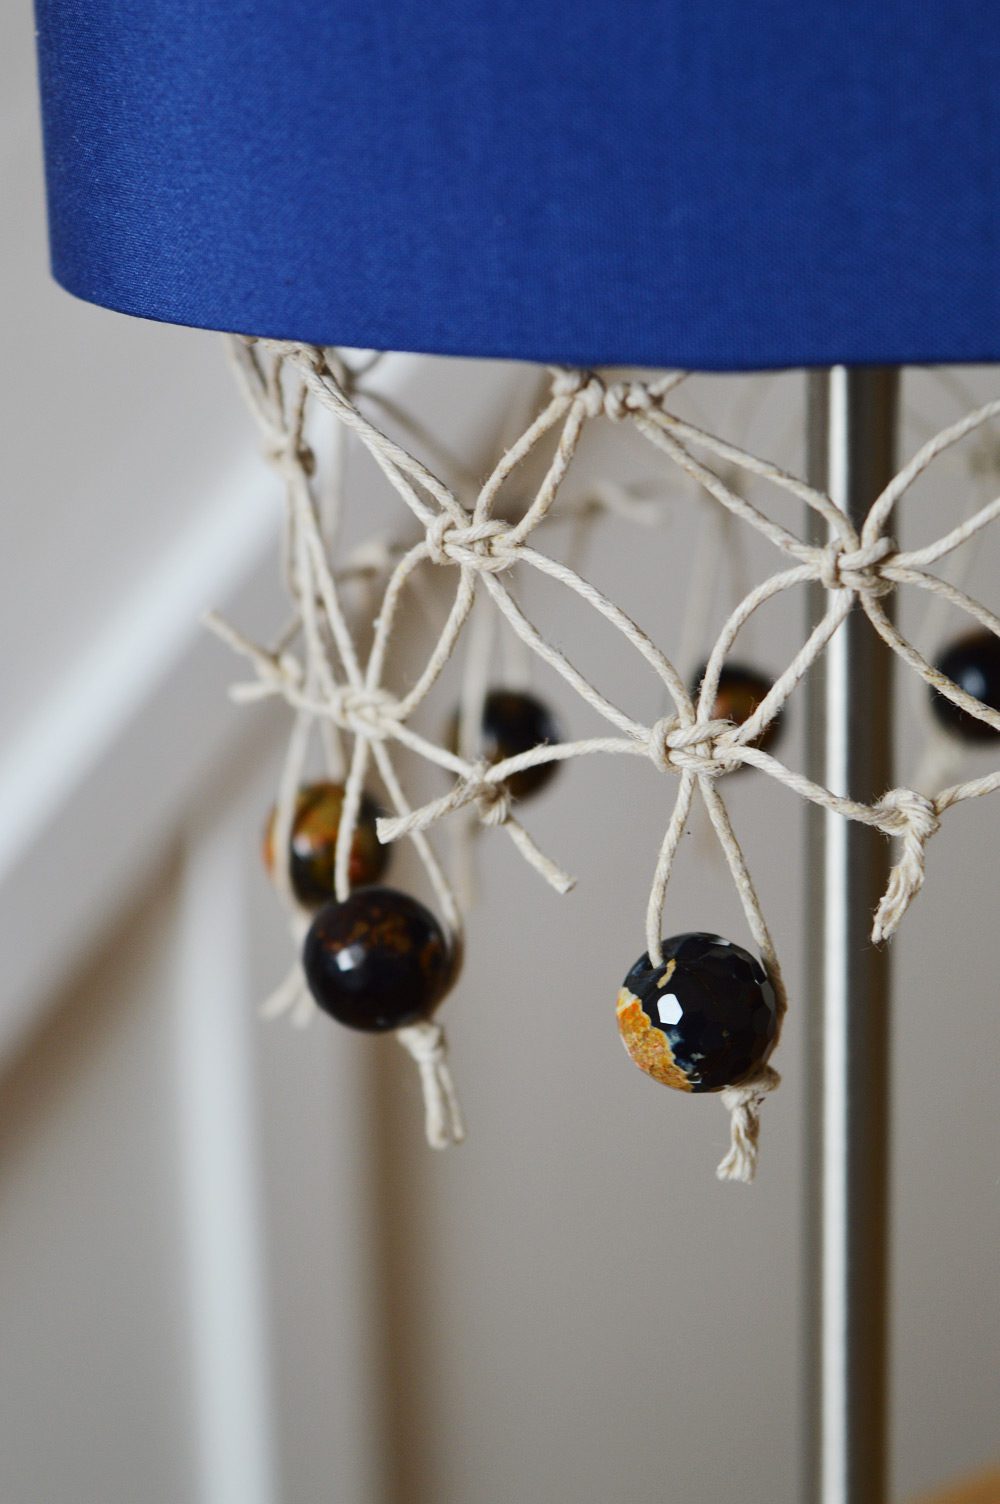
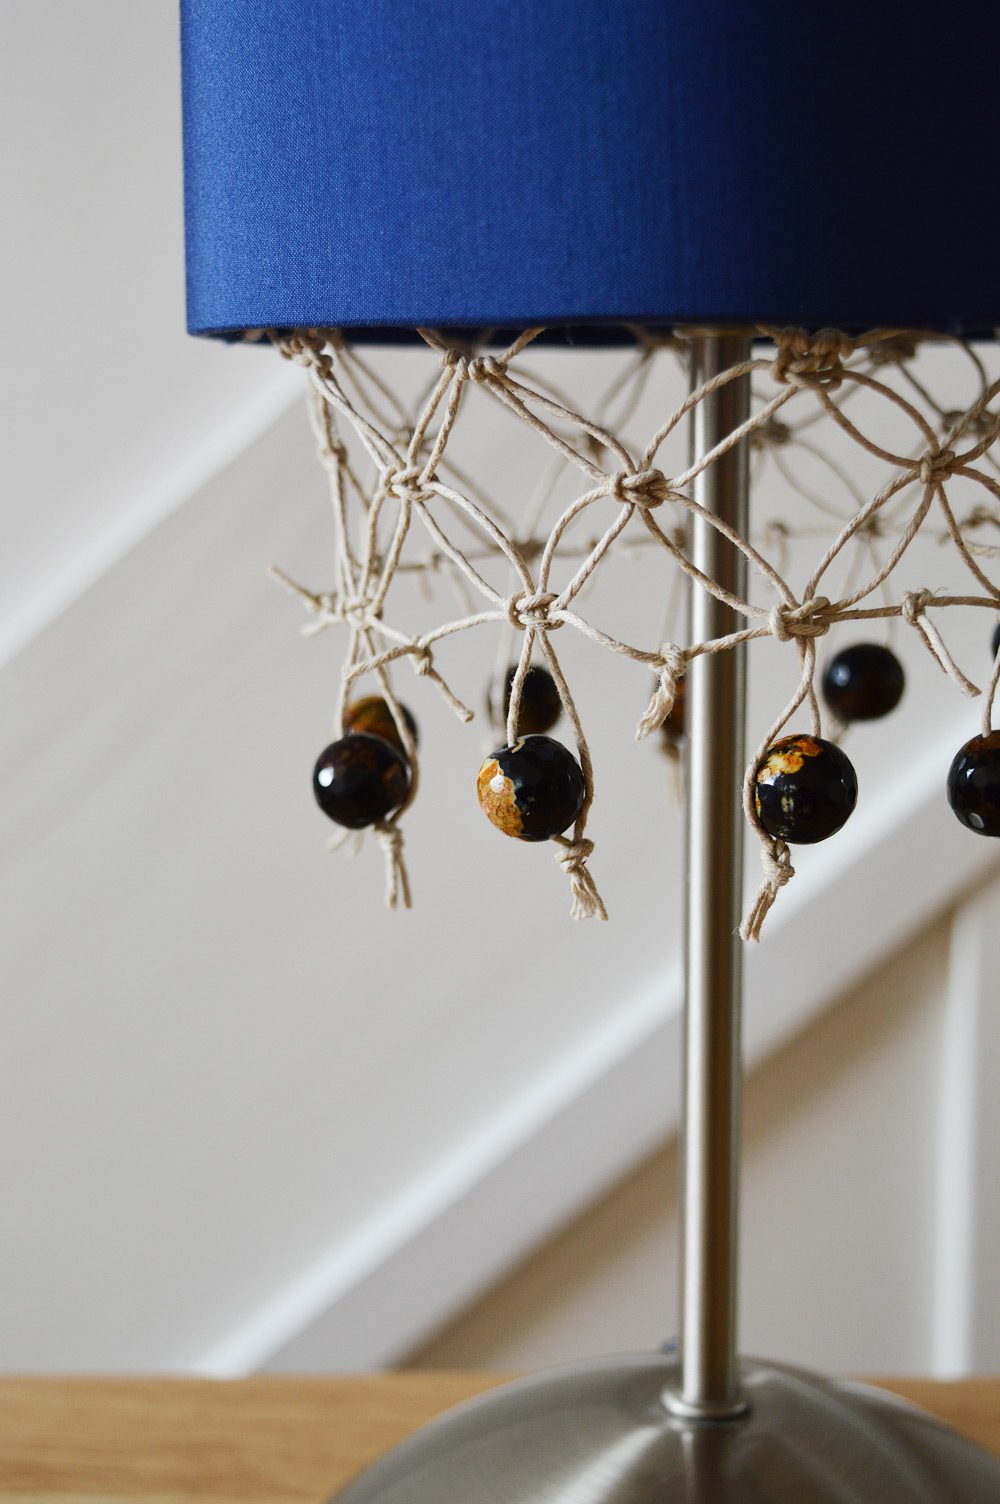
E = (Make sure you leave the spare legs on either side.) Thread the stones onto one leg underneath each D knot. Tie the pairs of cord together.
F = Between each gemstone, tie the legs using a simple double knot.
You’ll still have untied ends on each end of the work.
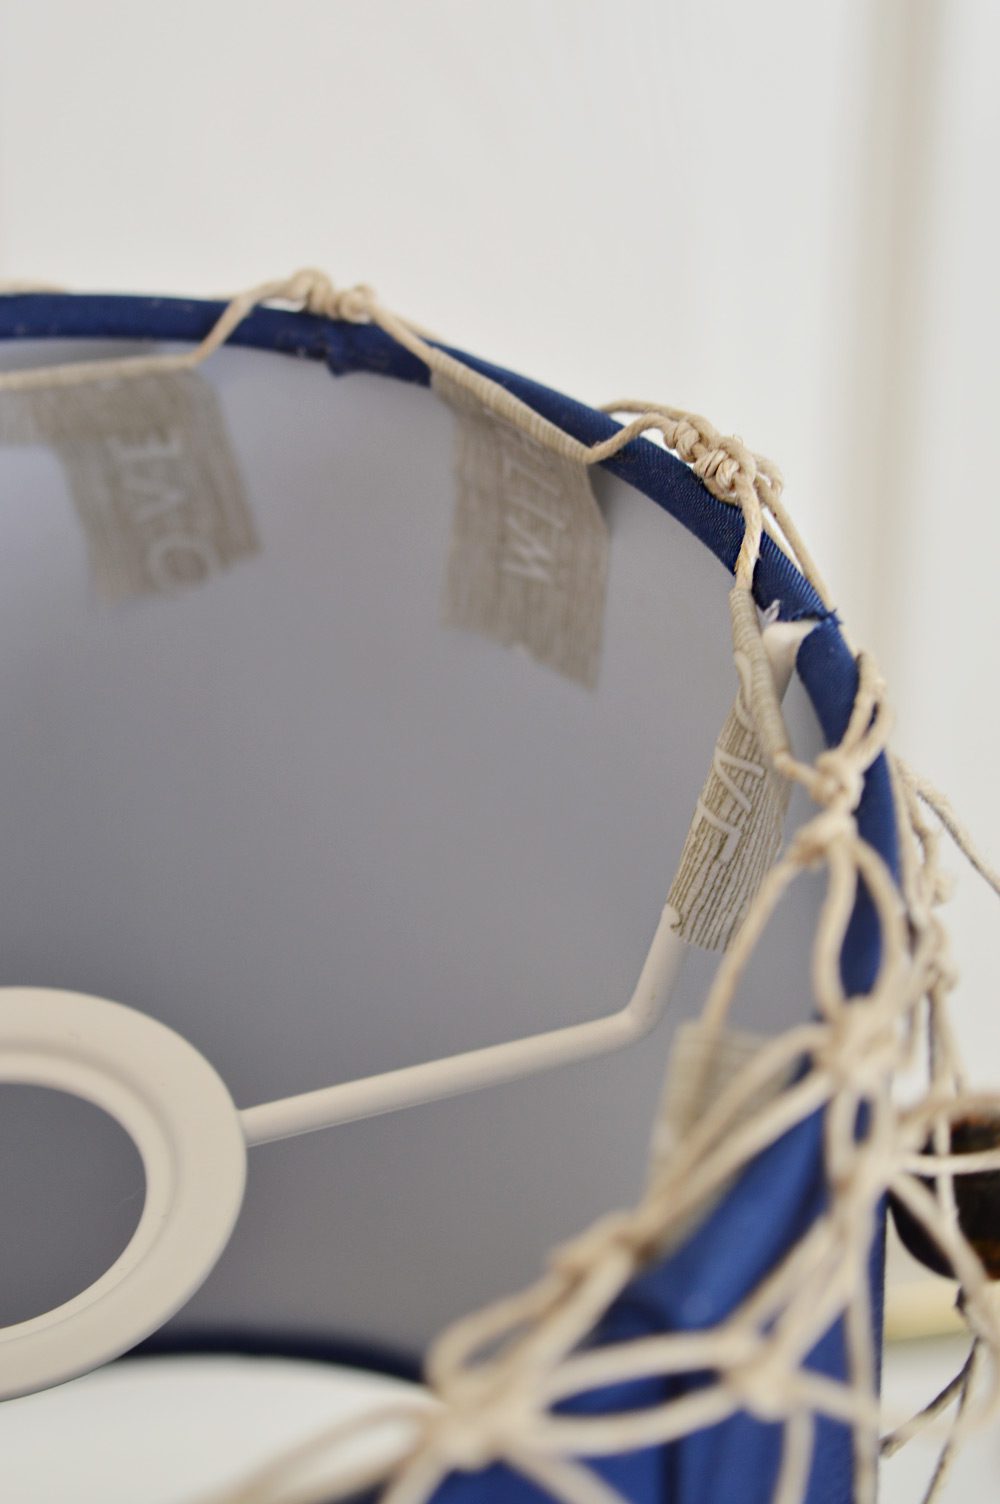
Wrap the fringe around the lampshade and tie the base cord to size.
I used washi tape to test the placement of the fringe on the lampshade. If your stones are heavy (like mine) washi tape won’t be enough to keep it in place for long. I used strong masking tape to keep everything in place.
Once the fringe is attached, tie the loose legs to match the rest of the pattern.
Trim all the ends, and enjoy!
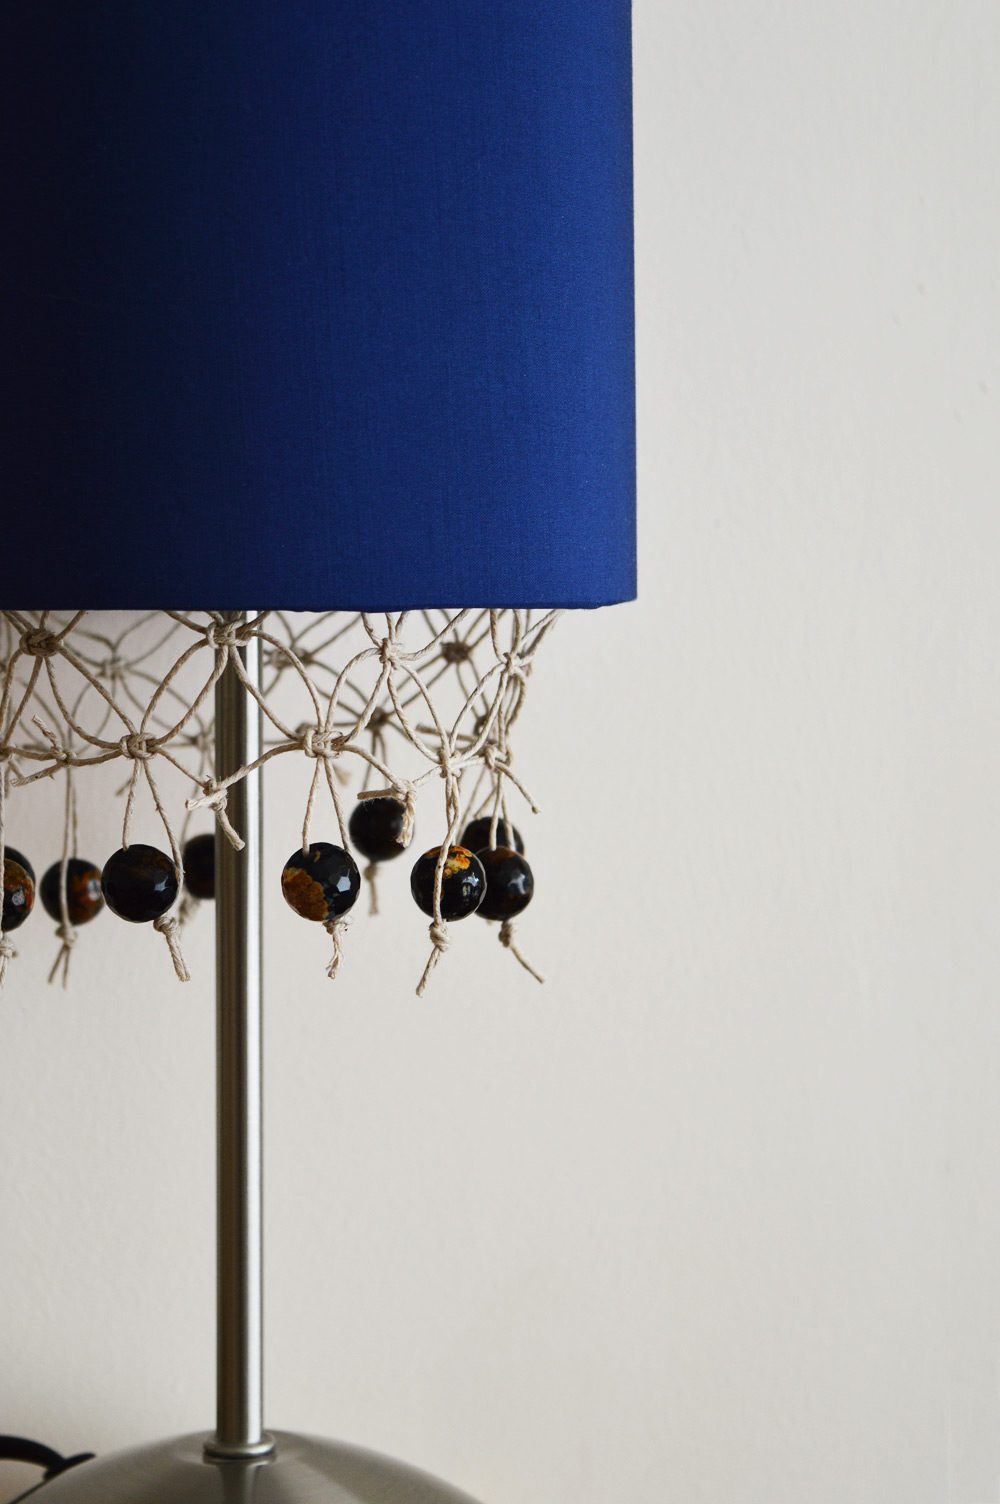
Our bedside lamps feel much cosier and casual with a bit of macrame. Don’t you just love how a bit of DIY can personalise things!
What have you been making lately?
Lots of crafty love,
![]()
Disclosure: I was sent the hemp and agate courtesy of Jewellery Maker to use in a project.


Cute!