Macrame is a lot of fun to learn, and addictive.
It goes much further back in history than I was expecting, with macramé developing from 13th century Arab traditions. It started as decorative knots to secure the loose ends of woven rugs and towels and moved itself across the globe with different cultures adding their own traditional knots to the mix. Apparently macramé was a popular craft during the Victorian era, too.
So if you think a 70’s plant hanger is dated, [highlight bg=”#ca9263″ color=”#ffffff”]the 70’s is actually when modern macrame began.[/highlight]
Get started with video tutorials
Certain crafts just can’t be explained well by text, or even photos. Macramé is one of them.
These videos have been a huge help in learning macramé. Even if you have no idea what the different knots are called, following the video step-by-step will give you the results. You can learn the fancy terminology later!
Basic knot tutorials
If you learn the square knot and simple finishing techniques (I’ll share another round-up with those later), you can already make plant hangers and bracelets. It’s great to start off with and gain confidence! 
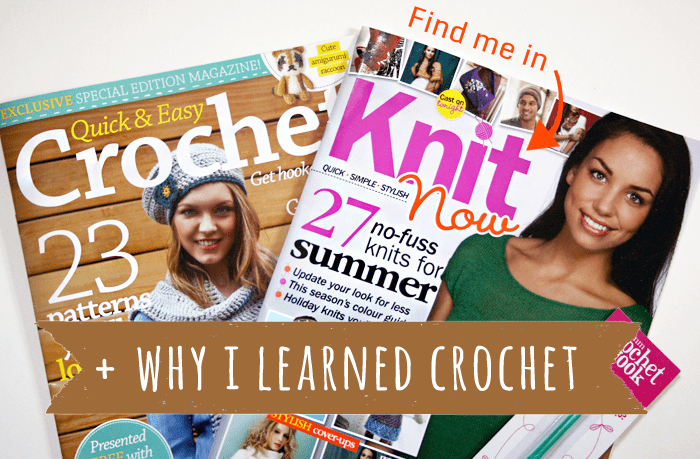
Knit Now Issue 22 is on shelves right now.
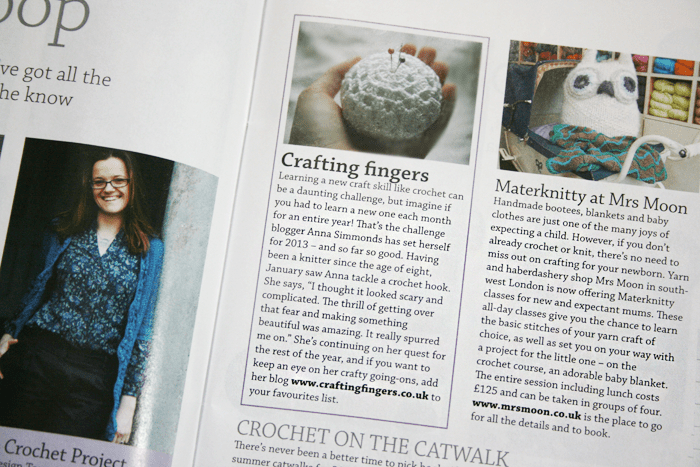
If you take a careful look in its free crochet special, you’ll find Crafting Fingers!
Like it says in Knit Now, I’ve been knitting since I was eight. When I first started my challenge to learn a new craft every month, I knew crochet would have to be the first craft. In fact, at first my idea was to concentrate on just crochet for a whole year. I baulked at the idea, though, because there are so many other crafts I want to learn! So Crafting Fingers was born.
But crochet was still important and it had to be the first craft. I started with it for many reasons, but the biggest was because I had said, over and over, I never would (or never could) learn crochet. It looked complicated. I didn’t like some of the patterns I saw. I thought holding the yarn and the hook was really awkward. (So were knitting needles when I first started, but hey!)
Then I fell in love with vintage crochet doilies. I watched my mother crochet a baby blanket (with granny squares!) for her first grandchild. I discovered crochet home-wares and wanted my own textile bowls and coasters and lacy curtains.
I realised that [highlight bg=”#d3854b” color=”#ffffff”] if I’m supposed to be such a staunch supporter of others learning to craft,[/highlight] how could I not learn to crochet? If I wanted to support other beginners, I needed to remember what it felt like to be one again. 
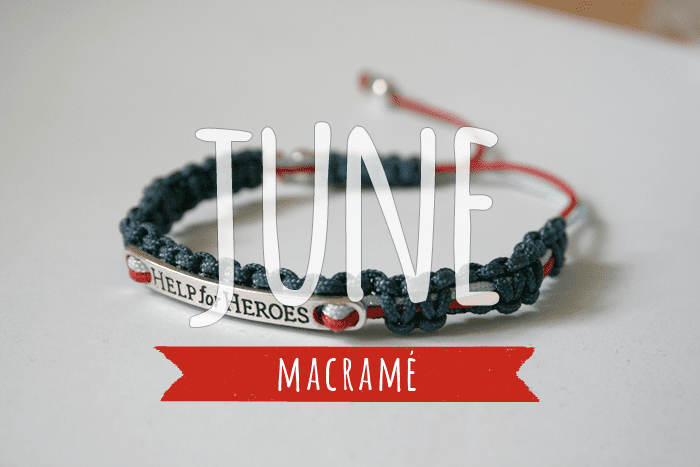
June’s craft of the month is macramé.
It’s a craft that was popular in the 70’s, and makes most of us think of plant hangers and bracelets. I was inspired to learn macramé this month after seeing Sally England’s designs. (This macramé room divider is my favourite piece.)
If you’re not familiar with macrame, it’s a textile craft that involves knotting threads together. Plant hangers are the most common idea, but browse the macrame goodies on Etsy to get an idea of its versatility.
Room for improvement
In the three months we’ve lived in Crickhowell I’ve had a boatload of ideas for home decor. I love making things for the house (versus for myself to wear) so Sally England’s designs really hit a button for me. Airy curtains and lamp shades sound perfect and just a tad rustic.

Since we’ve moved in, I’ve focused on one room each month to put together. This month I’m working on our WC, with a £50 budget from Room for Improvement. I bought a new toilet seat, a pedestal mat, and a few bobs to bring everything together.
This is our downstairs toilet, and it catches the sun all day. I wanted to add some more white to take advantage of the light, and the chrome helps reflect everything too. Isn’t it crazy how big of a difference a new toilet seat can make? 
Craft kits are one of my favourite little treats. Especially so when I was building up my stash.
It’s so nice to pick up a box and go home, and know you have everything to make the pretty project on the cover. And now, when my stash is getting out of control, a kit means I don’t have to dig through everything to find that ONE ribbon I SWEAR I had…
Abi and Kirsty are the two women behind Makeve, a business organising relaxed craft nights and other events. They sell their craft kits individually, too. I got to have fun with a couple of them!
